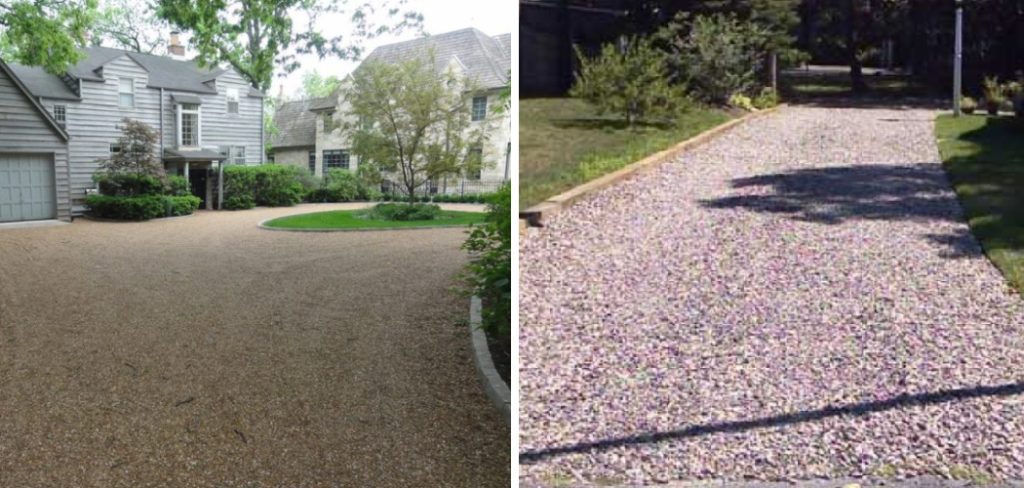
Have you ever dreamed of pulling up to your home in a long, winding driveway as the sun sets over the horizon? A wide, sweeping driveway can truly make an impressive first impression and allow you to pull straight into your garage without worry.

However, many older homes were built on smaller lots with narrow driveways barely wide enough for one car. If your cramped driveway is putting a damper on your dream of arriving in style, take heart! Widening an existing driveway is an achievable DIY project that can dramatically improve both the function and curb appeal of your property.
In this post, I’ll break down the steps on how to widen a driveway yourself over a weekend, sharing tips and tricks I’ve learned from personal experience adding additional width to my once-skinny driveway. By following along, you’ll be able to design and complete an upgraded driveway that adds tremendous curb appeal and practicality to your home.
Step-by-step Guidelines on How to Widen a Driveway
Step 1: Assess Your Current Driveway
Before you begin any project, it’s important to have a clear understanding of what you’re working with. Take some time to assess your current driveway and note any obstacles or challenges that may affect your widening plans.
This can include trees, utility poles, sidewalks, or any other structures near your driveway. You’ll also want to check for drainage and make sure that widening your driveway won’t cause any water flow issues.
Step 2: Obtain Necessary Permits
Depending on where you live, you may need to obtain permits before starting this project. It’s always best to check with your local government, as they may have specific guidelines or regulations for widening driveways in your area. This will also ensure that you’re not unknowingly violating any codes or causing issues for others in the community.
Step 3: Plan Your Design and Layout
Now that you have a good understanding of your current driveway and any necessary permits, it’s time to plan out your new design. Consider how much additional width you want to add and how it will fit into your property. You may also want to think about the materials you’ll be using, such as concrete, asphalt, or gravel.
Step 4: Gather Materials and Tools
Once you have a solid design plan in place, it’s time to gather all the necessary materials and tools. This can include shovels, rakes, wheelbarrows, compactors, and any additional materials like reinforcement mesh for concrete driveways. Gathering everything ahead of time will save you multiple trips to the store and make the project run more smoothly.
Step 5: Prepare the Area
Before any construction can begin, it’s crucial to prepare the area where your widened driveway will be. This may involve removing trees or plants, excavating soil, or leveling uneven surfaces. Make sure to follow proper safety precautions and use appropriate equipment for these tasks. Preparing the area properly will ensure a solid foundation for your new driveway.
Step 6: Install Edging and Reinforcement
To ensure that your new driveway remains sturdy and stable, it’s important to install proper edging and reinforcement. This can include concrete or plastic edging along the sides of the driveway and steel reinforcement mesh in a concrete driveway. These materials will help prevent any cracking or shifting over time. While not always necessary, it’s highly recommended for a long-lasting driveway.
Step 7: Pour and Level the New Driveway
Now it’s time to pour your new driveway material and level it out evenly. If you’re using concrete, make sure to follow proper mixing instructions and use a screed board or bull float to level the surface. For asphalt or gravel driveways, use a rake to spread the material evenly before compacting it with a roller or compactor. Take your time during this step to ensure a smooth and even surface.

Step 8: Allow for Proper Drying Time
After the driveway has been poured and leveled, it’s crucial to allow for proper drying time. This can vary depending on the type of material used, but generally, concrete driveways need at least 48 hours to dry, while asphalt and gravel driveways can be driven on after a few days. Make sure to check the manufacturer’s instructions for specific drying times.
Step 9: Seal and Maintain Your New Driveway
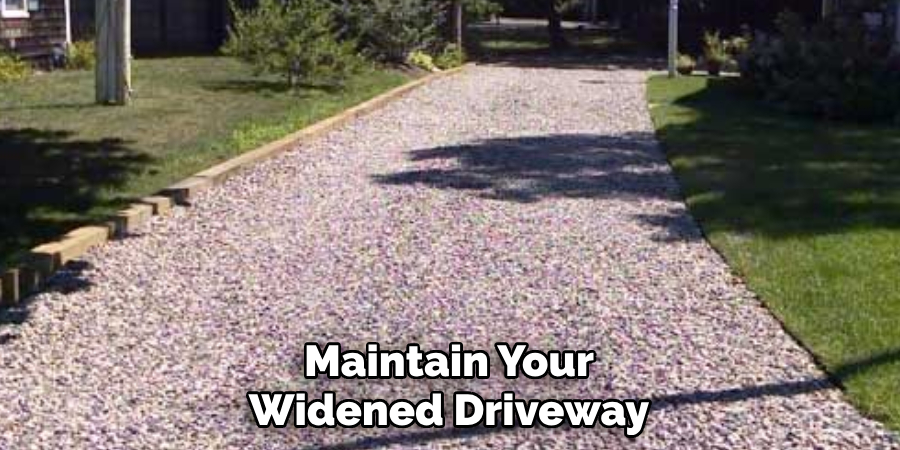
Once your new driveway is dry and ready to use, make sure to seal it properly to prevent any damage or staining. This will also help prolong the life of your driveway and maintain its appearance. Regular maintenance, such as filling cracks or resealing, will also be necessary to keep your driveway looking its best for years to come.
Make sure to follow the manufacturer’s recommendations for proper maintenance.
Following these steps and taking the time to properly plan, prepare, and execute your driveway widening project will result in a beautiful addition to your home. Not only will you be able to pull up to your property with pride, but potential buyers will also take notice of the added curb appeal. So why wait? Start planning and widening that driveway today!
Additional Tips and Tricks to Widen a Driveway
1. Consider adding decorative elements to your driveway, such as stamped concrete or pavers. This not only adds visual appeal but can also help break up the large expanse of concrete for a more interesting look.
2. If you have a sloped driveway, consider incorporating retaining walls and terraced sections to help with drainage and prevent erosion.
3. When pouring new concrete for your widened driveway, use a broom finish or other textured surface to help with traction and prevent slips and falls.

4. Don’t forget about proper drainage. Ensure that your widened driveway has a slight slope away from your house to prevent water from pooling near your foundation.
5. If you have limited space for a wider driveway, consider using a curved or angled design. This not only creates more space for parking but can also add visual interest to your home’s exterior.
6. If you have a long driveway, consider adding lights along the edges or in the concrete itself to help with visibility at night.
7. Consider using environmentally friendly materials such as permeable pavers or interlocking concrete blocks for your widened driveway. These materials allow water to seep through, reducing runoff and helping with water conservation.
8. Regularly maintain your widened driveway by filling in any cracks or holes and resealing it every few years. This will help extend its lifespan and prevent costly repairs down the road.

By incorporating these additional tips and tricks, you can not only widen your driveway but also enhance its functionality, aesthetics, and longevity. Remember to always consult with a professional for any major driveway widening projects to ensure safety and proper construction techniques. With the right planning and execution, you can create a beautiful and practical widened driveway that adds value to your home. Happy driveway widening!
Frequently Asked Questions
What is the Best Way to Widen a Driveway?
The best approach will depend on your specific situation, budget, and personal preferences. Some options to consider include removing part of your property’s front yard or landscaping, adding additional pavement next to your existing driveway, or using concrete pavers or gravel. It’s important to carefully evaluate the pros and cons of each option before making a decision.
Do I Need a Permit to Widen My Driveway?
In most cases, yes, you will need a permit from your local city or county government before widening your driveway. This is because any changes made to your property may affect things like drainage and property lines. It’s important to check with your local government to determine the specific requirements and obtain any necessary permits before starting your project.
How Long Does it Take to Widen a Driveway?
The timeline for a driveway widening project can vary depending on factors such as the size of the project, weather conditions, and contractor availability. However, on average, homeowners can expect the project to take anywhere from 1-3 weeks. It’s important to discuss a timeline with your contractor and plan accordingly.
Will Widening My Driveway Increase My Property Value?
In most cases, widening your driveway can have a positive impact on your property value. This is because it improves curb appeal and adds functionality to your home. However, it’s important to consider the costs involved and whether the potential increase in property value is worth the investment.

Can I Widen My Driveway Myself?
While some homeowners may have the necessary skills and equipment to widen their driveway themselves, it’s generally recommended to hire a professional contractor. This ensures that the project is done properly and efficiently, and can save you time and potential costly mistakes.
How Do I Choose the Right Contractor for My Driveway Widening Project?
When choosing a contractor, it’s important to do your research and ask for references from previous clients. It’s also recommended to get quotes from multiple contractors and compare their experience, pricing, and timeline for the project. Additionally, make sure to check their qualifications and insurance coverage to protect yourself and your property.
Conclusion
All in all, knowing how to widen a driveway is an important skill for homeowners looking to improve the functionality and appearance of their property. By carefully considering your options, obtaining any necessary permits, and hiring a reputable contractor, you can successfully widen your driveway in a timely and cost-effective manner.
Remember to plan, communicate clearly with your contractor, and enjoy the benefits of a wider driveway for years to come. So whether you need a wider driveway for easier access, more parking space, or just to enhance your property’s curb appeal, don’t hesitate to start your project today! So get ready to make the most of your home with a newly widened driveway.
