TPO (Thermoplastic Olefin) roofing is a popular choice for commercial and residential buildings due to its durability, energy efficiency, and low maintenance requirements. However, like any other type of roofing material, TPO roofs can also get damaged over time due to various reasons such as extreme weather conditions, poor installation, or regular wear and tear.
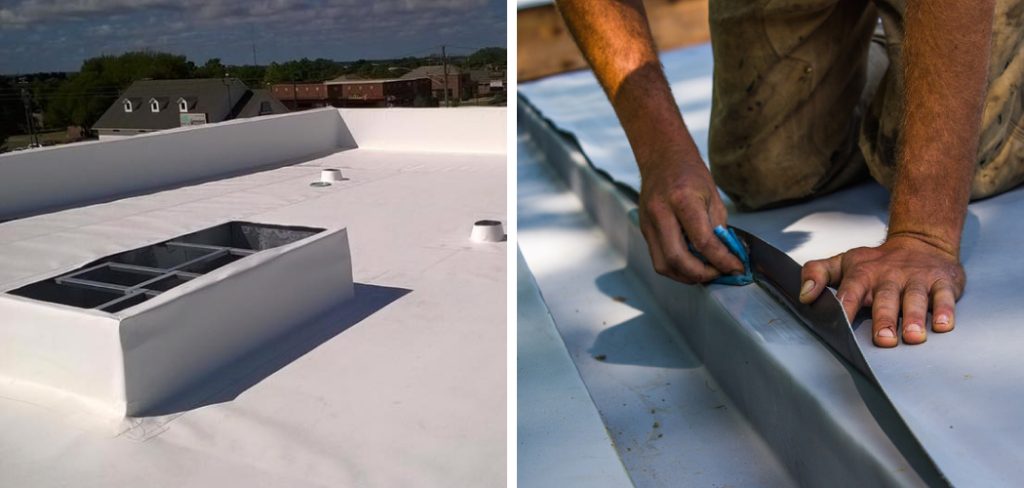
If you have a TPO roof on your property and notice signs of damage, it is important to address the issue as soon as possible to prevent further damage and maintain the integrity of your roof. In this guide, we will discuss how to repair TPO roofing so you can keep your roof in good condition and prolong its lifespan.
Understanding TPO Roof Construction
Before we dive into the steps of repairing TPO roofing, it is important to understand the construction of a TPO roof. TPO roofs consist of three main layers: a base layer, a reinforcement layer, and a top ply. The base layer is usually made of polyethylene or ethylene-propylene rubber and provides the main waterproofing barrier. The reinforcement layer adds strength and stability to the roof, while the top ply is made of TPO material and protects the roof from UV rays and other external elements.
Tools and Materials You Will Need to Repair TPO Roofing
1. TPO patch kit or TPO membrane
2. Scissors or utility knife
3. Scraper or putty knife
4. Primer
5. Seam roller
6. Heat gun (optional)
7. Roofing adhesive or seam tape (for larger repairs)
Step-by-step Guidelines on How to Repair TPO Roofing
Step 1: Identify the Damage
The first step in repairing TPO roofing is to identify the damaged area. Walk around your roof and look for any visible signs of damage such as tears, punctures, or open seams. If you are not comfortable walking on the roof, use binoculars to get a closer look. This will help you determine the extent of the damage and what tools and materials you will need for the repair.

Step 2: Clean the Area
Before starting any repair work, it is important to clean the damaged area thoroughly. Use a scraper or putty knife to remove any debris or loose material from the surface. This will ensure proper adhesion of the patch or membrane and prevent any further damage. While cleaning, also check for any signs of moisture or water damage that may require additional repair.
Step 3: Prepare the Surface
Once the area is clean, use a primer to prepare the surface for repair. The primer helps to improve adhesion and ensure a watertight seal. Apply the primer according to the manufacturer’s instructions and allow it to dry completely. Preparing the surface is crucial for a successful repair, so make sure to follow this step carefully.
Step 4: Cut and Apply the TPO Patch or Membrane
For smaller repairs, you can use a TPO patch kit which typically comes with adhesive and a patch of pre-cut membrane. If you have a larger area to repair, you can cut a piece of TPO membrane to size. Make sure the patch is slightly bigger than the damaged area to ensure proper coverage.
Peel off the backing of the patch or membrane and carefully place it over the damaged area. Use a seam roller to smooth out any air bubbles and ensure proper adhesion.
Step 5: Seal the Edges
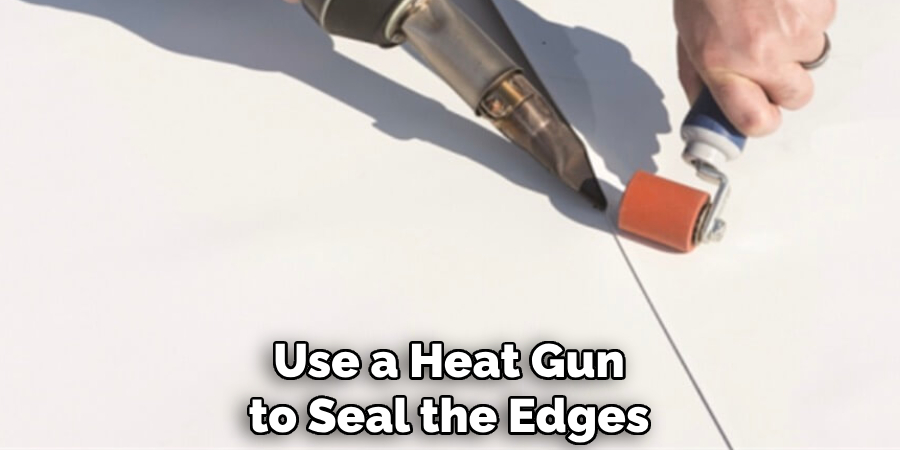
To further secure the patch, you can use a heat gun to seal the edges. This will help create a strong bond between the patch and the roof surface. If you do not have a heat gun, you can also use roofing adhesive or seam tape to seal the edges. Make sure to follow the manufacturer’s instructions for proper application. If you are using adhesive, use a seam roller to press down the edges and ensure proper adhesion.
Step 6: Check for Leaks
After completing the repair, it is important to check for any potential leaks. Use a hose or a bucket of water and pour it over the repaired area. If you notice any water seeping through, make sure to apply an additional layer of sealant or adhesive and allow it to dry completely before re-testing. If there are no leaks, then your repair is successful.
Following these steps will help you repair TPO roofing and maintain its longevity. It is important to regularly inspect your roof and address any potential issues promptly to avoid costly repairs or replacements in the future. If you are unsure about repairing a TPO roof yourself, it is best to consult a professional roofing contractor for assistance. Remember, proper maintenance and timely repairs are key to keeping your TPO roof in top condition. So, be proactive and take care of your TPO roof to enjoy its benefits for many years to come.
Additional Tips and Tricks to Repair TPO Roofing
1. If your TPO roofing has punctures or tears, it is important to repair them as soon as possible. These can easily turn into bigger problems if left unattended. You can patch small holes using a TPO patching kit, which usually comes with a solvent-based primer and self-adhering patches.
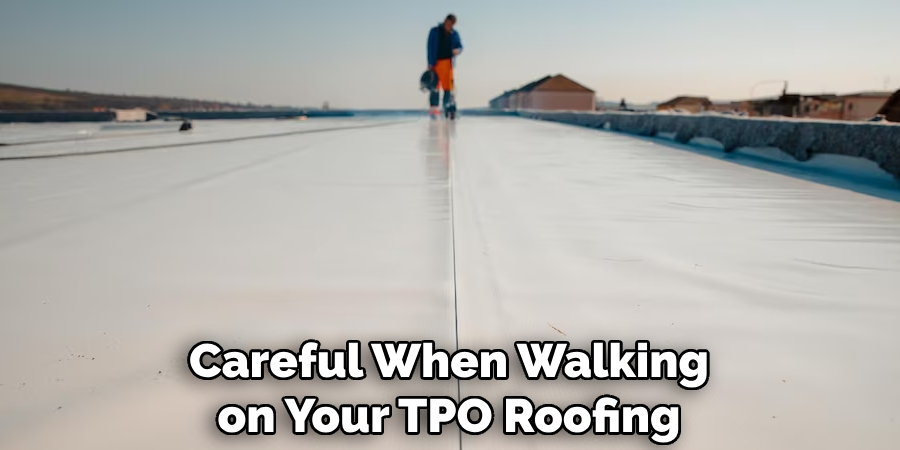
2. To avoid damage from foot traffic, always be careful when walking on your TPO roofing. If possible, use a walkway or boards to distribute your weight evenly and minimize the risk of punctures.
3. Regularly inspect your TPO roofing for any signs of damage or wear. This can include tears, punctures, cracks, or loose seams. Catching these issues early on can save you from costly repairs down the line.
4. Clean your TPO roofing at least twice a year, using a mild detergent and water solution. This will help remove any dirt or debris that can cause damage to the roofing material over time.
5. If you live in an area with harsh weather conditions, consider adding extra protection to your TPO roofing. This can include installing a protective coating or adding additional layers of TPO membrane to increase its durability.
6. Proper installation is key when it comes to TPO roofing. Make sure to hire a professional roofing contractor who has experience with installing TPO roofing and can provide you with references from satisfied clients.
7. When repairing or installing TPO roofing, make sure to follow all safety precautions and wear appropriate protective equipment. This includes gloves, safety glasses, and a respirator if working with solvents or adhesives.
8. Keep your TPO roofing clear of any debris such as leaves, branches, or other objects that can potentially cause damage to the roofing material. Regularly remove any debris to maintain the integrity of your TPO roofing.
9. If you notice any changes in the appearance or performance of your TPO roofing, such as discoloration or leaks, make sure to address them promptly. Ignoring these issues can lead to more extensive and expensive repairs in the future.
10. Consider scheduling regular maintenance check-ups with a professional roofing inspector to ensure that your TPO roofing is in good condition and that any potential issues are addressed early on.
11. Keep proper documentation of any repairs or maintenance done on your TPO roofing. This can come in handy when filing insurance claims or if you plan on selling your property in the future.
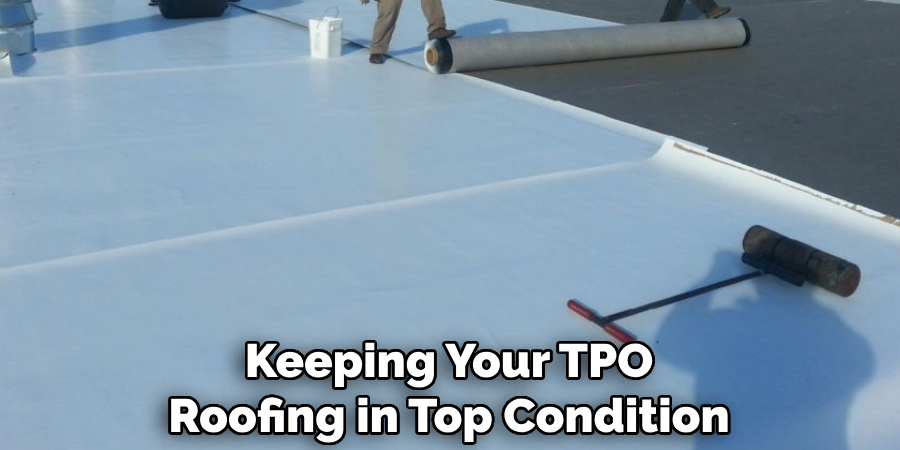
Following these additional tips and tricks can help extend the lifespan of your TPO roofing and save you from costly repairs. Regular maintenance and prompt repairs are key to keeping your TPO roofing in top condition, so make sure to prioritize them. With proper care and attention, your TPO roofing can last for many years to come.
Things You Should Consider to Repair TPO Roofing
1. The first thing you should consider before repairing a TPO roofing system is the extent of the damage. This will help you determine whether the repair can be done by yourself or if you need to hire a professional contractor.
2. You should also consider the age of your TPO roofing system. If it is nearing the end of its lifespan, it might be more cost-effective to replace it instead of repairing it.
3. Before starting any repairs, make sure to thoroughly clean the roof surface. This will allow you to properly assess the damage and also ensure that the repair materials adhere properly.
4. It is important to use compatible materials when repairing a TPO roofing system. Using incompatible materials can cause further damage and compromise the integrity of your roof.
5. When making repairs, be sure to follow the manufacturer’s guidelines and recommendations. This will ensure that the repairs are done correctly and will not void any warranties.
6. Properly sealing seams and fixing punctures or tears is crucial in TPO roofing repair. These areas are prone to water infiltration, which can lead to leaks and further damage if left unattended.
7. Consider using a peel-and-stick patching material for small repairs. This method is quick and easy, and it provides a strong bond with the TPO membrane.
8. For larger repairs, you may need to use heat welding techniques to properly seal seams and fix tears or punctures in the TPO membrane.
9. It is important to regularly inspect your TPO roofing system and make any necessary repairs as soon as possible. This will help prevent minor issues from turning into major problems.
10. Finally, if you are unsure or uncomfortable attempting to repair your TPO roofing system, it is always best to hire a professional contractor who has experience working with this type of roofing material.
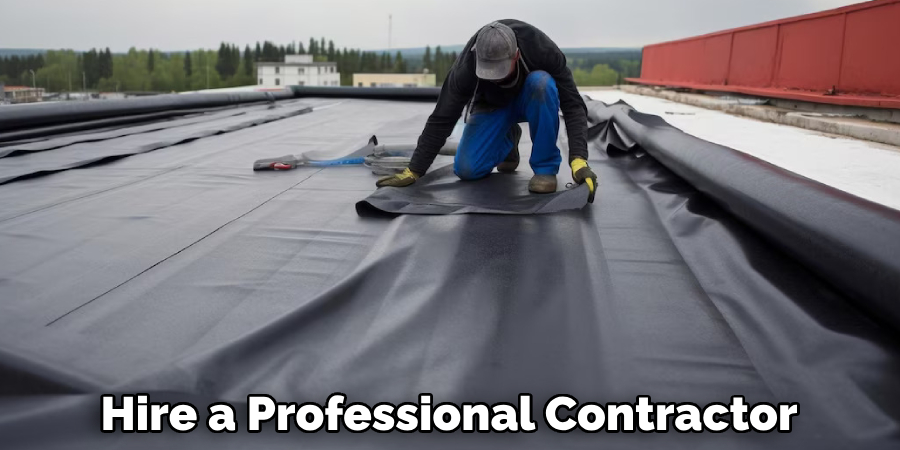
Following these considerations will help ensure that your TPO roofing system is properly repaired and maintained, extending its lifespan and protecting your home or building from the elements. Regular maintenance and prompt repairs are key to keeping your TPO roof in good condition for years to come. Additionally, it is important to regularly check for any signs of damage or wear and tear, such as cracks, blisters, or bubbles in the membrane. By addressing these issues early on, you can avoid more costly repairs in the future.
Troubleshooting Common Issues to Repair TPO Roofing
1. Ponding Water:
One of the most common issues with TPO roofing is ponding water, which occurs when water collects in pools on the roof surface instead of draining off. This can happen for a variety of reasons, such as improper drainage design or clogged drains. Ponding water can cause damage to the roof membrane over time, leading to leaks and potential structural issues.
To troubleshoot ponding water on a TPO roof, it is important to first identify the cause. This may require a thorough inspection of the roof, looking for any low spots or areas where water seems to be collecting. If the issue is related to drainage design, adjustments may need to be made to ensure proper water flow. In cases of clogged drains, they should be cleared and maintained regularly to prevent future issues.
2. Punctures or Tears:
TPO roofing is susceptible to punctures and tears, especially during installation or due to foot traffic on the roof. These openings in the membrane can lead to leaks and compromise the integrity of the roof system. To troubleshoot punctures or tears, it is important to identify the source and extent of the damage.
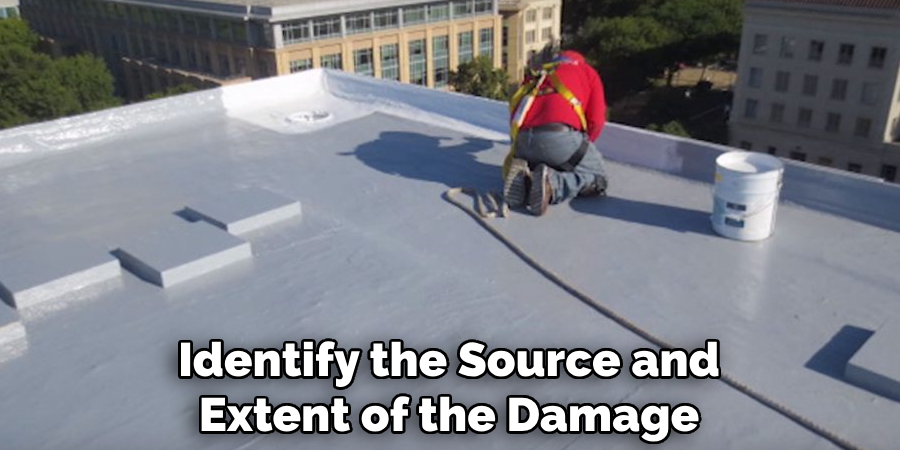
If punctures are found during installation, they should be repaired immediately before continuing with the rest of the installation process. For foot traffic-related damage, it is important to limit access to the roof and consider implementing protective measures such as walkway pads or designated pathways for maintenance workers.
3. Blistering:
Blistering is another common issue with TPO roofing, which occurs when air or moisture becomes trapped between the roof membrane and underlying layers. This can be caused by improper installation techniques, such as inadequate cleaning of the substrate before application.
To troubleshoot blistering on a TPO roof, it is important to determine the cause and extent of the issue. In some cases, the blister may be able to be repaired by carefully cutting it open and resealing it with roofing adhesive. However, if the underlying cause is due to poor installation techniques, it may be necessary to replace the affected area or even the entire roof.
4. Shrinkage:
TPO roofing can also experience shrinkage, which occurs when the membrane pulls away from the edges and corners of the roof due to temperature changes. This can lead to gaps and openings where water can seep in and cause damage.
To troubleshoot shrinkage on a TPO roof, it is important to regularly inspect the roof for any signs of pulling or separation at the seams and edges. If shrinkage is found, it is important to address the issue promptly by reattaching the membrane and ensuring proper adhesion.
Following these troubleshooting tips can help resolve common issues with TPO roofing and prevent further damage. It is also important to regularly maintain and inspect the roof to catch any potential problems early on. This can prolong the lifespan of the roof and save on costly repairs in the future. Additionally, consulting a professional roofer for more complex issues or regular maintenance can help ensure the longevity and effectiveness of your TPO roof.
Precautions Need to Be Followed for Repairing TPO Roofing
1. First and foremost, it is important to take every safety precaution when working on a TPO roofing repair. This includes wearing protective gear such as gloves, eye protection, and a hard hat.
2. Before starting any repair work, inspect the TPO roof for any signs of damage or wear and tear. Look for cracks, punctures, tears, or other types of damage that may have occurred.
3. Make sure to clean the TPO roof surface thoroughly before starting any repairs. This will help ensure that the repair materials adhere properly and provide a more effective fix.
4. Always use the recommended tools and materials for TPO roofing repairs, as specified by the manufacturer or roofing professional.
5. It is important to follow proper installation techniques when repairing a TPO roof. This includes properly cleaning and priming the surface, using the correct amount of adhesive or sealant, and ensuring proper overlap and seam sealing.
6. Take extra care when handling repair materials on a TPO roof to avoid damage to the roofing membrane. Small cuts or punctures can lead to bigger issues down the road.
7. Properly dispose of any waste materials and packaging from the repair process to avoid potential hazards or harm to the environment.
8. Regularly inspect and maintain your TPO roof to catch any potential issues early on and prevent costly repairs in the future.
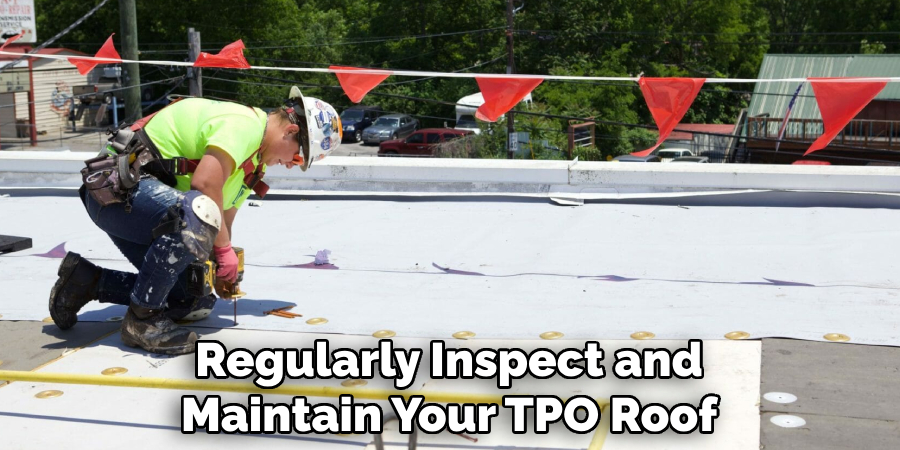
Following these precautions can help ensure a successful and safe TPO roofing repair. Additionally, it is always recommended to consult a professional roofer for major repairs or if you are unsure about any steps in the repair process. Taking proper care of your TPO roof will not only extend its lifespan but also save you time and money in the long run. Remember, prevention is always better than cure when it comes to roofing maintenance. So, make sure to follow these precautions for a durable and reliable TPO roof.
Conclusion
Knowing how to repair TPO roofing systems is not an easy task but with the right knowledge and tools, it can be done successfully. It is important to regularly inspect your TPO roofing system for any damages or wear and tear to prevent larger issues from occurring. Keeping the roof clean and free of debris will also help prolong its lifespan.
It is recommended to hire a professional roofing contractor for major repairs or replacements as they have the necessary expertise and experience. Additionally, following the manufacturer’s guidelines and using high-quality materials will ensure that your TPO roofing system remains in good condition for many years.
