Remodeling your bathroom can be a great way to increase the value of your home But if you want to make the most out of it, why not consider tearing down one wall? It is important to know how to remove a wall to expand a bathroom.
Removing a wall to expand your bathroom will help maximize both space and convenience. Not only will it create more room for storage options or furnishings, but it could also result in improved air circulation as well.
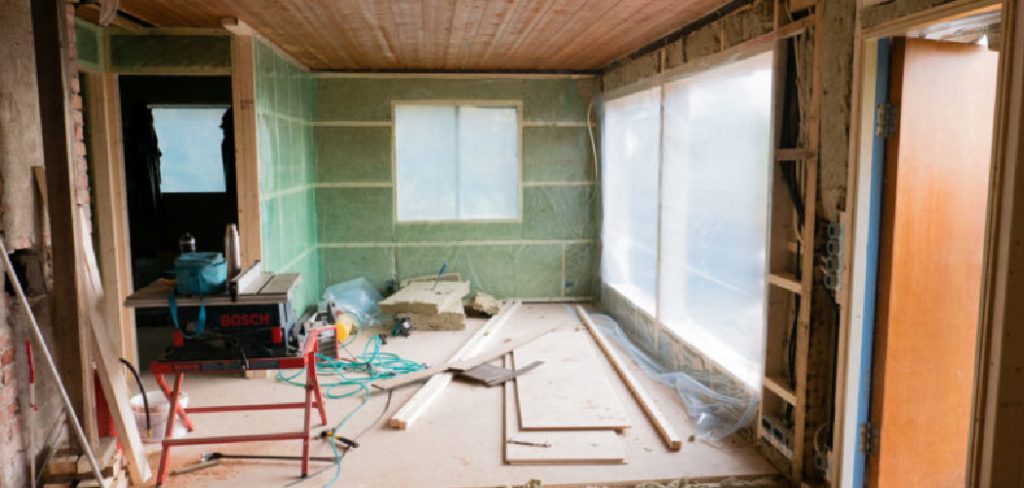
In this blog post, we’ll discuss how to remove a wall safely and effectively so that you can easily transform your small-scale bathroom into an oasis!
Tools You Will Need
- A Hammer
- Drill
- Screwdriver
- Jigsaw
- Safety goggles
- Mask or respirator
- Utility knife
7 Steps Guide on How to Remove a Wall to Expand a Bathroom
Step 1: Turn Off the Electricity & Water
Making renovations to a bathroom can be an expensive and intensive process. One strategy for expanding a small bathroom is to turn off the electricity and water to prepare for tearing down a wall that may be blocking larger square footage. Once the electricity and water have been turned off, you can then safely remove the wall with appropriate demolition techniques.
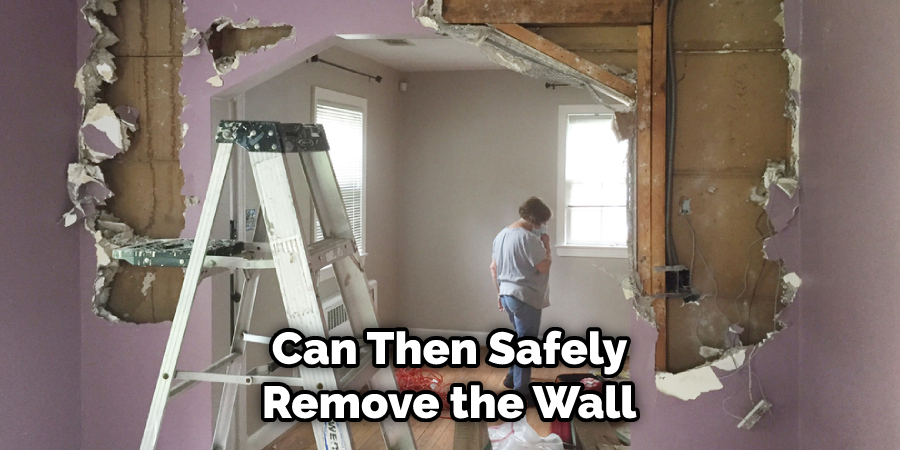
Safety is always important when doing any kind of construction, but especially so when working around electricity and water, it’s wise to make sure all necessary precautions are taken before beginning the project.
Carefully plan out your workflow beforehand and ensure that you have everything ready in terms of materials and tools because once the electricity and water have been shut off there is no turning back!
With careful planning, though, turning off the power and water can be a quick yet effective way to expand your bathroom space.
Step 2: Identify Pipes and Wires
You should thoroughly inspect your wall to identify any pipes, wires, or ducts that may be in the way of tearing down the wall. If so, you will need to remove them or re-route them before removing the wall.
When planning to expand a bathroom, it is essential to locate any pipes and wires in the wall before proceeding.
Identifying these pipes and wires is especially important if attempting this project without professional help. Inspect the wall for any marked access points such as plumbing or electrical panels that may indicate the location of wiring and pipes inside the wall.
In addition, uninsulated outlets and exposed lighting fixtures can also provide clues about the whereabouts of particular items like wires. If necessary, go ahead and use a stud finder to detect any potential plumbing or electrical running through the wall. It is always better to be safe than sorry.
Removing a portion of a wall without prior knowledge of its internal makeup could result in irreparable damages down the road.
Step 3: Cut Away Drywall
Use a utility knife to cut away the drywall that is located around any pipes or wires in the wall.
When expanding a bathroom, it is necessary to remove the wall that stands in the way. Before this large task can be started, you must use a utility knife to cut away the drywall around any pipes or wires that are located in the wall.
This step may seem tedious and time-consuming, but carefully removing the drywall will ensure that you do not damage any hard-to-replace wiring or plumbing within the wall. After all of the drywall has been cut away, you can begin to work on taking out the rest of the wall.
Step 4: Remove Nails and Screws
Once you have exposed the framing of the wall, use a hammer, drill, or screwdriver to remove all nails and screws. Removing nails and screws from the wall is essential if you’re looking to remove a wall to expand a bathroom.
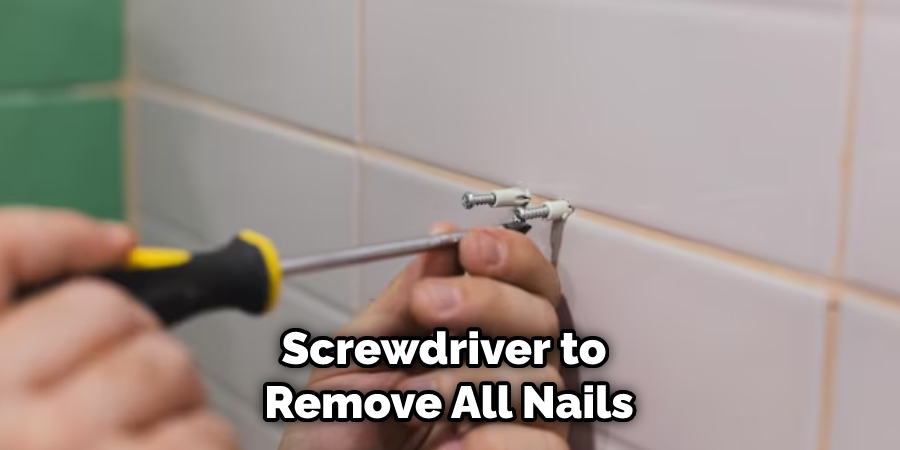
You’ll need to have protection like safety glasses and work gloves before prying away any of the wall’s framing and extricating pieces of wood that hold nails or screws. Once revealed, hammers, drills, or screwdrivers should be used judiciously and carefully to get rid of stubborn fastenings and holes in the structure.
It might take extra elbow grease to get some of them out due to their snug fit but with patience and steady hands, it’s possible to remove all the nails and screws easily. Don’t discard them – reuse them for future projects!
Step 5: Cut Away Studs and Joists
This step is crucial, as you will need to cut away the studs and joists that are keeping your wall in place. To do this safely, use a jigsaw or reciprocating saw to make the cuts.
Cutting away studs and joists is a necessary step when expanding the space of an existing bathroom. It requires an efficient approach and plenty of attention to detail. If done incorrectly, it can cause potentially fatal damage or hazardous circumstances.
To ensure the work is completed safely, equip yourself with a jigsaw or reciprocating saw for precision cuts. These tools are ideal for removing studs and joists without causing any further structural damage to the wall. With proper preparation, patience, and caution, this important step towards expanding your bathroom can be completed with success!
Step 6: Remove Debris
Once all of the studs and joists have been cut away, use a broom or vacuum to sweep away any debris from the area.
Before you can begin expanding your bathroom, it’s important to remove the existing wall. After using a saw to cut away all of the studs and joists, the floor will be full of small scraps of debris left over from the demolition.
While this debris looks small and insignificant, leaving it behind could cause major problems down the line.
Removing the debris with a broom or vacuum is essential before any further work can be done and will help ensure that your new bathroom expansion turns out looking perfect!
Step 7: Fill in the Gaps
To ensure that your bathroom is safe and secure after removing the wall, you will need to fill in any gaps left behind with drywall mud or spackle. This will also help to give the wall a more professional look.
When you finish tearing away the wall of your bathroom, it’s essential to fill in any gaps with a material like drywall mud or spackle. Not only will this make the area safer, but it can also improve the aesthetic.
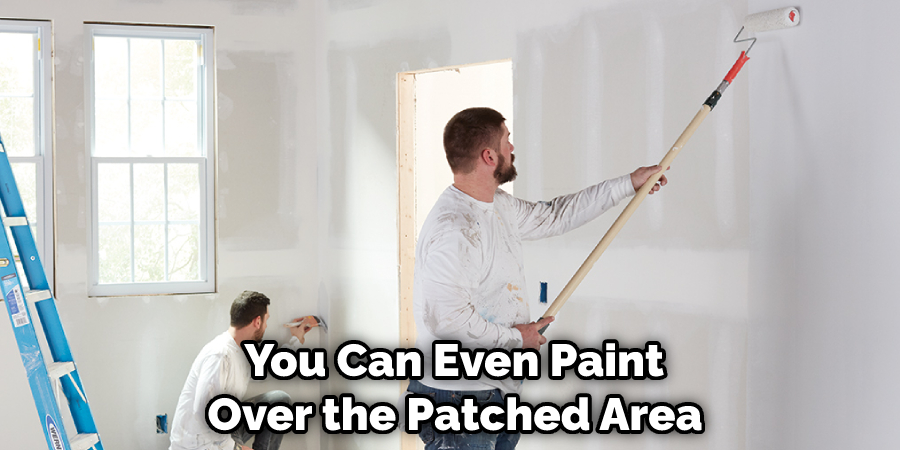
Be sure to take extra care when applying the material and sanding it down afterward to not damage the surrounding areas of the wall. Once finished and dried properly, you can even paint over the patched area so that your expanded bathroom has a polished and professional look.
Tips to Remove a Wall to Expand a Bathroom
- The first step in expanding your bathroom is to decide where the new wall will go. You’ll need to take into account the existing layout of your bathroom, as well as any other rooms that adjoin it. Once you’ve decided on the location of the new wall, you can begin to plan the expansion.
- Once you’ve decided on the location of the new wall, you’ll need to draw up a plan. This plan should include the dimensions of the new wall, as well as any other changes that need to be made to accommodate it. If you’re not sure how to draw up a plan, you can hire an architect or designer to help you.
- Before you can begin construction, you’ll need to get permits and approvals from your local building department. These permits and approvals will ensure that your expansion meets all building codes and regulations.
- Once you have all of the necessary permits and approvals, you can begin hiring contractors to help with the expansion. Be sure to hire a reputable contractor who has experience with bathroom expansions.
- Once the contractor has arrived, they will begin by demolishing the old wall. This process can be messy, so be sure to cover any nearby surfaces that you don’t want to get dirty.
- After the old wall has been demolished, the contractor will begin building the new wall. This process typically takes several days to complete.
- Once the new wall is complete, the contractor will install any new fixtures and finishes that you’ve chosen. This may include things like new tiles, paint, or wallpaper.
- Once all of the work is complete, you can finally enjoy your new bathroom!
How to Create More Space in Your Home with Wall Removal?
Removing a wall to create more space in your home might sound intimidating, but it is easier than you think. With the right preparation and research, it can be a straightforward process. If the wall being removed is not load-bearing, meaning it does not support the structural stability of your home, the process of removal becomes much more feasible.

To begin, acquire a permit from your local building department if required by law. Additionally, if necessary bring in professionals such as an engineer or contractor with experience removing walls to ensure safety. After the proper paperwork, permits, and people are in place, the actual demolition begins.
Once removed, you’ll have an open space to arrange however you’d like without compromising on structural integrity. Wall removal can help revitalize any room while helping to maximize potential opportunities for creativity!
How To Get Professional Results When Removing a Wall from your Bathroom?
Removing a wall from your bathroom can transform the space into a more updated and functional area. To get professional results, it is important to take all the necessary precautions to ensure that no permanent damage is done to the surrounding walls, floors and structurally supporting walls.
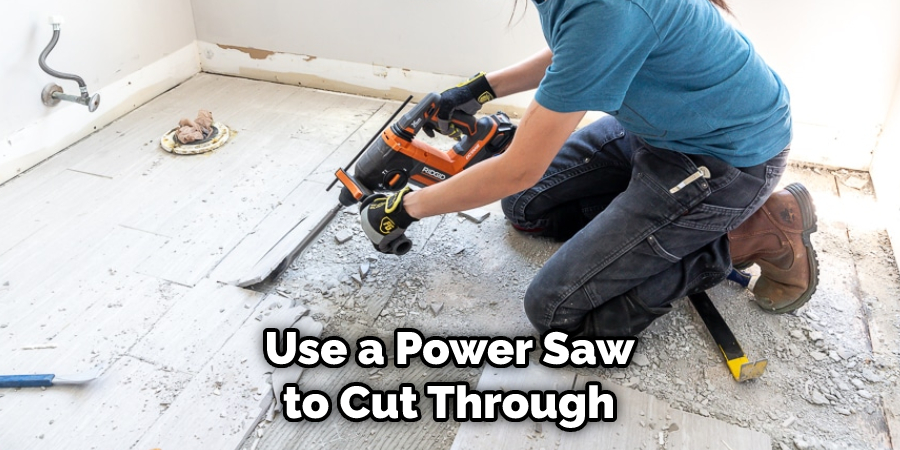
Start by taking down any cabinetry and flooring around the wall you wish to remove. Next, use a power saw to cut through fasteners and studs holding up the wall before proceeding to disconnect electrical lines or piping running behind it.
Finally, protect yourself from debris and particles with protective eyewear and long clothing as appropriate before removing excess drywall, mud, and other construction materials from the area. With the right safety practices in place, you will be able to successfully get the desired results for your redesigned bathroom!
Conclusion
The wall removal process is not as difficult as it may seem at first. By following these simple steps, you can easily expand your bathroom without any professional help. You should carefully determine how to remove a wall to expand a bathroom.
Just be sure to check for wiring and pipes before you start demolishing anything! With a little bit of time and effort, you’ll have the extra space in your bathroom that you’ve always wanted.