Leveling a porch can be an intimidating task, but it is one that can easily be completed with the right tools and knowledge. Whether you are trying to repair existing damage or prevent future damage, understanding how to level a porch is key.
In this guide, we will teach you exactly how to level the porch in order to keep it safe and secure for years to come. By following these steps carefully, you can ensure that your porch remains stable and structurally sound no matter what Mother Nature throws at it!
Step-by-step Guidelines on How to Level a Porch
Step 1: Evaluate the Damage.
Before beginning any work, you must inspect the porch and determine what type of damage has occurred. This could include rot in the wood, shifting of the foundation, or erosion due to weathering.
It is important to identify exactly what type of damage has been done in order to choose the correct repair solution. You may need to call in a professional if the damage is extensive. It is also important to note that some damage may require more than one repair solution.
Step 2: Secure the Foundation.
Once you have identified the damage, it is important to secure the foundation of the porch. This can be done by adding support posts or reinforcement straps to help stabilize the area.
Depending on the extent of the damage, it may also be necessary to replace parts of the foundation itself. You should also take this time to fill in any gaps or cracks that may have developed due to shifting. That way, you can prevent further damage from occurring in the future.
Step 3: Level the Ground.
The next step in leveling a porch is to level out any uneven portions of ground that are beneath it. This can be done using a shovel and/or other landscaping tools such as rakes and hoes.
It is important to make sure that all dirt and debris are removed from underneath before continuing with any other steps. It is also important to be sure that the ground is even and level before continuing.
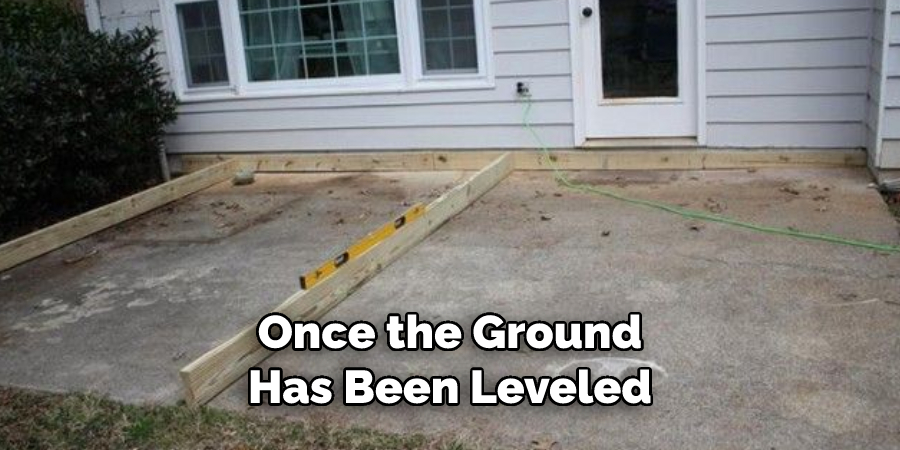
Step 4: Add Gravel.
Once the ground has been leveled, it is time to add gravel underneath the porch. This will help with drainage and ensure that the porch remains level over time. It is best to use coarse gravel when filling in the area beneath the porch as this type of material will not shift or move easily.
You should also make sure to add a layer of sand on top of the gravel before continuing, as this will help create an even surface.
Step 5: Test for Levelness.
Using a carpenter’s level, test to make sure that your porch is level from side to side and front to back. If there are any areas that are uneven, then these must be addressed before continuing with any other steps. That way, you can be sure that the porch will remain level over time. But if everything looks straight, then you can move on to the next step.
Step 6: Add Support Brackets.
If necessary, add support brackets around the perimeter of the porch in order to reinforce the structure. This will help prevent the porch from shifting or sinking over time. It is important to use the correct type and size of brackets for the job in order to ensure their effectiveness. You may also need to use additional fasteners, such as screws and nails, to help secure the brackets in place.
Step 7: Re-nail any Loose Joists.
Check for any loose joists and re-nail them securely into place using galvanized nails. This will help ensure that the structure of your porch remains strong and sturdy. If any of the joists are severely damaged or rotten, then they may need to be replaced entirely. That way, you can be sure that the porch will remain level and safe to use.
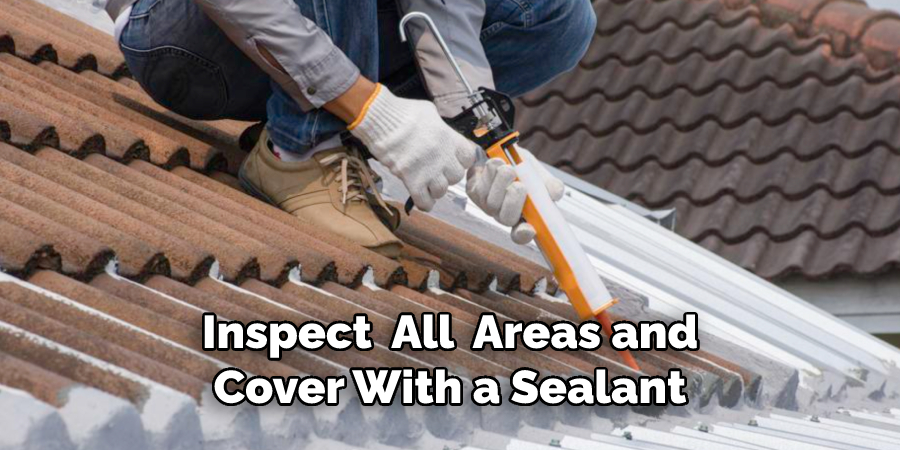
Step 8: Cover Exposed Areas with Caulk.
Inspect all exposed areas and cover them with a sealant such as a caulk in order to keep moisture out of the wood and protect it from further damage due to weathering. You should also make sure to use a sealant that is specifically designed for the outdoors in order to ensure its effectiveness. That way, your porch can be enjoyed for years to come without worrying about further damage occurring.
Step 9: Inspect the Decking Boards.
Next, inspect all of the decking boards and replace any that are split, warped, or rotten. This will help ensure that the porch remains structurally sound and safe to use.
You may also need to sand down any rough spots in order to make the surface even and safe for walking. It is important to use a sealant after replacing any boards in order to protect them from further weathering.
Step 10: Install Decking Clips.
In order to keep the decking boards secure over time, it is best to install clips underneath each board in order to lock them in place. These can be found at any home improvement store and should be used for extra reinforcement. You may also need to use additional fasteners, such as screws and nails, in order to ensure that the clips are securely attached.
Step 11: Check for Settling of Foundation Posts.
Check all of the foundation posts for signs of settling and adjust accordingly if necessary. This can easily be done by digging around the posts with a shovel and adding gravel beneath them as needed. If there are any major issues with the foundation posts, then they may need to be replaced entirely.
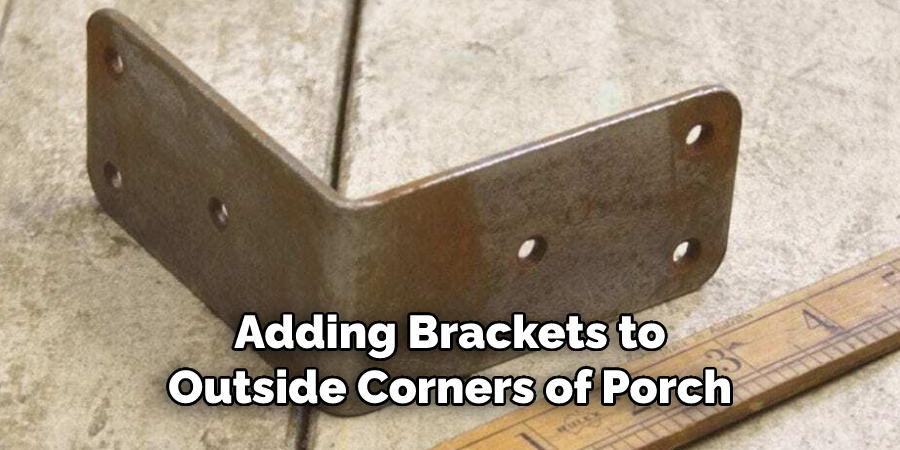
Step 12: Reinforce Corners with Brackets.
Adding brackets to the inside and outside corners of the porch can help provide extra reinforcement and stability over time. This will help ensure that your porch holds up against extreme weather conditions. You should also make sure to check the posts for signs of rot and replace them if needed.
Step 13: Apply a Weatherproof Coating.
Once all of the repairs have been completed, it is best to apply a waterproof coating over the entire surface of your porch. This will help protect the wood from further damage due to moisture or direct sunlight exposure. Remember to use a high-quality coating in order to ensure its effectiveness.
Step 14: Enjoy Your Porch!
Now that your porch has been leveled and repaired properly, you are ready to enjoy it for many years to come! Sometimes taking a little extra time and effort when making repairs can make all the difference in ensuring that your home is safe and structurally sound. This is especially true when it comes to leveling a porch. With the right tools and materials, you can easily level your porch and make sure that it lasts for many years to come. Remember to regularly inspect the structure of your porch and make repairs as needed.
By following these simple steps on how to level a porch, you can easily level a porch and ensure that it remains sturdy and stable over time. This will help protect your home from further damage caused by shifting foundation posts or uneven ground beneath the porch. With a little extra effort, you can make sure that your outdoor space is ready to enjoy for many years to come!
Frequently Asked Questions
Q: Is It Difficult to Level a Porch?
A: Not necessarily. With the right tools, materials, and instructions, you can easily level a porch on your own. However, it is important to make sure that you are taking the necessary precautions and steps in order to ensure that your porch remains structurally sound over time.
Q: How Often Should I Inspect My Porch?
A: You should check your porch regularly for any signs of damage or settling and make repairs as necessary. This will help ensure that your porch remains safe and secure for many years to come.
Q: What Should I Look For When Inspecting My Porch?
A: When inspecting your porch, you should look for any signs of damage or settling, such as cracks in the foundation or uneven decking boards. You should also check the posts for signs of rot or corrosion. If you find any of these issues, it is best to contact a professional for assistance.
Conclusion
Leveling a porch is not an overwhelming task, but it does require some attention to detail and the right tools. With our guide on how to level a porch combined with your hard work and dedication, you will be able to ensure that your outdoor space stays safe and secure for many years to come.
Remember to regularly inspect the structure of your porch for any signs of damage or settling and make repairs as needed in order to keep it structurally sound.
It is also important to apply a waterproof coating to protect the wood from further damage due to moisture or direct sunlight exposure. Now all that’s left is for you to enjoy your leveled porch! Remember to stay safe and have fun.