Welcome to our blog! If you’re looking to add a touch of elegance and charm to your home, then tongue and groove walls are the perfect solution. Not only do they provide a beautiful aesthetic, but they also offer numerous practical benefits.
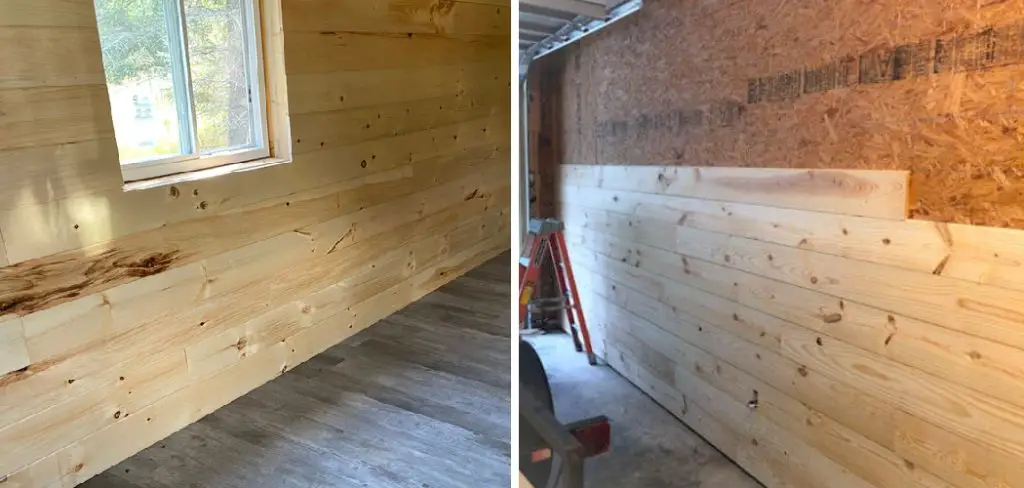
In this step-by-step guide, we will walk you through the process of how to install tongue and groove walls, whether you’re a seasoned DIY enthusiast or a novice looking to take on your first major home improvement project. From choosing the right materials to ensuring a seamless installation, we have all the tips and tricks you need to transform any room into a stunning masterpiece. So, let’s dive in and discover the art of creating stunning tongue and groove walls that will leave everyone in awe.
Tools and Materials You Will Need to Install Tongue and Groove Walls
1. Tongue and groove boards
2. Measuring tape
3. Saw (circular or table saw)
4. Nail gun or hammer and nails
5. Level
6. Wood putty
7. Sandpaper
8. Primer and paint or stain
Step-by-step Guidelines on How to Install Tongue and Groove Walls
Step 1: Measure and Cut the Boards
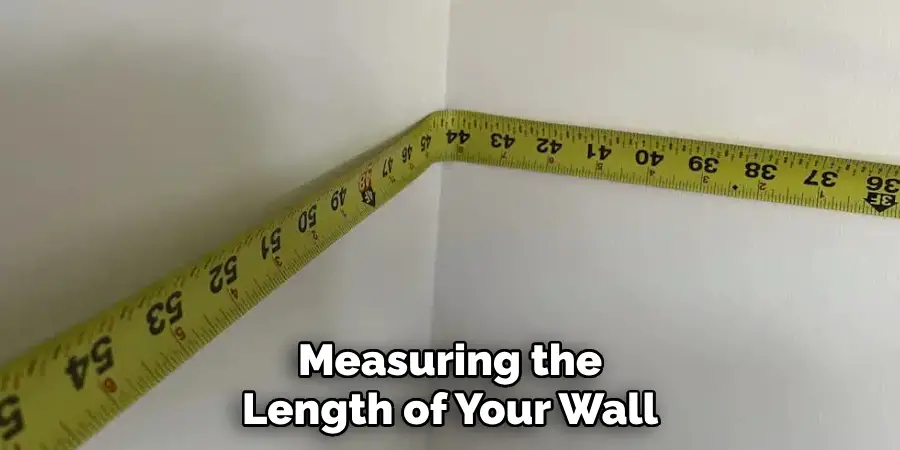
Start by measuring the length of your wall and cut each board to fit accordingly. Remember to account for any outlets or other obstacles on the wall. If you have a tongue and groove board with one side longer than the other, make sure that you are cutting it to match the pattern on your existing boards. While cutting, make sure to wear protective gear such as safety goggles and a face mask.
Step 2: Prime and Paint or Stain the Boards
Before installing the boards, it is recommended to prime and paint or stain them. This will make the installation process easier as well as protect the wood from moisture and damage. If you choose to paint, let the boards dry completely before proceeding to the next step. This is also a great opportunity to get creative and add your personal touch by choosing a unique color or finish for your tongue and groove walls.
Step 3: Start Installing from the Bottom Up
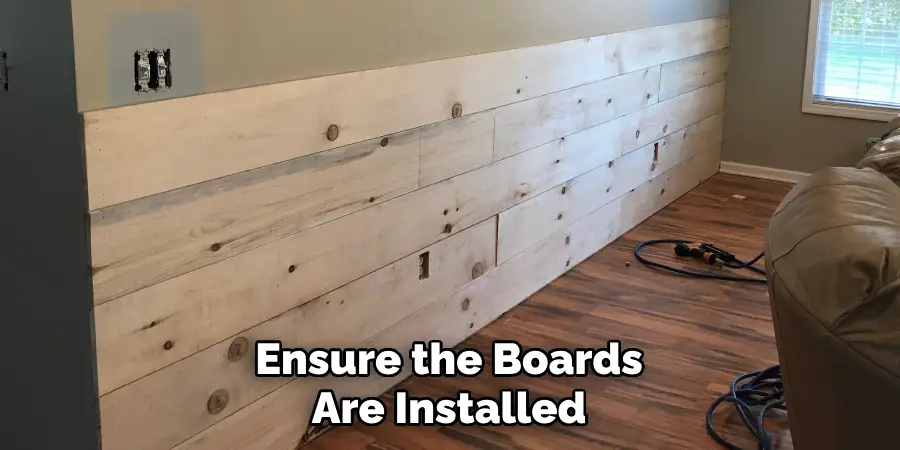
Begin by installing the first board along the bottom of the wall, with the groove facing downwards. Secure it in place using nails or a nail gun. Then, insert the tongue of the next board into the groove of the first and nail it down. Continue this process until you reach the top of the wall. If needed, use a level to ensure that the boards are straight and even.
Step 4: Cutting for Outlets and Corners
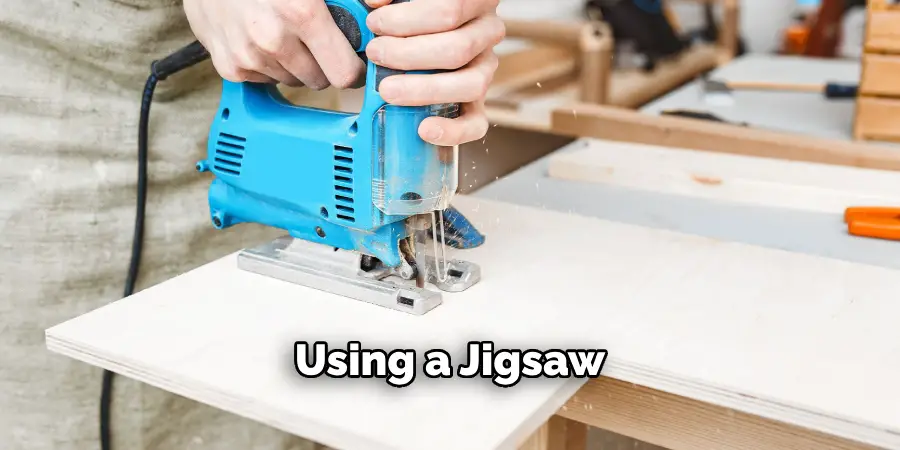
For outlets, measure and mark the location on the board before cutting out a hole using a jigsaw or keyhole saw. For corners, cut the end of one board at a 45-degree angle to create a miter joint with the next board. Continue this process for all corners. If done correctly, the boards should fit seamlessly together.
Step 5: Fill Nail Holes and Sand
Once all the boards are installed, fill in any remaining nail holes with wood putty. Let it dry completely before sanding the surface smooth. This will create a seamless finish for painting or staining. When sanding, be sure to follow the grain of the wood for a professional look. Make sure to remove any dust before proceeding to the final step.
Step 6: Finishing Touches
To complete your tongue and groove walls, apply a coat of paint or stain to the boards. This will not only make them look beautiful but also protect them from wear and tear. You can also add baseboards or crown molding for an extra touch of elegance. You now have a stunning tongue and groove wall that will be the highlight of any room!
We hope this guide has helped show you how to install tongue and groove walls. With a little bit of patience and the right tools, you can easily transform any room into a beautiful space with these elegant walls. So, go ahead and give it a try – we guarantee that the result will be worth it! Happy renovating!
Additional Tips and Tricks to Install Tongue and Groove Walls
1. If you are planning to paint the tongue and groove walls, it is recommended to do so before installation. This will save you a lot of time and effort as you won’t have to worry about getting paint on your floor or damaging the boards during installation.
2. Before installing the tongue and groove walls, make sure to acclimate the boards in the room where they will be installed. This will prevent any warping or shrinking of the boards once they are installed.
3. Use a stud finder to locate the wall studs before installing the tongue and groove walls. This will ensure that you secure the boards properly and avoid any unnecessary damage to your walls.

4. When cutting the boards, make sure to measure accurately and use a sharp saw blade to get clean and precise cuts. This will make the installation process easier and ensure a professional finish.
5. If your walls are not perfectly straight, you may need to use shims to fill in any gaps between the boards and the wall. This will help create a seamless look once the walls are installed.
6. Take extra care when attaching the final row of boards as they may need to be cut to fit. Measure and mark the boards carefully before cutting to avoid any mistakes.
7. To prevent splitting, pre-drill holes for screws or nails when attaching the tongue and groove boards. This is especially important near the end of a board or the edges.
8. Once all the boards are installed, fill in any nail or screw holes with wood filler and sand down for a smooth finish. You can also use caulk to fill in any gaps between the boards.
9. For added durability, consider applying a coat of polyurethane or wood sealant to the tongue and groove walls after installation. This will protect the boards from moisture and make them easier to clean.
10. Finally, take your time with the installation process, and don’t rush. It may take some practice to get the hang of installing tongue and groove walls, but with patience and attention to detail, you can achieve a beautiful finished look in your home.
By following these additional tips and tricks, you can ensure a successful installation of tongue and groove walls in your home. Remember to always read and follow the manufacturer’s instructions for best results. Happy renovating!
Precautions Need to Be Followed for Installing Tongue and Groove Walls
1. Before starting to install tongue and groove walls, it is important to ensure that the wall surface is clean and dry. Any dirt, dust, or moisture can affect the installation process and compromise the integrity of the walls.

2. Proper protective gear should be worn while handling tongue and groove boards as they may have sharp edges.
3. It is recommended to acclimate the tongue and groove boards to the room’s temperature and humidity for at least 48 hours before installation. This will prevent any potential warping or expansion of the boards after installation.
4. Care should be taken while transporting and handling the boards to avoid any damage or breakage.
5. It is highly recommended to use a level, straight edge, and square to ensure that the tongue and groove walls are installed straight and even.
6. The tongue and groove boards should be cut accurately to fit around any obstacles or corners in the wall. Using a jigsaw, circular saw, or table saw can help achieve precise cuts.
7. To prevent splitting of the boards during installation, pre-drill holes for nails or screws at least 1/2 inch from the end of the board.
8. It is important to use appropriate fasteners according to the type of tongue and groove boards being installed. Consult with the manufacturer’s guidelines for recommended fasteners.
Following these precautions can help ensure a successful and long-lasting installation of tongue and groove walls. Additionally, it is important to regularly inspect and maintain the walls to prevent any potential damage or issues in the future. With proper care, tongue and groove walls can add a beautiful and durable touch to any space. So go ahead and transform your walls with this classic and versatile installation technique! Happy installing!
Frequently Asked Questions
Can Tongue and Groove Walls Be Installed on Any Type of Wall Surface?
Yes, tongue and groove walls can be installed on almost any type of wall surface, including drywall, plaster, or even concrete. However, it is important to ensure that the surface is clean and dry before installation to prevent any issues with adhesion.
Do I Need Special Tools for Installing Tongue and Groove Walls?
While you don’t necessarily need specialized tools, having a jigsaw, circular saw, or table saw can help achieve more precise cuts for fitting the boards around obstacles or corners. Having a level, straight edge, and square can also help ensure the boards are installed evenly.
Can I Install Tongue and Groove Walls Myself?
Yes, tongue and groove walls can be installed as a DIY project. However, it is important to carefully follow instructions and take proper precautions to ensure a successful installation. If you are unsure or uncomfortable with the process, it is always recommended to seek professional help.
Are There Different Types of Tongue and Groove Boards Available?
Yes, there are various types of tongue and groove boards available, including solid wood, engineered wood, and vinyl. It is important to consult with the manufacturer’s guidelines for the specific type of boards being used for installation.
How Do I Finish the Tongue and Groove Walls?
Tongue and groove walls can be finished with paint, stain, or a clear protective coat. It is important to follow the manufacturer’s guidelines for recommended finishes and application methods. Additionally, it is recommended to do a small test patch before applying the finish to the entire wall.
Conclusion
The installation of tongue and groove walls is a great way to update the look of any room. While this DIY project can be intimidating, the rewards make it well worth the effort. The most important factor to consider when tackling this project is preparation and planning – making sure that you have all the necessary materials and properly measuring what you need in advance.
Take your time, don’t rush, and with just a few simple steps you can be on your way to having new tongue and groove walls. Whether you decide to paint them or leave them in their original state, you’ll appreciate the beauty of this timeless classic!
In no time at all, you’ll take pride in being able to say “I installed that!” Now that you’ve read about how to install tongue and groove walls, why not give it a try? You’ll be amazed at the transformation it makes for any room in your home!
