Do you have an old home with floors that are not quite as solid as they should be? If this is the case, chances are you have a rotted floor joist. Floor joists provide essential support for both weight and structural integrity in the home, which makes them a crucial component of any type of building or house. While it can be intimidating to attempt DIY repairs on your own home’s structure, it’s important to tackle the problem head-on so more extensive – and expensive – damage won’t rear its ugly head down the road.
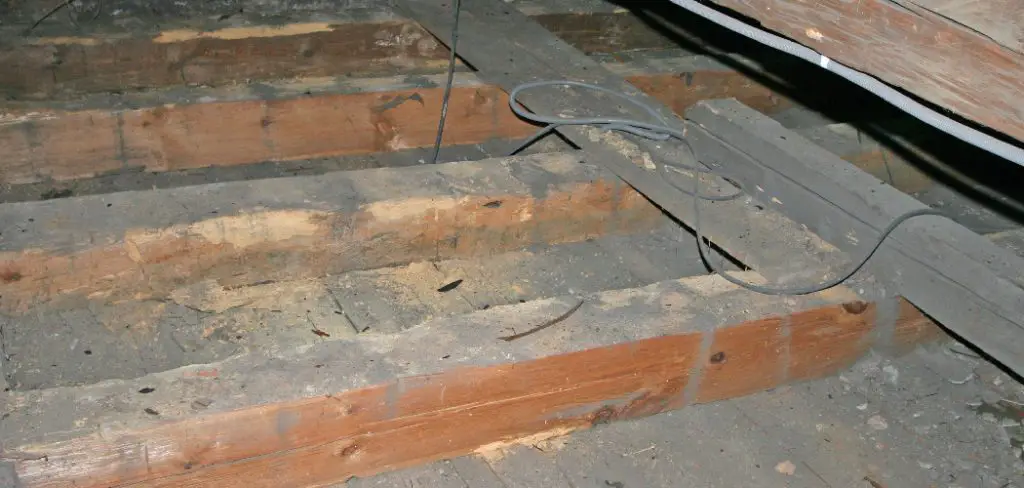
In this blog post, we’ll discuss how to fix rotted floor joist effectively and efficiently and how to identify the problem in the first place. To begin, let’s look at why a floor joist might become rotted and how to determine if you have this issue.
Tools and Materials You Will Need to Fix Rotted Floor Joist
- Hammer
- Chisel
- Pry bar
- Floor joist repair plates
- Nails
- Bolts or screws
- Wood glue
- Sandpaper/sander
Step by Step Guidelines on How to Fix Rotted Floor Joist
Step 1: Identifying the Problem
The first step in repairing a rotted floor joist is to identify the issue. The most obvious sign is a softening or sagging in the floorboards above the joist, which can be felt when you walk over it. If there are any visible signs of water damage, decay, mold, or rot, this could also indicate that your joists have been weakened and require repair.
Step 2: Removing the Old Joist
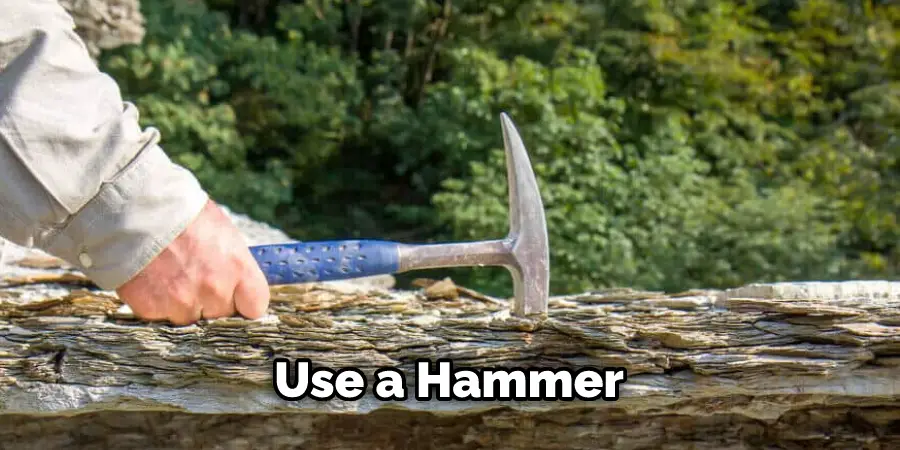
Once you’ve identified that your floor joists need to be replaced, the next step in the repair process is to remove the old joist. Using a hammer and chisel, carefully break away any nails or screws that may be holding it in place. Then, using a pry bar, lift the old joist out of the framing.
While removing the old joist, take note of any damage that may have occurred to the surrounding structure or floorboards. This will help you determine what kind of repair plates you’ll need for your new joist as well as how many nails, bolts, and screws you’ll need for the job.
Step 3: Installing the New Joist
Now that you’ve removed the old joist, it’s time to install the new one. Start by laying the repair plates along the sides of your framing. These should be flush with each side so they don’t interfere with the installation process. Once these are in place, set your new joist on top and secure it with nails or screws. After that, attach the joist securely to the repair plates with bolts or screws.
Step 4: Finishing Touches
The last step in fixing a rotted floor joist is to finish up any minor details. This may include filling any gaps between the joists with wood glue, sanding down any rough edges, or applying a sealant to prevent future damage. Once this is done, your joist should be secure and ready to support the weight of your home again!
Fixing rotted floor joists doesn’t have to be an intimidating job. With the right tools and materials, it’s actually quite simple and can save you from having to replace the entire floor. Hopefully, this guide has given you a better understanding of how to fix rotted floor joists, from identifying the issue to completing the repair process. Good luck!
Additional Tips and Tricks to Fixed Rotted Floor Joist
- If the floor joist is too weak, replace it with a new one. Before replacing, make sure to measure the length and width of the existing joist and purchase lumber that has exact same dimensions from a local home improvement store. After purchasing, cut it down to size as needed using saws or any other cutting tools.
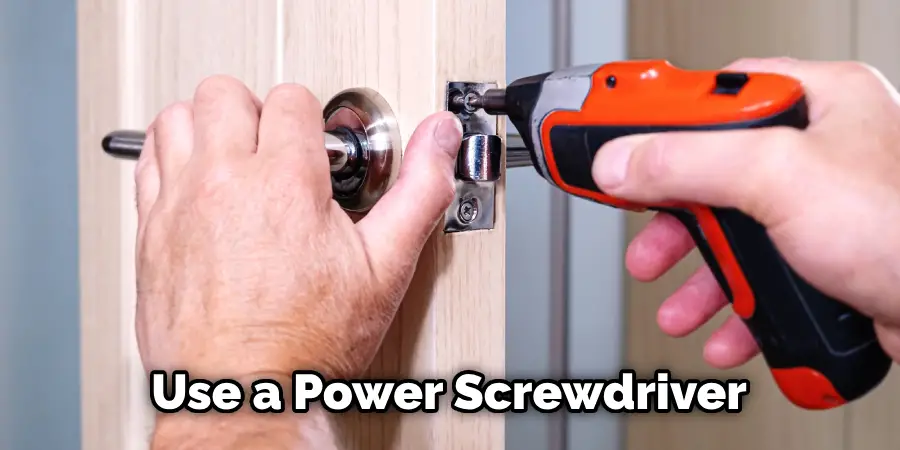
- Use a power screwdriver to secure the new joist in place and to ensure it is level with the existing floor joist. Pre-drill holes on each end of the new joist in order to secure it tightly against two other adjacent joists. This will provide additional support for the overall structure and stability of the floor joist.
- Use a hammer and chisel to remove any old or rotted wood from around the repaired area. Be sure to wear proper safety gear and follow all safety instructions when handling power tools and sharp objects for this task.
- Patch up any cracks or damaged areas with a patching compound specifically made for these types of repairs. Apply the patching compound with a putty knife and then use sandpaper to smooth out the area if necessary.
- Cover the repaired area with a sealant in order to protect it from further weather damage or water intrusion that can cause additional rot and damage. Make sure to choose a sealant that is formulated for exterior use in order to ensure it will stand up against the elements.
- If there are any other damaged or rotted areas around the house, be sure to take care of those as well in order to prevent further rot and decay from occurring. Doing this now can save you from having to do more extensive repairs in the future.
- After completing the repairs, keep an eye on the area for any signs of deterioration in order to quickly address and fix any new rot or damage that appears. Taking care of these small repairs now can save you lots of time and money in the future.
Following these tips is a surefire way to ensure your floor joist will remain strong and safe for years to come. Taking the time to repair any damage or rot quickly will save you from having to do more extensive repairs in the future. With proper maintenance and care, your floor joist can last for many years without issue.
Precautions Need to Follow for Fixing Rotted Floor Joist
- Always wear protective gear, such as gloves, goggles, and a respirator when you are working with wood rot.
- Make sure to keep the affected area clear of any furniture or stored items as you may need to access it during the repair process.
- If possible, use a reciprocating saw to remove the rotten section of wood from the floor joist. Make sure to stay as close to the original outline of the joist as possible, and then use a chisel or reciprocating saw to cut away any additional rotten wood that is around it.
- Inspect the entire area carefully for any remaining signs of rot or decay before you proceed with any repairs.
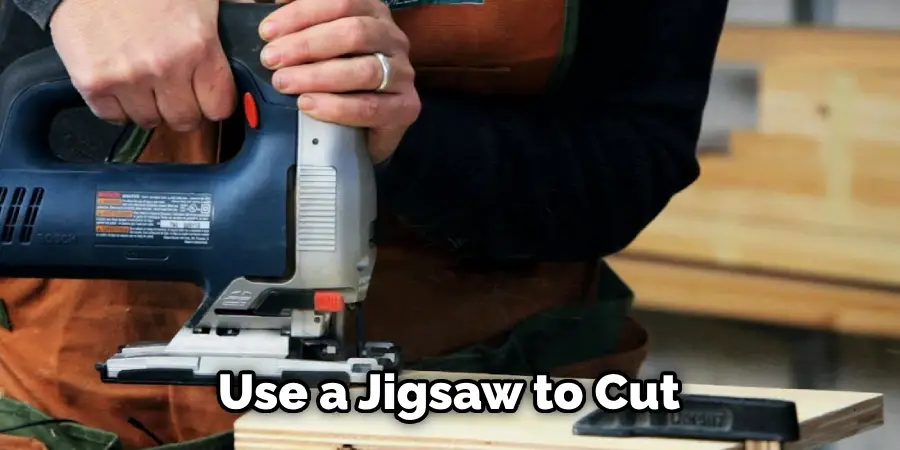
- Use a jigsaw to cut a replacement piece of wood that is the same size and shape as the original floor joist. Make sure that it fits snugly against the surrounding joists.
- Apply wood glue along the edges of the new joist before you place it in position. Secure it with either screws or nails, depending on what type of fasteners you are using.
- If necessary, use additional screws or nails to make sure that the new joist is firmly attached to the surrounding joists.
Following these precautions and steps will help ensure that the repair is successful and your floor joists are in excellent condition. If you have any questions on how to properly repair rotted floor joists, contact a professional contractor for assistance. They will be able to provide more detailed instructions and advice for your particular project.
Frequently Asked Questions
What Should I Do if I Find a Rotted Floor Joist?
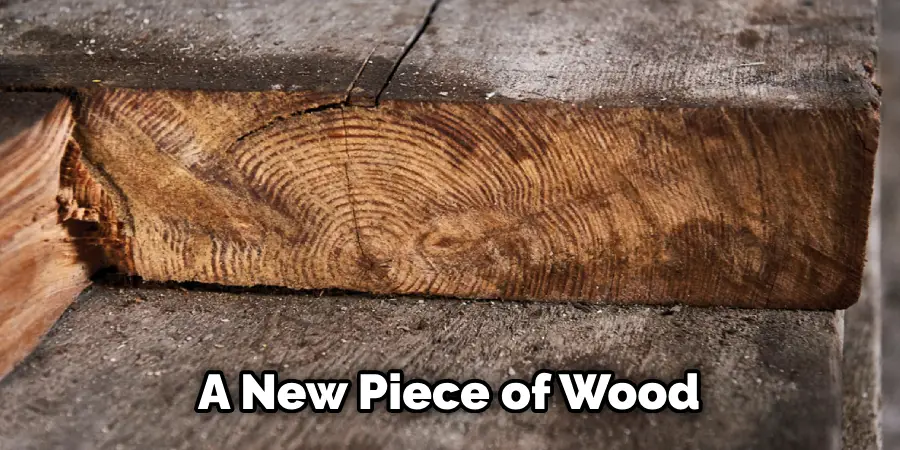
If you discover that your floor joist is rotted, it’s important to take action immediately to repair the damage. The first step is to assess the extent of the rot and make sure there are no other structural issues with your home. You will then need to replace the floor joist with a new piece of wood or structural material. Depending on the severity of the rot, you may also need to provide additional support for the joist by adding blocking and bracing.
Can I Repair a Rotted Floor Joist Instead of Replacing It?
In some cases, it may be possible to repair a rotted floor joist instead of replacing it. The extent of the damage and accompanying structural issues will determine which approach is best for your situation. If the rot has affected the inner layers but not penetrated all the way through, you may be able to inject epoxy into the affected areas and shore up the joist. However, if the rot has penetrated all the way through, you’ll need to replace it with a new piece of wood or structural material.
What Can I Do to Prevent My Floor Joists from Rotting?
Properly caring for your floor joists is key to preventing rot or other damage. Make sure that any ventilation or plumbing in the area is installed properly and that there are no leaks. Keep your home dry by checking for roof and gutter problems regularly. And, make sure to inspect your floor joists periodically for signs of damage. If you catch rot early, you’ll be able to repair it much more easily than if it has been allowed to spread.
Conclusion
Knowing how to fix rotted floor joists and how to prevent them from rotting is an important part of maintaining the structural integrity of your home. If you find rot in your floor joist, assess the extent of the damage right away and take steps to replace or repair it as soon as possible.
Additionally, make sure that any ventilation or plumbing in the area is installed correctly, and inspect your floor joists regularly for signs of damage. By taking these simple steps, you can help keep your home structurally sound and avoid costly repairs down the road.
