Welcome, siding savvy readers! Are you constantly finding large gaps in your home’s siding? Whether it be from severe weather damage or natural wear and tear, these gaps not only ruin the aesthetic of your home but can also lead to water damage, mold growth, and even pest infestations. But don’t worry, you’re not alone in this struggle.
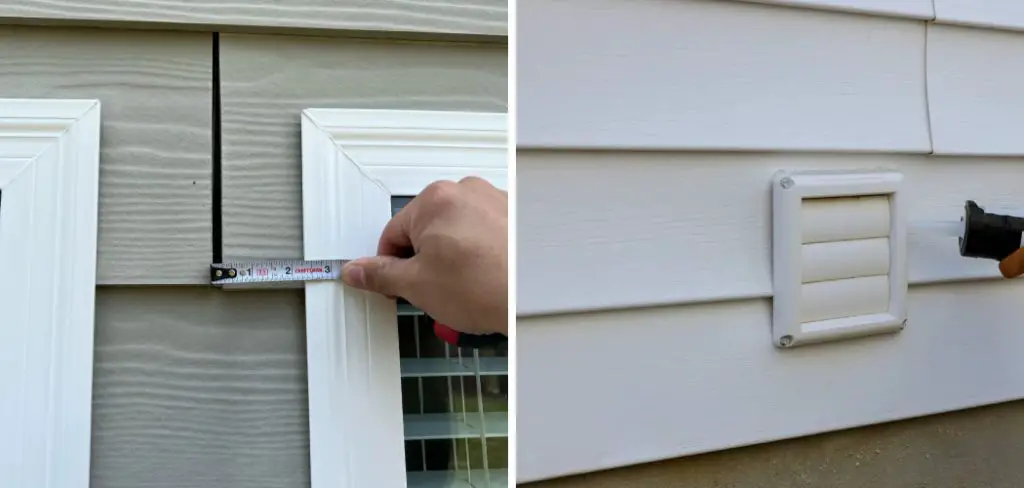
In today’s post, we will dive into the various reasons why these gaps may occur and provide practical solutions on how to fill large gaps in siding efficiently and effectively. So buckle up and get ready to learn everything there is to know about filling large gaps in siding!
9 Best Methods on How to Fill Large Gaps in Siding
1. Caulking the Gaps:
Caulking is one of the most common methods used to fill in gaps in siding. It involves using a caulk gun to apply a waterproof sealant, known as a caulk, into the gap. This method works best for small and narrow gaps, but it can also be used for larger gaps if necessary. Be sure to choose a caulk specifically designed for outdoor use and follow the manufacturer’s instructions for application.
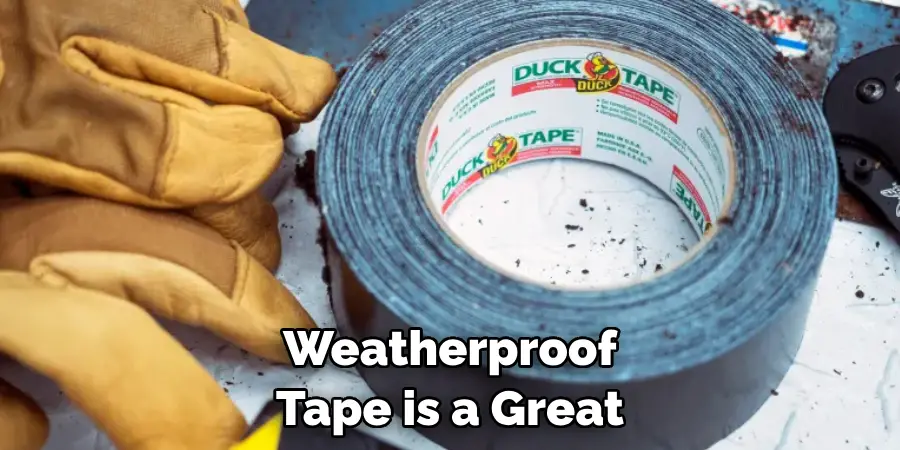
2. Weatherproof Tape:
For a quick and easy solution, weatherproof tape is a great option for filling gaps in siding. This adhesive tape is specially designed to withstand harsh weather conditions and can be applied directly to the gap without any additional tools or materials. However, keep in mind that this is a temporary fix and may not last as long as other methods.
3. Foam Backer Rod:
A foam backer rod is a flexible foam material that can be inserted into larger gaps before caulking or using weatherproof tape. This helps to create a more stable base for the caulk or tape to adhere to, resulting in a more durable and long-lasting fix. This method is best for gaps that are wider than half an inch. If the gap is even wider, multiple backer rods can be used to fill the space.
4. Wood Filler:
If your siding is made of wood, using a wood filler may be the best approach for filling large gaps. This method involves using a putty knife to push the filler into the gap and then smoothing it out until it’s level with the surrounding siding. Once dry, the filler can be sanded and painted to match the color of your siding.
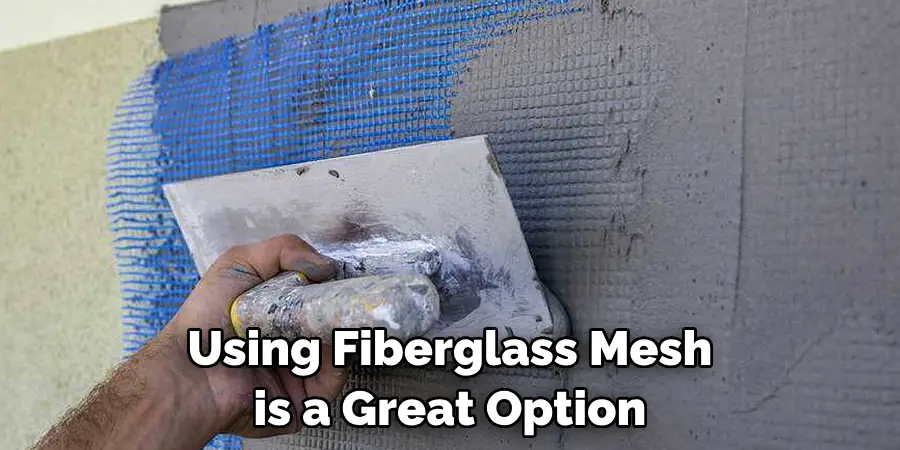
5. Fiberglass Mesh:
Fiberglass mesh is a strong and flexible material that can be cut and molded to fit into any size gap. This method involves applying an adhesive to the back of the mesh and pressing it firmly into place over the gap. Once dry, the mesh can be painted to match the surrounding siding. Using fiberglass mesh is a great option for larger gaps that require more stability and support.
6. Siding Shingles:
For those with wood or vinyl siding, using siding shingles can be an effective method for filling in large gaps. Simply cut the shingles to fit the size of the gap and secure them in place with nails or screws. This method not only fills in the gap but also adds an extra layer of protection to your siding. If needed, the shingles can also be painted to match your existing siding.
7. Siding Replacement:
If your siding is severely damaged or has multiple large gaps, it may be time for a full replacement. This method involves removing the damaged pieces of siding and replacing them with new ones. While this may require more time and money, it’s important to address the issue to prevent further damage and maintain the integrity of your home’s exterior.
8. Professional Repair:
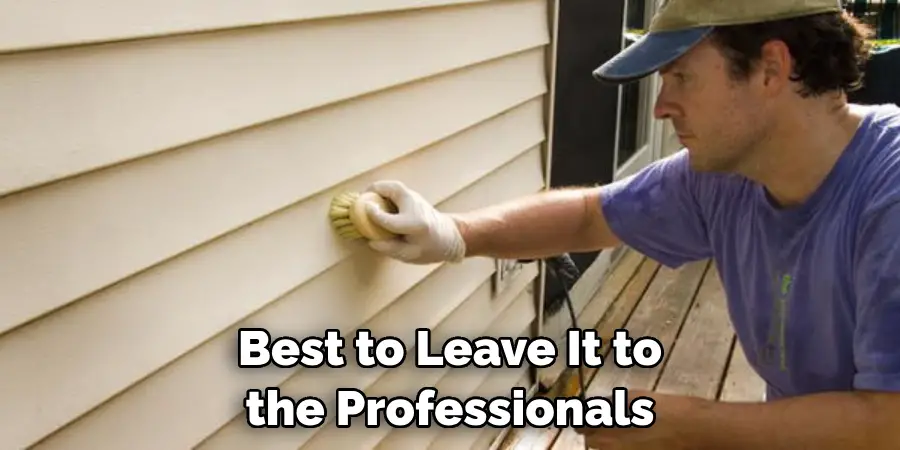
If you’re not confident in your DIY skills or your siding is made of a material that requires special tools and techniques, it’s best to leave it to the professionals. Hiring a contractor or siding specialist can ensure that the gaps are filled properly and with high-quality materials. This may be a more expensive option, but it guarantees a long-lasting and reliable fix for your siding gaps.
9. Preventative Measures:
Lastly, the best way to deal with large gaps in siding is to prevent them from occurring in the first place. Regularly inspecting your siding for any signs of damage or wear and tear can help catch and fix small gaps before they become larger and more problematic. Properly maintaining your siding, such as cleaning and sealing it regularly, can also help prolong its lifespan and prevent future gap issues.
Following these methods and taking preventative measures can help keep your siding looking great and functioning properly for years to come. Don’t let large gaps in siding bring down the overall appearance and value of your home. With these tips, you’ll be able to confidently fill those gaps and protect your home from any potential damage. Thank you for reading, and happy siding fixing!
Additional Tips and Tricks to Fill Large Gaps in Siding
- If you are filling gaps in siding that is made from wood, consider using an exterior-grade adhesive. This will help the filler adhere better and provide a stronger bond.
- For larger gaps that cannot be filled with just caulk or putty, consider using a foam backer rod before applying the filler. The backer rod helps to fill the void and provides a solid surface for the filler to adhere to.
- If you are filling gaps in vinyl siding, use a patching compound specifically designed for this material. Vinyl siding can expand and contract with temperature changes, so using a flexible compound will prevent cracking and peeling.
- Before applying any filler or caulk, make sure to clean the area thoroughly. Use a stiff brush or scraper to remove any debris or loose material from the gap. This will ensure a clean surface for the filler to adhere to.
- When filling gaps in siding, it’s important to use a waterproof filler or caulk. This will prevent water from seeping into the gaps and causing damage to the underlying structure of your home.
- If you are painting over the filled gaps, make sure to use a paintable filler or caulk. This will allow you to seamlessly blend the repair with the rest of your siding.
- For gaps that are too large to be filled with traditional methods, consider using an exterior trim board. These boards can be cut and shaped to fit any gap and provide a clean and professional-looking finish.
- It’s always a good idea to test the filler or caulk on a small area first, especially if you are using it for the first time. This will allow you to see how the material dries and if it matches your siding color before applying it to larger areas.
- If the gaps in your siding are due to structural issues, such as rotting wood or termite damage, it’s important to address these issues before filling the gaps. Otherwise, the gaps will reappear and your repairs will not last.
- Regular inspection and maintenance of your siding can help prevent large gaps from forming in the first place. Keep an eye out for any cracks or damage and make repairs as soon as possible to avoid bigger problems down the road.
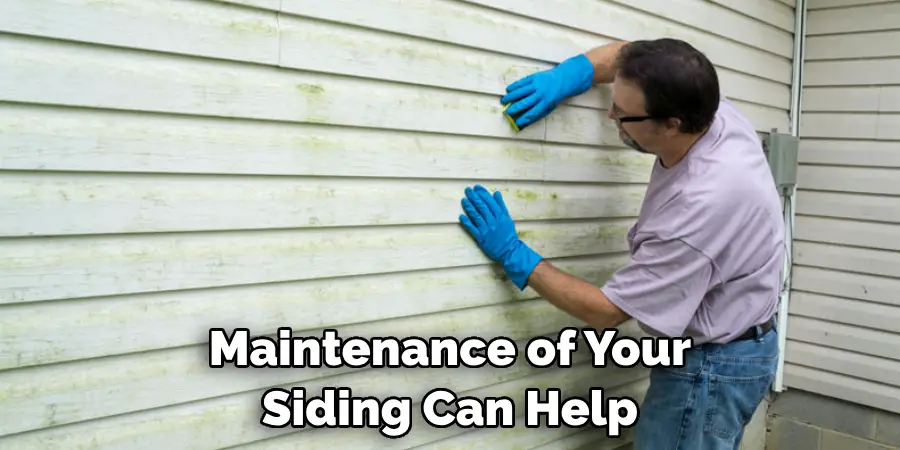
Following these additional tips and tricks can help ensure a successful and long-lasting repair of large gaps in siding. Remember to always read and follow the instructions on the filler or caulk product you are using, and don’t hesitate to seek professional help if needed.
Properly maintaining your siding can also save you time and money in the future, so make it a part of your regular home maintenance routine. So, follow these tips and tricks and keep your siding looking like new for years to come!
Frequently Asked Questions
Why Would I Need to Fill Large Gaps in My Siding?
Large gaps in siding can allow moisture, insects, and other unwanted elements into your home. These gaps can also create a drafty environment and make it difficult to properly heat or cool your home. In addition, if you are planning on selling your home in the future, filling these large gaps will help increase its curb appeal and overall value.
How Do I Prepare My Siding for Filling Gaps?
Before filling any gaps in your siding, it is important to thoroughly clean the area with a pressure washer or scrub brush and mild detergent. This will remove any dirt, debris, or loose pieces of siding that may interfere with the filling process. It is also important to allow the area to fully dry before proceeding with filling the gaps.

Can I Use Any Type of Caulk or Insulation?
No, it is important to use exterior-grade caulk or foam insulation specifically designed for outdoor use. These products are more durable and weather-resistant, making them better suited for filling gaps in siding that are exposed to the elements.
How Do I Fill the Gaps?
First, cut off the tip of the caulk or foam insulation tube at a 45-degree angle. Then, load the tube into the caulk gun and apply an even bead of product along each gap, ensuring it reaches to the back. Use a putty knife or your finger to smooth out the product and create a clean, even finish.
Is There Anything Else I Should Know?
It is important to regularly inspect your home’s siding for any new gaps that may have formed over time. This will ensure that you catch and fill any potential problem areas before they cause damage to your home. Additionally, it is recommended to reapply exterior-grade caulk or foam insulation every few years to maintain the integrity of your siding and protect against any future gaps.
Conclusion
All in all, knowing how to fill large gaps in siding is an important skill for any homeowner. By properly preparing and using the right materials, you can protect your home from potential damage and increase its overall value. Regular maintenance and inspections will also help ensure that your siding remains in good condition for years to come.
Remember, when in doubt, it is always best to consult a professional for any major repairs or installations to ensure the safety and longevity of your home. So, don’t hesitate to ask for help if needed. With proper care and maintenance, your siding will continue to provide protection and beauty for your home. Happy filling!
