Are you looking for the perfect shed for your backyard but need help to create a sturdy base? Don’t worry. We’ve got you covered!
This blog post will walk you through all the steps on how to build gravel pad for shed.
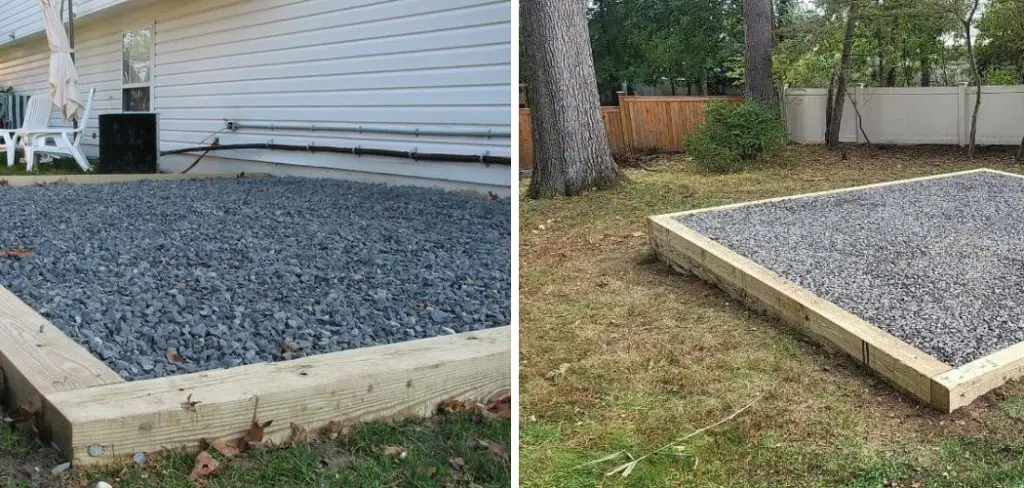
With some basic construction materials, determination, and dedication, constructing a gravel pad is an easy project for beginners. Say goodbye to stress-filled days trying to figure out how to build a foundation properly or worrying about what would happen if it collapses with time – this guide will show you how simple it can be! Plus, have no fear – plenty of tips here will ensure success in creating the optimal shed foundation.
So what are we waiting for? Let’s jump right into it and start making sure your new addition is secure and ready for use!
What Will You Need?
To start with, you will need to gather all the necessary materials. Make sure that everything is ready before beginning, as this will save time and ensure smooth construction. Here’s a list of what you’ll need:
- Gravel
- Wooden stakes
- Twine or string
- Measuring tape
- Shovel
- Hand tamper or plate compactor (optional)
- Level
- Landscaping fabric (optional)
It might seem like a long list, but most of these items can be found at your local hardware or home improvement store. Once you have everything, it’s time to get started!
10 Easy Steps on How to Build Gravel Pad for Shed
Step 1: Choose the Location
Before beginning construction on the gravel pad, pick an appropriate location for your shed. Make sure it is a flat, well-drained area that is convenient for you to access. Also, ensure that there are no underground utility lines or other obstacles.
Step 2: Measure and Mark
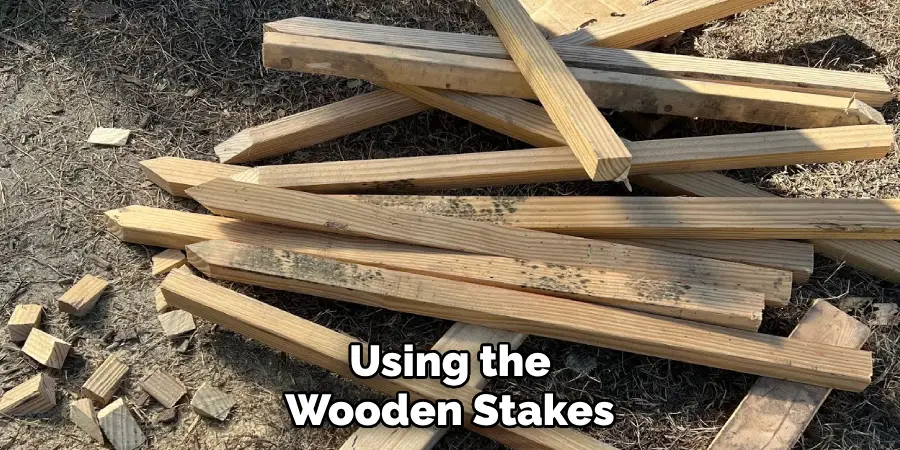
Using the wooden stakes, twine/string, and measuring tape, mark out the perimeter of your shed. This will give you an idea of how large your gravel pad should be. Make sure the corners are squared by measuring diagonally from corner to corner.
Step 3: Dig the Area
With your area marked, it’s time to start digging. Use the shovel to dig out the marked area. The depth should be around 6 inches but may vary depending on the size of the shed. Make sure the base is relatively flat and smooth. Remember that the excavated area should be slightly larger than your shed to accommodate the gravel and prevent erosion.
Step 4: Compact the Soil
Once you’ve dug the area, it’s time to compact the soil. This step is crucial as it creates a solid base for the gravel pad. You can do this by using a hand tamper or a plate compactor. Take your time in this step to ensure a strong, even base for your shed.
Step 5: Lay the Landscaping Fabric
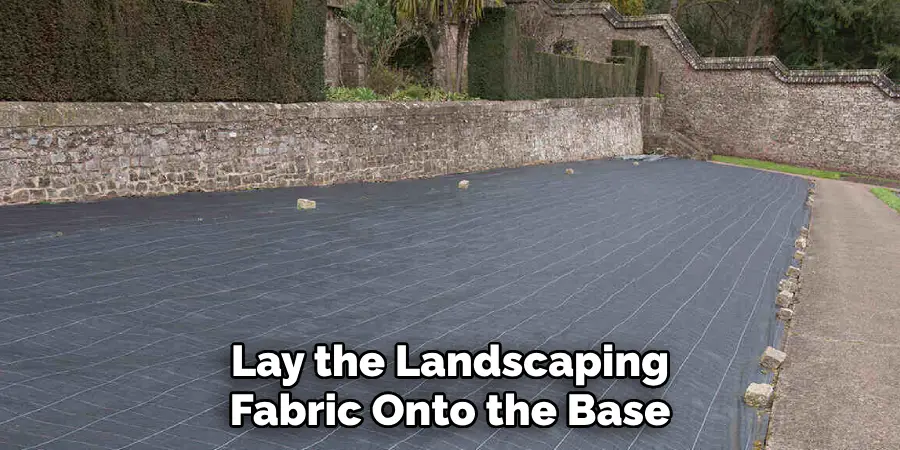
Next, lay the landscaping fabric onto the base. This step is optional but highly recommended as it prevents weeds from growing through your gravel pad. Unroll the fabric and cut it to the shape of your pad, laying it flat against the compacted soil. Ensure it covers the entire area of your base, extending a little beyond the edges to be safe.
Step 6: Add the Gravel
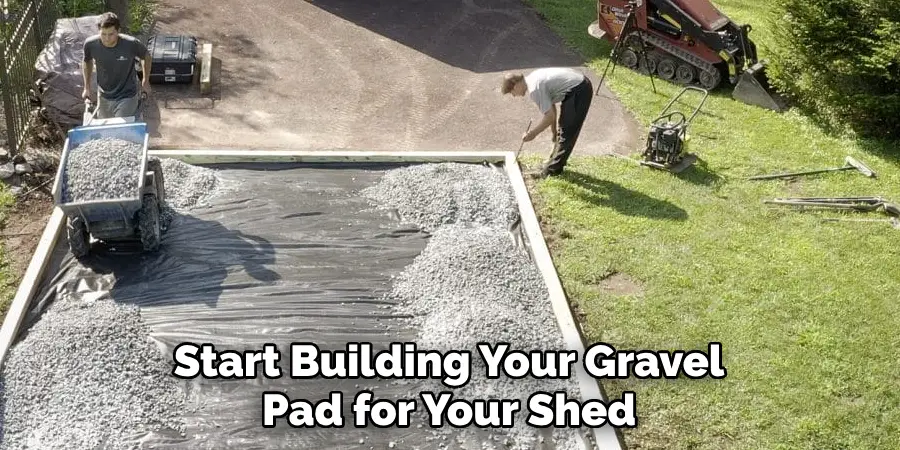
With your base ready and landscaping fabric in place, it’s time to add the gravel. Begin by dumping the gravel into the dug-out area. Use your shovel to spread it evenly across the entire base, filling it up until it’s level with the ground surrounding the area.
Be sure to leave a slight slope for water drainage. A 2-inch layer of gravel should suffice, but depending on the size of your shed and the weight it will need to support, you may need a thicker layer. It’s important to ensure an even gravel distribution for a stable foundation.
Step 7: Compact the Gravel
After you’ve added and spread the gravel, use the hand tamper or plate compactor again to compact the gravel. This will help in creating a solid, stable base for your shed. As you compact the gravel, make sure it remains level and maintains a slight slope for water drainage.
Step 8: Check for Level
Now, take the level and place it on the gravel. Check to see if your pad is level. If it isn’t, add more gravel to the low spots and compact again until you get a perfect level.
Step 9: Final Adjustments
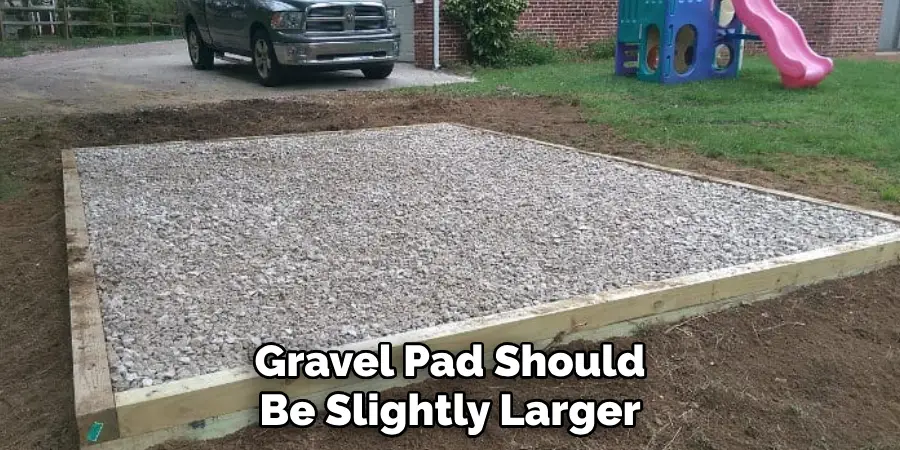
Go over the gravel pad to ensure everything is in place. Make sure it is even and that the edges are clean. The gravel pad should be slightly larger than the shed to prevent water from reaching the shed floor.
Step 10: Place Your Shed
With the gravel pad complete, it’s time to place your shed! Carefully move your shed onto the new gravel pad. Once your shed is in place, make any necessary adjustments to ensure it sits well on the gravel pad. Your shed is now ready to be used!
By following these ten easy steps, you now know how to build a gravel pad for shed. With a solid and stable base in place, your shed will last many years.
5 Additional Tips and Tricks
- Plan Ahead: Before you start your project, plan everything out. From gathering the materials to deciding on the location of the shed, having a clear plan will save you both time and resources.
- Choose High-Quality Gravel: The quality of the gravel you choose can significantly impact the longevity and durability of your shed. Opt for good quality crushed stone gravel that interlocks well and provides a sturdy foundation.
- Keep Safety in Mind: Remember, safety comes first. Always wear protective gear like gloves, safety glasses, and sturdy shoes when working on your project.
- Consider Drainage: To prevent water from pooling on your gravel pad, consider installing a French drain or adding a slight slope for improved drainage.
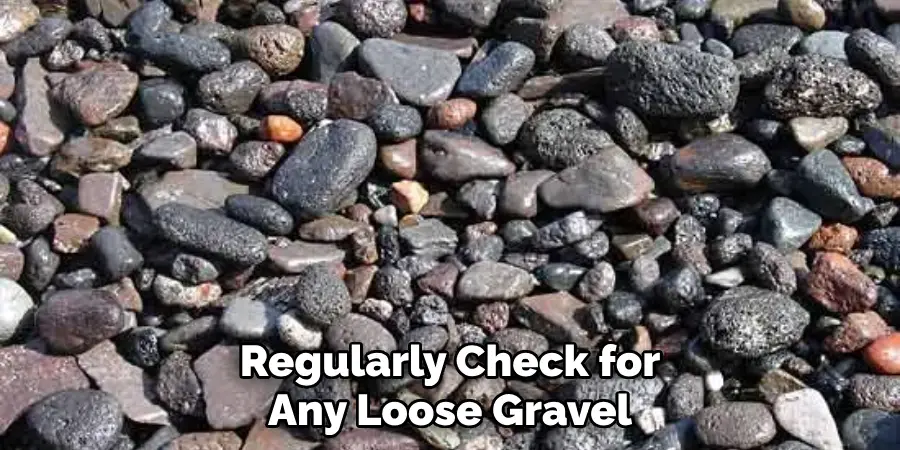
- Maintain Your Gravel Pad: While gravel pads are generally low maintenance, it’s a good idea to regularly check for any loose gravel, weeds, or sagging. Regular maintenance ensures your gravel pad remains in good shape, offering a sturdy base for your shed.
With these additional tips and tricks, you are now equipped with all the necessary knowledge to build a gravel pad for your shed successfully.
5 Things You Should Avoid
- Neglecting Local Building Codes: Always check with your local municipality to understand if any building codes or permits are required for constructing your shed. Ignoring this step can lead to legal complications down the line.
- Choosing the Wrong Location: Avoid placing your shed near large trees or in low-lying areas where water collects. The roots of the trees can interfere with the structure, and water pooling can cause the shed to rot.
- Skipping the Landscaping Fabric: While it may seem optional, avoiding landscaping fabric can lead to weed growth that can displace the gravel and destabilize your shed over time.
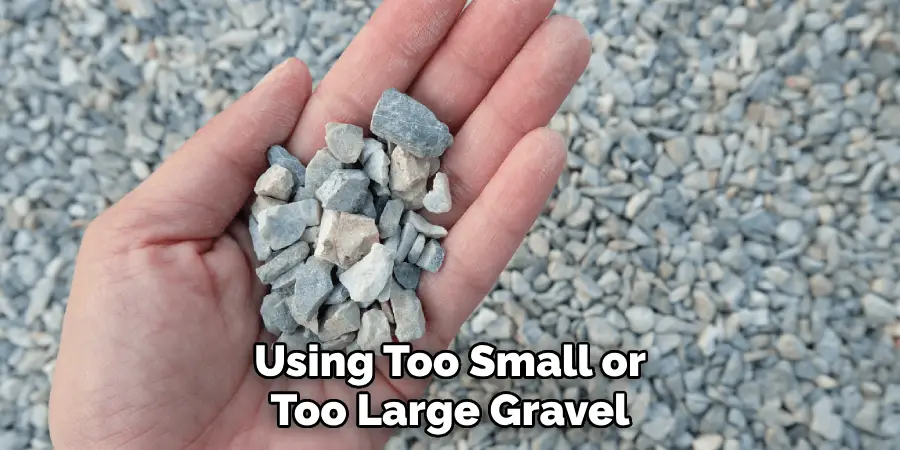
- Using the Wrong Gravel Size: Using too small or too large gravel can affect the stability of your shed. The ideal size is usually between 1/2 and 3/4 inches.
- Hastening the Compaction Process: Spending ample time compacting the dirt and gravel properly is crucial to ensure a solid, even, and stable base for your shed. Rushing through this process can lead to an unstable pad and cause the shed to shift over time.
By avoiding these common mistakes, you can ensure a successful and long-lasting gravel pad for your shed.
How to Build a Base for a Shed?
Building a gravel pad is just one of the many ways to create a base for your shed. Other popular options include concrete blocks, poured concrete, and wood platforms. Each method has its benefits and drawbacks, so it’s essential to research and choose the best option for your specific needs.
Whatever method you choose, remember to always start with proper planning and preparation for a successful project.
Building a gravel pad for your shed is a relatively simple and cost-effective option that provides a durable and stable foundation. You can create a solid base to protect your shed from water damage, shifting, or sinking with suitable materials, tools, and knowledge. So go ahead and implement these steps to build your gravel pad for your shed today!
How Deep Should a Gravel Pad Be for a Shed?
The depth of your gravel pad will depend on the size and weight of your shed. Typically, a 2-inch layer of compacted gravel is sufficient for smaller sheds. However, if you have a larger or heavier shed, increasing the depth to at least 4 inches is recommended for added stability. Always check with your local building codes, as they may have specific requirements for gravel pad depth.
Now that you have all the necessary information go ahead and start building your gravel pad for your shed. With proper planning, materials, and techniques, you can create a sturdy and long-lasting foundation that will support your shed for years.
Is Gravel Pad Better Than Concrete for Shed?
The answer to whether a gravel pad is better than concrete for a shed depends on several factors. Gravel pads offer advantages over concrete, such as being more cost-effective and easier to install. They also allow for better drainage and can be adjusted if needed.
However, concrete has its benefits, including longevity and stability. It’s also less susceptible to shifting or settling over time.
Choosing between a gravel pad or concrete for your shed will depend on your specific needs and preferences. Consider factors such as budget, location, and desired level of stability before making your decision.
Building a gravel pad for your shed is a relatively straightforward process that can save you time and money in the long run. With proper preparation and execution, you can create a sturdy and stable foundation that will support your shed for years. Remember to plan, follow safety protocols, and regularly maintain your gravel pad to ensure optimal performance.
Conclusion
In conclusion, a gravel shed base is the perfect foundation for your shed. Not only will it stave off erosion and water damage, but it’s also more affordable than pouring a concrete slab. To build your gravel pad, first clear the dirt and grass area, remove any large stones or other debris, and level the base if there are any dips or rises.
Next, construct a retaining wall around the perimeter of your gravel bed. After that, you can fill the area with 4-6 inches of crushed stone. Finally, use a compactor to tamp down the surface layer to ensure maximum stability and drainage for your shed.
Taking all these steps on how to build gravel pad for shed will guarantee you have an easy-to-install and sturdy foundation ready for your shed! So get started today and get that garden shed built in no time!
