Have you ever looked up at the roof of your home or business and wondered what it would take to replace or repair it yourself? EPDM roofing is a versatile and durable roofing material that is a popular choice for flat or low-sloped roofs. While installing an EPDM roof may seem like an intimidating project, taking it step-by-step and with the right materials and tools makes it very achievable for ambitious DIY home and building owners.
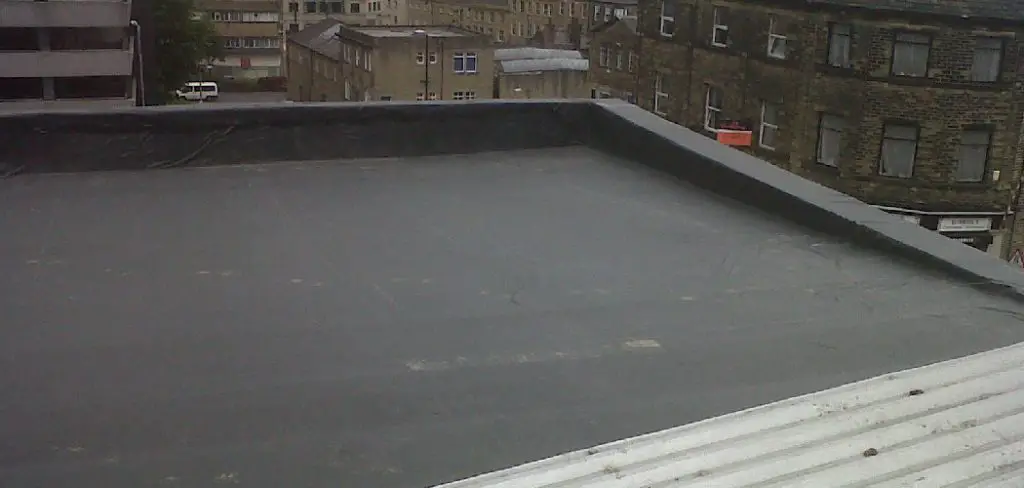
In this blog post, I will walk through the entire process of how to build EPDM roofing – from preparing the roof deck to applying seam sealant and termination bar. By following along with the detailed steps and photos, you’ll be confidently completing your own long-lasting EPDM roof in no time. Let’s get started!
Why May You Want to Build EPDM Roofing?
1 . To Save Money
Building EPDM roofing can be a cost-effective solution for those looking to save money on their roof. This is because EPDM (ethylene propylene diene monomer) is often less expensive than other options such as built-up roofing, metal roofs or other types of rubber roofs. Additionally, EPDM can have a longer lifespan compared to asphalt shingles, meaning you may not have to replace it as often and can further save money in the long run.
2 . To Protect Your Roof
EPDM is a durable material that provides excellent protection against harsh weather conditions, UV radiation and other environmental factors. Building EPDM roofing can help extend the life of your roof by acting as a barrier between your roof and these external elements. This can also be beneficial in reducing the risk of leaks and water damage, which can often occur with other roofing materials.
3 . To Reduce Maintenance Costs
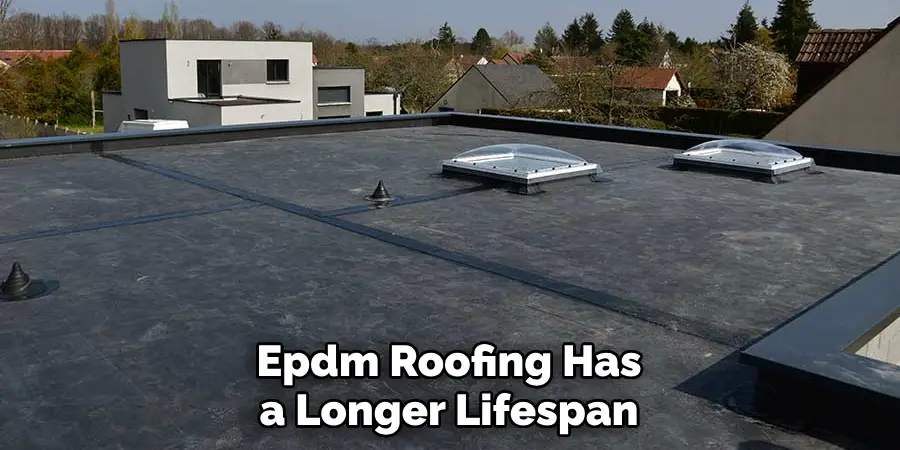
As mentioned previously, EPDM roofing has a longer lifespan compared to other types of roofing materials. This means that you may not need to spend as much on maintenance and repairs over the years. Additionally, EPDM is relatively low-maintenance, requiring minimal upkeep to keep it in good condition. This can help save you time and money in the long run.
4 . To Improve Energy Efficiency
EPDM roofing has excellent insulation properties, which can help improve the overall energy efficiency of your building. By building EPDM roofing, you can reduce heat loss during colder months and prevent heat from entering your building during warmer months. This can lead to lower energy bills and a more comfortable living or working environment.
5 . To Contribute to Environmental Sustainability
EPDM roofing is made from a synthetic rubber material that is both durable and recyclable. Building EPDM roofing not only provides a long-lasting solution for your roof but also helps reduce waste in landfills. Additionally, the energy efficiency of EPDM can also contribute to reducing your carbon footprint and promoting environmental sustainability.
How to Build EPDM Roofing in 5 Easy Steps
Step 1: Gather All Necessary Materials
Before starting your project, make sure you have all the necessary tools and materials. This will save you time and minimize any delays during the construction process. You will need:
- EPDM membrane (enough to cover your roof)
- Adhesive or double-sided tape
- Scissors or utility knife
- Primer
- Water-based adhesive seam primer (if installing seams)
- Seam roller
- EPDM flashing tape
- Roofing rollers or squeegees
- Chalk line for marking
Step 2: Measure and Prepare the Surface
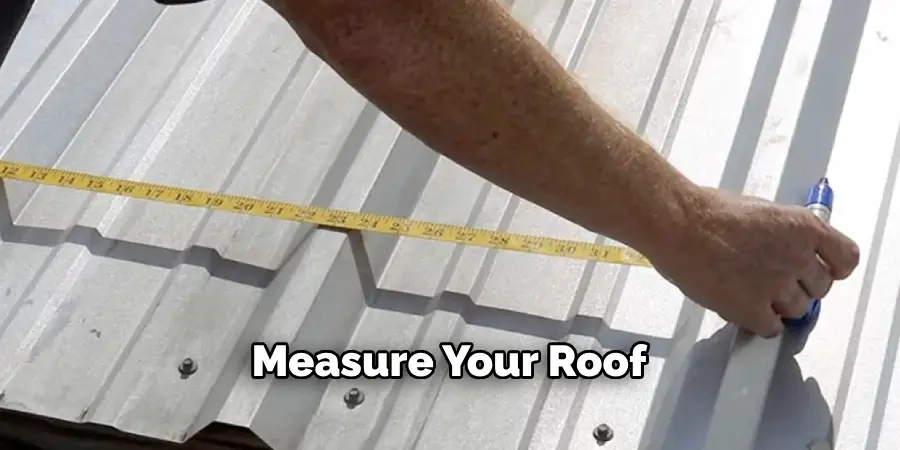
Carefully measure your roof to determine how much membrane you will need. Remember to add extra material for overlaps and edges. If your roof has any protrusions such as vents or chimneys, you will need to account for those as well. Once you have your measurements, clean and prepare the surface by removing any debris, dirt, or old roofing material.
Step 3: Install EPDM Membrane
Unroll the membrane onto your roof and position it carefully, ensuring proper alignment and overhangs on all edges. If your roof has seams, use a water-based adhesive seam primer to prepare the edges. Apply adhesive or double-sided tape along the edges and seams, following the manufacturer’s instructions. Use a seam roller to firmly press down on the edges for a secure bond.
Step 4: Secure Seams and Edges
If you are using EPDM flashing tape, apply it over any seams or edges for added protection. Use a roofing roller or squeegee to smooth out any air bubbles and ensure proper adhesion. Trim off any excess material with scissors or a utility knife.
Step 5: Finishing Touches
Lastly, use a chalk line to mark the desired overhangs on all edges of the roof. Then, trim off any excess material along the edges with scissors or a utility knife. If you have any protrusions, use flashing tape to seal them and ensure a watertight seal. Allow the adhesive to cure according to the manufacturer’s instructions before using your new EPDM roof.
Some Extra Tips to Build EPDM Roofing
1 . Do Not Rush
Make sure that you don’t rush through the installation process, as it can lead to mistakes and ultimately result in a faulty roofing system. Take your time to properly measure and cut the EPDM membrane, ensuring accuracy and precision.
2 . Use Proper Tools
To build EPDM roofing, you will need specialized tools such as a roller, seam tape, and adhesive. Using the correct tools will not only make the installation process easier but also ensure that the roofing system is installed correctly.
3 . Keep an Eye on Weather Conditions
EPDM roofing should ideally be installed in dry and mild weather conditions. If possible, avoid installing it during extreme temperatures or high winds, as this can affect the adhesion of the membrane and result in an incomplete roofing system.
4 . Clean the Surface Properly
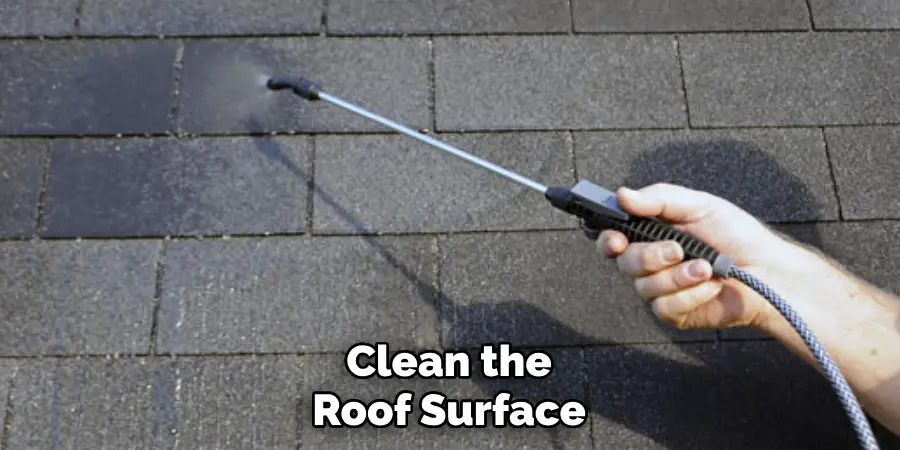
Before installing EPDM roofing, make sure to clean the roof surface thoroughly and remove any debris or dirt. This will help ensure proper adhesion of the membrane and prevent any potential issues in the future.
5 . Consider Professional Help
While building EPDM roofing can be a DIY project, it is always recommended to seek professional help for larger roofing projects. This will ensure that the installation process is done correctly and reduce the risk of any future problems with your roofing system.
Frequently Asked Questions
What Precautions Should I Take When Building EPDM Roofing?
When building EPDM roofing, it is important to take certain precautions to ensure a successful and durable installation. These precautions include:
- Properly preparing the roof surface before installing the EPDM membrane. This includes cleaning and priming the surface as directed by the manufacturer.
- Make sure all seams and flashing are properly installed and sealed to prevent water from seeping through.
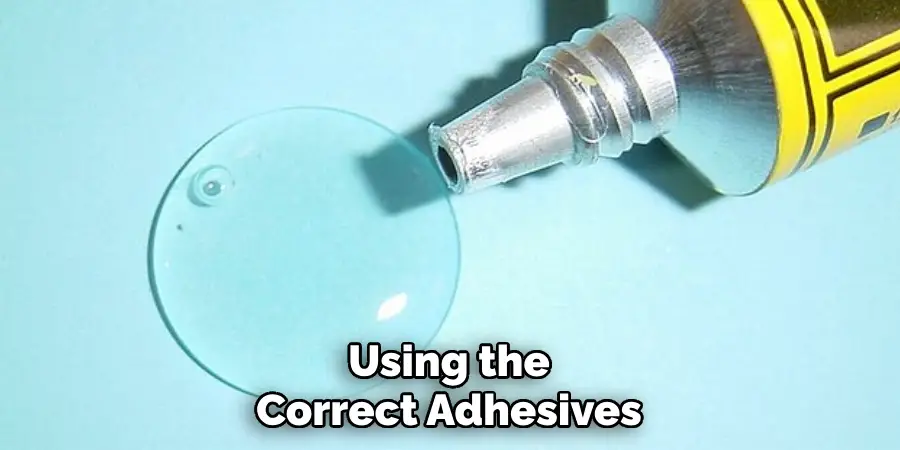
- Using the correct adhesives and sealants recommended by the manufacturer for EPDM roofing.
- Avoid installation during extreme weather conditions, such as high winds or temperatures below 40°F (4°C).
- Following all safety guidelines when working on a roof, including using fall protection equipment and having a trained professional supervise the installation.
How Can I Ensure the Longevity of My EPDM Roofing?
EPDM roofing has a lifespan of 20-30 years if installed and maintained properly. To ensure the longevity of your EPDM roofing, you should:
- Regularly inspect and clean the roof to remove any debris or potential sources of damage.
- Address any repairs or issues promptly to prevent further damage.
- Keep an eye out for signs of wear and tear, such as cracks or tears in the membrane, and address them immediately.
- Follow the manufacturer’s recommended maintenance schedule, which may include reapplying primers or sealants every few years.
Can I Install EPDM Roofing Myself?
While many homeowners may feel tempted to save money by installing EPDM roofing themselves, it is not recommended. EPDM roofing requires specific knowledge and techniques to properly install, such as ensuring proper seam and flashing installation. Improper installation can lead to leaks, early roof failure, and potential safety hazards. It is best to hire a trained professional with experience in EPDM roofing installation for the best results.
What Are the Advantages of EPDM Roofing?
EPDM roofing has several advantages over other types of roofing materials, including:
- Durability: EPDM roofing has a long lifespan and can withstand extreme weather conditions.
- Cost-effective: EPDM roofing is relatively affordable compared to other types of roofs, making it a popular choice for budget-conscious homeowners.
- Easy Maintenance: As mentioned before, regular inspections and maintenance can help prolong the life of EPDM roofing.
- Leak-resistant: When installed properly, EPDM roofing has few seams and is highly resistant to leaks.
- Energy-efficient: EPDM roofing’s dark color helps absorb heat, reducing energy costs in colder climates. It also reflects sunlight, keeping buildings cooler in warmer climates.
Conclusion
Now you know how to build EPDM roofing. By following these tips, you can ensure that your EPDM roofing system is installed correctly and will last for many years to come. Remember to take your time, use proper tools, and keep an eye on weather conditions for a successful installation process. And if in doubt, always seek professional help to avoid any potential issues with your roofing system. Happy building!
