If you’re looking for a fast and reliable way to mount heavy objects on the walls of your home or workspace, drop-in anchors are an ideal solution.
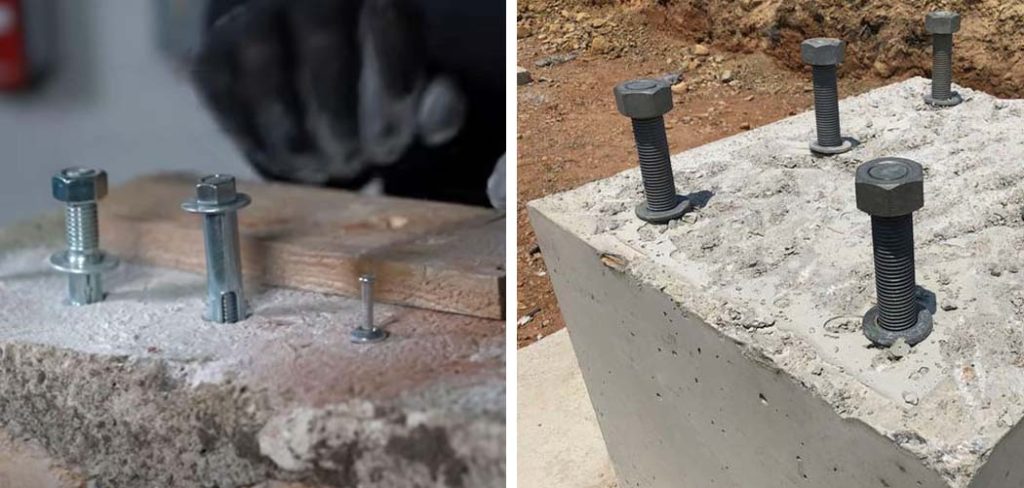
These versatile fasteners provide strong holding power, long-lasting durability, and easy installation – perfect for projects requiring secure placements in concrete blocks, masonry stones, inch or thicker wooden structures, and more.
In this blog post, we’ll explore how to use drop in anchors safely and effectively. From when they should be used over other methods all the way through to eventual removal techniques – read on below and follow our step-by-step guide to ensure exceptional results every time!
Do You Need a Setting Tool for a Drop in Anchor?
The setting tool is not necessary for drop-in anchors, as they are designed to be driven into the wall with a hammer or mallet. However, if you do want to use a setting tool, you should choose one specifically designed for the type of anchor that you’re installing.
Setting tools provide added accuracy and consistency when driving the anchor into the wall and can be especially useful for situations where precision is important. If you’re installing drop-in anchors, make sure that you purchase a setting tool that is compatible with the anchor.
It’s also important to use the right size tool for the job, as too big of a setting tool may damage or distort the anchor, while too small of a tool will not drive it all the way in.
When using your setting tool, ensure that it is parallel with the surface so that it drives straight into the wall. This helps to ensure maximum holding power when installing any type of masonry fastener. Make sure to adjust your drill speed and depth according to manufacturer instructions before driving in each anchor.
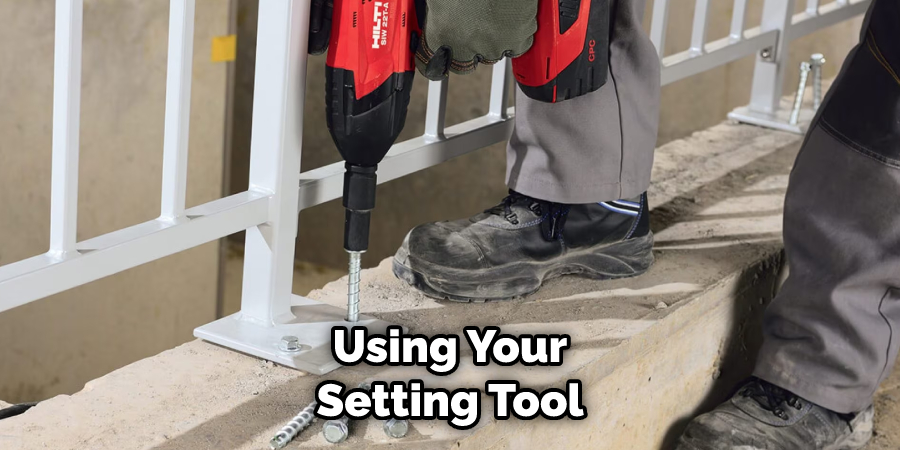
Use firm pressure when setting the anchors, but be careful not to over-tighten them, as this can damage the anchor.
If you decide that a setting tool isn’t necessary for your project, make sure that you follow proper safety protocols when driving in drop-in anchors with a hammer or mallet. Wear protective eyewear and gloves to protect yourself from flying debris, and use a piece of scrap wood to protect the surface of the wall from being damaged.
10 Methods How to Use Drop in Anchors
1. Determine the Size and Depth of the Drop-in Anchor
Before using a drop-in anchor, it’s essential to determine the size and depth of the anchor you need. This will depend on the size and weight of the object you’re anchoring, as well as the type of concrete or masonry surface you’re working with.
Drop-in anchors come in a range of sizes and depths, so it’s essential to choose the right one for your specific application. If the anchor is too shallow, it won’t provide enough grip and support for the object you’re anchoring. If the anchor is too deep, it could damage the masonry surface.
2. Drill a Hole in the Concrete or Masonry Surface
Once you have determined the size and depth of the drop-in anchor you need, the next step is to drill a hole in the concrete or masonry surface. Use a hammer drill with a masonry bit that matches the size of the anchor you are using.
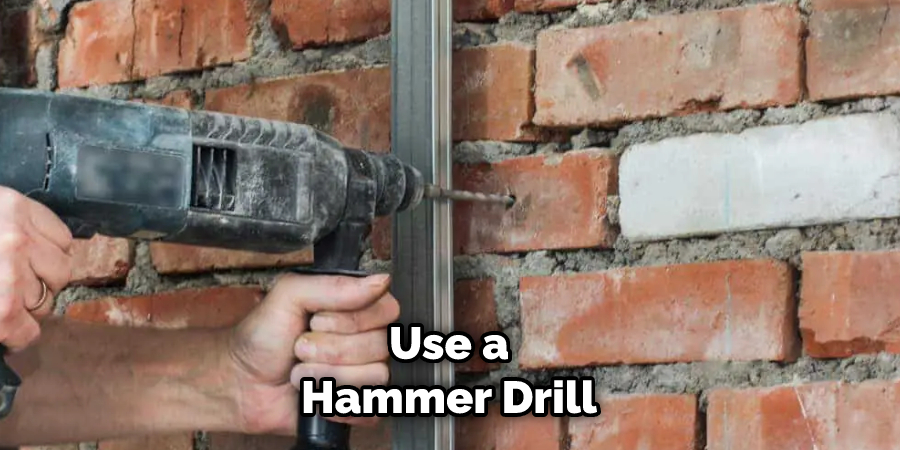
Make sure to drill the hole to the correct depth and remove any debris from the hole. Be sure to wear safety glasses and a dust mask while drilling. If necessary, use an anchor setting tool to make sure the hole is the correct size and depth. However, if you are using a drop-in concrete anchor with an expansion shield, you will not need to use such a tool.
3. Insert the Drop-in Anchor into the Hole
Once the hole is drilled, you can insert the drop-in anchor into the hole. Tap the anchor into place with a hammer until it is flush with the surface of the concrete or masonry. Make sure the anchor is seated firmly in the hole.
While tapping the anchor into place, be sure to keep it in a straight and even position so that it is inserted evenly. To ensure it is secure, use a level to make sure the anchor is flush with the surface and that the hole was drilled correctly. Once you are satisfied with the anchor’s positioning, you can move on to the next step.
4. Insert the Bolt or Screw into the Anchor
After the drop-in anchor is in place, you can insert the bolt or screw into the anchor. Make sure the threads of the bolt or screw match those of the anchor. Tighten the bolt or screw until it is secure. Check periodically to ensure that the anchor remains secure.
Once the anchor and bolt or screw are in place, you’re ready to move on to the next step in your project. Although this is a relatively simple process, it’s important to follow the steps correctly to ensure that your project is successful. With a drop-in anchor, you can ensure a secure and reliable connection that will last for years.
5. Use a Setting Tool to Set the Anchor
For added security, you can use a setting tool to set the drop-in anchor in place. This is especially useful for heavy-duty applications where a strong and reliable anchor is required. Insert the setting tool into the anchor and tap it with a hammer until the anchor is fully set.
Be sure to wear safety glasses when hammering the setting tool. Once the anchor is set, you can begin installing your fixtures and hardware. Though not necessary for all applications, the setting tool provides added peace of mind and extra security when working with heavier anchors.
6. Use a Washer with the Bolt or Screw
When using drop-in anchors with bolts or screws, it’s important to use a washer to distribute the load evenly across the surface of the anchor. This will help prevent the anchor from pulling out or becoming loose over time.
Washers also help to protect the surface of the material from any damage that could be caused by the bolt or screw.
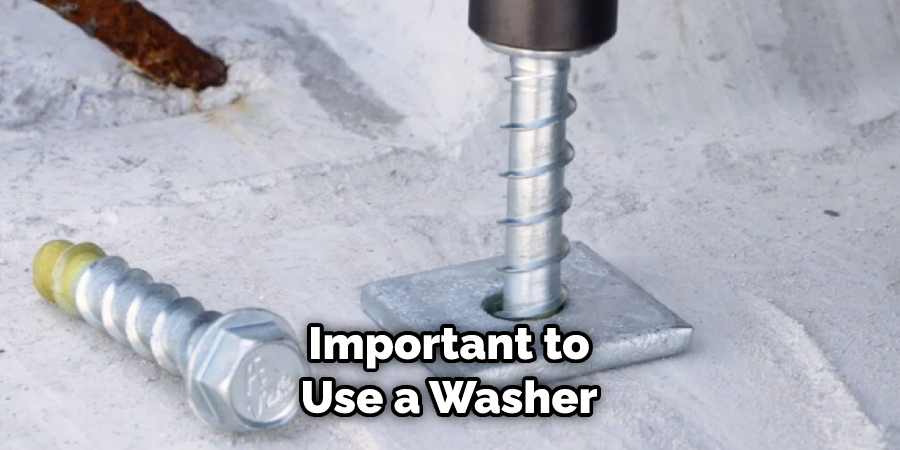
Be sure to use a washer that is the same size as the bolt or screw being used. Once the anchor is in place, insert the bolt or screw into it and tighten it as necessary. However, be careful not to over-tighten the bolt or screw and damage the anchor.
7. Use for Overhead Applications
Drop-in anchors are ideal for overhead applications where a reliable and secure anchor is essential. When using drop-in anchors for overhead applications, make sure to use a strong and sturdy anchor that is designed for this type of use.
Additionally, make sure to use the appropriate size anchor for the type and size of substrate you are attaching it to.
Always check manufacturer guidelines before installing an overhead application. Once the anchor is installed, make sure to attach a beam clamp or other heavy-duty connection device with appropriate grade fasteners for maximum safety.
With proper installation and use, drop-in anchors can provide a reliable and secure overhead anchor without the need for additional support or reinforcement.
8. Use in High-Temperature Environments
Drop-in anchors are also suitable for use in high-temperature environments, such as ovens or furnaces. Choose an anchor that is designed to withstand high temperatures and follow the manufacturer’s instructions for use.
Be sure to always wear safety goggles and protective clothing when working with drop-in anchors in high temperatures. When installing, be sure to allow adequate spacing between the anchor and any nearby combustible materials.
Lastly, be sure to completely follow safety measures when working with drop-in anchors in high temperatures.
9. Use for Suspended Ceiling Installations
Drop-in anchors are also commonly used for suspended ceiling installations. They provide a reliable and secure way to anchor the ceiling grid to the concrete or masonry surface.
Make sure to choose an anchor that is designed for this type of use and follow the manufacturer’s instructions for installation. Be sure to use the appropriate drill bit size and depth when drilling into the concrete or masonry surface.
10. Use for Heavy-Duty Applications
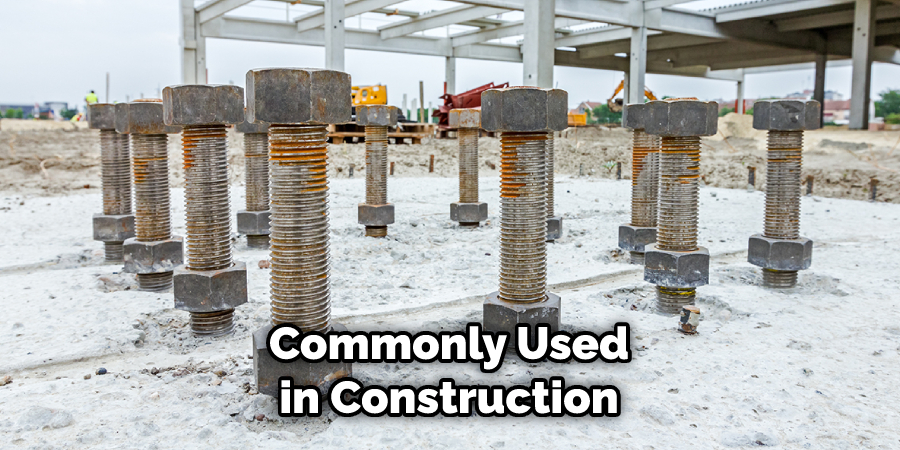
Finally, drop-in anchors are ideal for heavy-duty applications where a strong and reliable anchor is required. They are commonly used in construction and industrial applications, such as anchoring heavy machinery or equipment. Make sure to choose an anchor that is designed for the specific application and follow the manufacturer’s instructions for installation.
Conclusion
Drop-in anchors are a great way to simplify complex tasks and make your job easier. Not only do they save you time and energy, they also help create a more efficient work environment. Moreover, they can be used with many different tools and applications, making them highly versatile and accessible.
With their various features, including easy anchoring, fast installation, enhanced safety, and greater control while working at heights, drop-in anchors offer several advantages over traditional anchor systems. Hopefully, this article gave you some helpful tips about how to use drop in anchors successfully, so now that you have the proper knowledge on how to get the job done, why not give it a try today?
