Are you looking to give your home a new and updated look without the significant expense of completely retiling?
How to tile over drywall can seem daunting, but with the proper preparation and techniques, it can be a rewarding DIY project that transforms any room. Whether renovating a kitchen backsplash or updating a bathroom wall, tiling directly onto drywall is achievable with some basic tools and materials.
It’s crucial to ensure the drywall is clean, dry, and in good condition to provide a stable foundation for the tiles. Additionally, proper planning and layout are essential to achieve a professional-looking finish.
This guide will walk you through the necessary steps to prepare the surface, choose the right adhesive, and successfully apply your tiles for a beautiful and durable result.

What Will You Need
Before starting your project, gathering all the necessary materials and tools is important. Here’s a list of what you’ll need:
- Tiles: Choose the type, size, and color of tiles that best suit your design and space.
- Thinset Adhesive: This is used to bond the tiles to the drywall.
- Notched Trowel: A notched trowel helps spread the thinset evenly on the drywall surface.
- Grout: Grout fills in the gaps between tiles and provides a finished look.
- Tile Spacers: These are small plastic pieces that help keep an even gap between tiles for a professional finish.
- Level: To ensure your tiles are straight and even.
- Tile Cutter or Wet Saw: Depending on the type of tile you choose, you may need either a manual tile cutter or a wet saw to cut tiles to fit around edges and corners.
- Sponge and Bucket: To clean up any excess grout during installation.
- Primer: If your drywall is not sealed, using a primer will help the adhesive bond better.
Once you have all your materials, it’s time to prepare the drywall for tiling.
9 Easy Steps on How to Tile Over Drywall
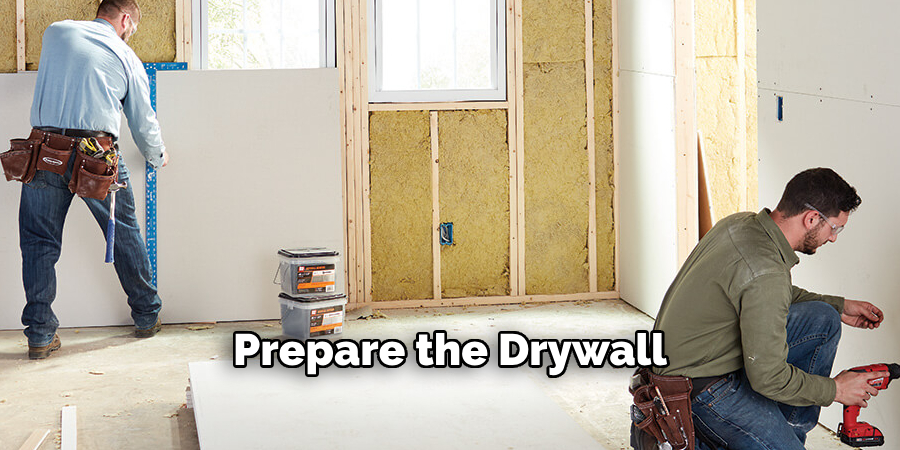
Step 1: Prepare the Drywall
Begin by thoroughly inspecting the drywall surface you intend to tile over. The drywall must be clean, dry, and without any damage, as this will ensure a strong bond between the surface and the tiles. Clean the drywall with a mild detergent solution to remove any dust, grease, or dirt that could interfere with adhesion. After cleaning, allow the drywall to dry completely.
Check for any holes, cracks, or other imperfections in the drywall; these must be repaired before proceeding. Use a joint compound or spackle to fill in any gaps or imperfections, applying it smoothly and evenly. Once the repairs have dried, sand the surface lightly to ensure smoothness.
If your drywall has been previously painted or has a glossy finish, lightly sand it to remove the sheen, which will help the adhesive bond more effectively. Finally, a layer of primer is applied to seal the surface, especially if the drywall is unsealed, which enhances the adhesive’s bond.

Step 2: Plan Your Layout
Before you begin applying tiles, spend some time planning your layout. This step is crucial to ensuring a symmetrical and aesthetically pleasing design, especially in areas where tiles meet edges or corners. Start by measuring the area you will be tiling, both horizontally and vertically, to determine how many full tiles you will need and where you’ll need to make cuts.
Consider starting from the center of the wall and working your way out to ensure that any cut tiles will be towards the edges, giving the installation a balanced appearance. Use a pencil or chalk to mark your layout lines on the wall, creating a guide for where each row of tiles will sit. Consider the grout lines by including the width of the tile spacers in your calculations.
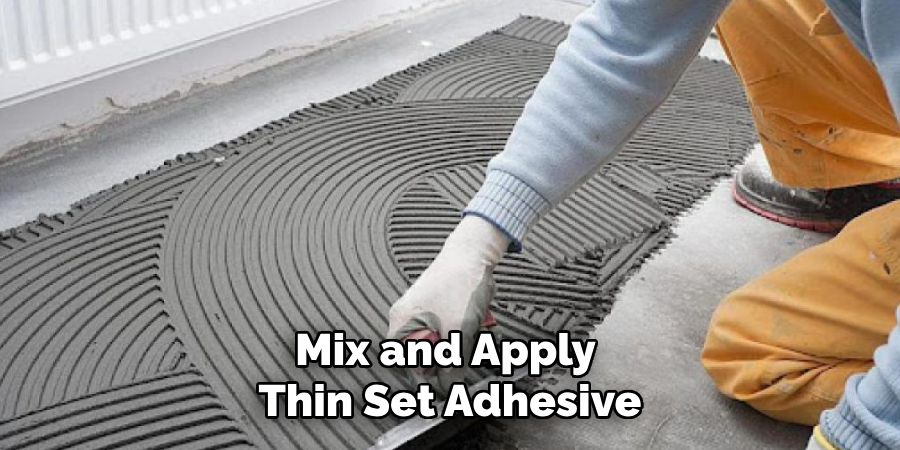
Step 3: Mix and Apply Thin set Adhesive
Once your layout is planned and marked on the drywall, it’s time to mix the thinset adhesive. Follow the manufacturer’s instructions for mixing; it should have a consistency similar to peanut butter, neither too runny nor stiff. Using a notched trowel, apply a layer of thinset adhesive onto the wall, starting from your centerline and working outward.
Hold the trowel at a 45-degree angle to create even ridges, which will help the tiles bond properly. It’s best to work in small sections, no larger than 2 x 2 feet, to prevent the adhesive from drying before you can lay the tiles. Ensure the coverage is even and consistent, avoiding thick or thin spots, as this will affect the tiles’ stability and alignment. As you apply the thin set, keep a damp cloth or sponge handy to clean any adhesive that may spill over the tiles or your marked lines.

Step 4: Begin Laying the Tiles
With the thinset adhesive applied, it’s time to start laying your tiles. The first tile is placed at the centerline mark, pressing it gently but firmly into the thinset. Use tile spacers to maintain uniform spacing between each tile, ensuring even grout lines when the process is complete.
Continue applying additional tiles row by row, using your pre-planned layout as a guide. Occasionally, check the alignment and level of the tiles, adjusting as necessary to maintain straight lines and consistent spacing.
When you reach the edges or corners of your work area, measure and mark the tiles to fit the remaining spaces, utilizing a tile cutter or wet saw for precise cuts.
Take your time during this step to ensure a professional-looking finish, as any misalignment can affect the overall appearance of the tiled surface. As you proceed, wipe any excess adhesive from the face of the tiles with a damp sponge, preventing hard-to-clean residue from setting.
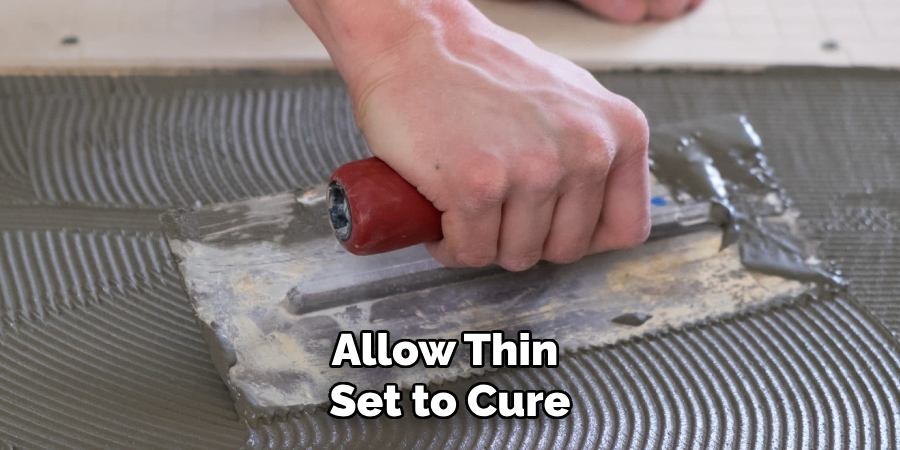
Step 5: Allow Thin set to Cure
After your tiles have been laid and aligned correctly, allowing the thinset adhesive sufficient time to cure is crucial. Avoid walking on or disturbing the tiled area during this period to ensure the tiles are set firmly and do not shift.
Refer to the manufacturer’s instructions for specific curing times, which typically range from 24 to 48 hours. Patience at this stage is essential for achieving a solid and durable bond between the tiles and the drywall.

Step 6: Mix and Apply Grout
Once the thinset has cured and your tiles are securely in place, it’s time to mix and apply the grout to fill the spaces between the tiles. Follow the manufacturer’s instructions to mix the grout to a smooth, peanut-butter-like consistency.
Using a rubber grout float, apply the grout to the tile surface at a 45-degree angle, pressing it into the gaps between the tiles. Work in small sections to ensure the grout doesn’t dry out before you’ve finished. After applying the grout, use the edge of the float to scrape off excess grout and achieve an even, smooth finish.
Step 7: Clean Excess Grout
After the grout has started to set but before it fully hardens, it’s essential to clean any excess grout from the surface of the tiles. Use a damp sponge to gently wipe across the tiles in a diagonal direction to the grout lines; this helps prevent removing grout between the tiles.
Rinse the sponge frequently to avoid spreading grout haze over the tiles. Be careful not to use too much water, weakening the grout. Once the tiles are clean of excess grout and the grout lines have a neat, consistent appearance, the grout can finish curing according to the manufacturer’s instructions. After the final cure, if a slight haze remains on the tiles, use a dry cloth or a specialized grout haze remover to polish the tile surfaces for a pristine finish.
Step 8: Seal the Grout
After the grout has fully cured and the tiles are clean, it’s time to seal the grout to protect it from moisture and staining. Choose a quality grout sealer suitable for your tile application and follow the manufacturer’s instructions.
Using a small brush or applicator bottle, carefully apply the sealer to the grout lines, ensuring complete coverage without leaving excess sealer on the tile surfaces.
Allow the sealer to penetrate the grout for the time specified by the manufacturer, typically 5 to 15 minutes, then wipe away any remaining sealer from the tile surfaces with a clean, dry cloth. Applying multiple coats may be necessary for areas with high moisture, like bathrooms or kitchens.
Step 9: Final Inspection and Cleanup
After sealing the grout and ensuring everything is set, conduct a thorough final inspection of the entire tiling project. Check for any misplaced or uneven tiles, ensuring all grout lines are uniform and that no tiles have shifted during the curing process. Examine the edges and corners for neatness, making any necessary adjustments or touch-ups.
Once satisfied with the installation’s quality and appearance, complete the workspace’s comprehensive cleanup. Remove any tools, leftover materials, or debris, and ensure the area is safe and clean. This final check underscores the professional quality of your tiling work, leaving you with a beautifully finished and durable tiled surface.
By following these steps and tips, you can install tiles on drywall, achieving a professional-looking finish that adds character and value to your home.

Conclusion
How to tile over drywall is a rewarding project that can transform the look of any room in your home.
By closely adhering to the outlined steps, you ensure each phase, from surface preparation to final cleanup, is executed with precision and care.
The key to success in this endeavor lies in meticulous planning, attention to detail, and patience during curing processes. The result is a professional, durable, and visually appealing tiled surface that enhances your space’s aesthetic and functional aspects. With careful execution, you protect your drywall and create a stylish and enduring installation that stands the test of time.
By investing time in proper techniques and materials, your tiled area will contribute to the comfort and beauty of your home for years to come.
