Do you want to create a lovely landscape feature in your outdoor space? One way to do this is by installing concrete curbing. Not only does it add aesthetic appeal to your yard, but it also serves as an effective boundary for separating flower beds and pathways.
Sealing your concrete curbing is essential in maintaining its appearance and functionality. It helps to protect the surface from water, stains, and other damaging elements.
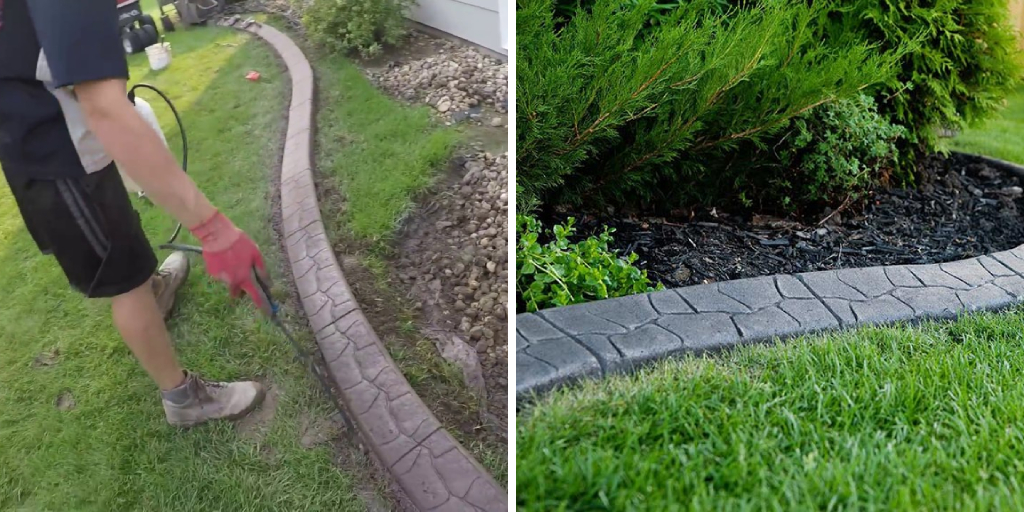
Whether you’re creating functioning or decorative borders, how to seal concrete curbing correctly can help ensure that they last long-term. If you’re curious about the steps involved, then read on! This guide covers everything from the materials needed to types of sealers and methods used to effectively install and seal concrete curbs with excellent results.
What Will You Need?
Before you get started, here are some essential materials and tools that you will need for properly sealing your concrete curbing:
- Concrete cleaner or degreaser
- Pressure washer (optional)
- Stiff bristle brush or broom
- Garden hose with spray nozzle attachment
- Plastic sheeting or drop cloths
- Concrete sealer of your choice (acrylic, polyurethane, or silicone-based)
- Paint roller and tray
- Protective gear (gloves, goggles, respirator mask)
Once you have all the necessary items, you can start the sealing process. But first, let’s take a look at the different types of sealers available and their benefits.
10 Easy Steps on How to Seal Concrete Curbing
Step 1. Clean the Concrete Curbing
The first step in the sealing process is to clean the concrete curbing thoroughly. You can do this by applying a concrete cleaner or degreaser, following the instructions on the product label.
If there are stubborn stains, you may need to use a stiff bristle brush or broom to scrub them off. If using a pressure washer, avoid damaging the concrete surface with high pressure. Rinse the curbing utilizing a garden hose with a spray nozzle attachment, ensuring all dirt and cleaning solutions are washed away. Allow the concrete to dry completely before proceeding to the next step.
Step 2. Protect Adjacent Areas
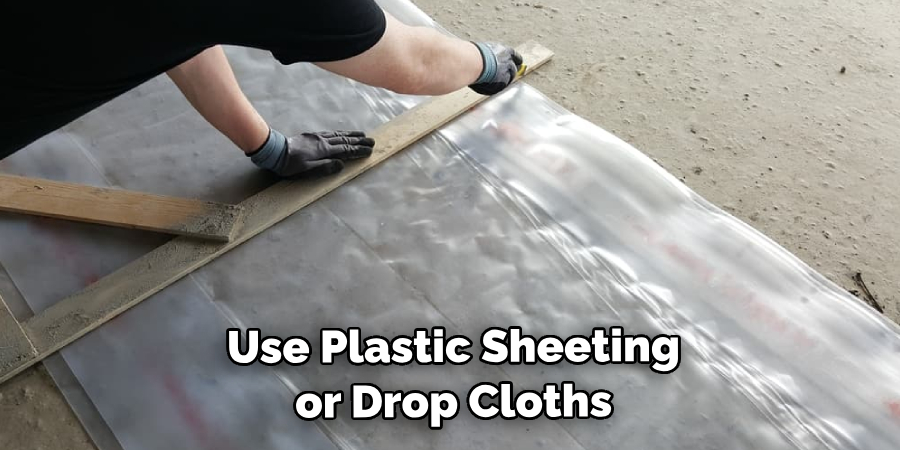
Next, it’s necessary to protect the surrounding areas from the sealer. Use plastic sheeting or drop cloths to cover nearby plants, walls, or pathways. Secure the covering in place with tape or weights to prevent it from shifting during the sealing process. This step ensures that only the concrete curbing gets sealed, maintaining the pristine condition of the adjacent areas.
Step 3. Choose the Right Sealer
There are several types of concrete sealers available, like acrylic, polyurethane, and silicone-based, each having its unique benefits. Acrylic sealers are affordable and easy to apply, providing good protection against water and UV rays.
Polyurethane sealers offer excellent resistance against abrasion and chemicals, making them suitable for high-traffic areas. Silicone-based sealers are known for their superior water repellency. Based on your specific needs and the environmental conditions of your location, choose the sealer that’s right for you.
Step 4. Apply the Sealer
After choosing the appropriate sealer, it’s time to apply it to your concrete curbing. Start by pouring the sealer into a paint tray. Using a paint roller, evenly spread the sealer onto the surface of the concrete curbing, ensuring that it does not leave any puddles or overly thick areas.
Work in sections to maintain a wet edge, which helps to prevent sealer overlap marks. Be sure to follow the manufacturer’s instructions regarding the application process, as some sealers may require a second coat. Always wear protective gear, like gloves and goggles, during this step to ensure your safety.
Step 5. Allow the Sealer to Dry
After the sealer has been applied, it’s crucial to let it dry thoroughly. This process could take anywhere from a couple of hours to a full day, depending on the sealer’s brand and type and the local climate. Avoid walking on or touching the curbing during this time to prevent smudges or imperfections. Check the sealer’s instructions for the recommended drying time.
Step 6. Inspect the Curbing
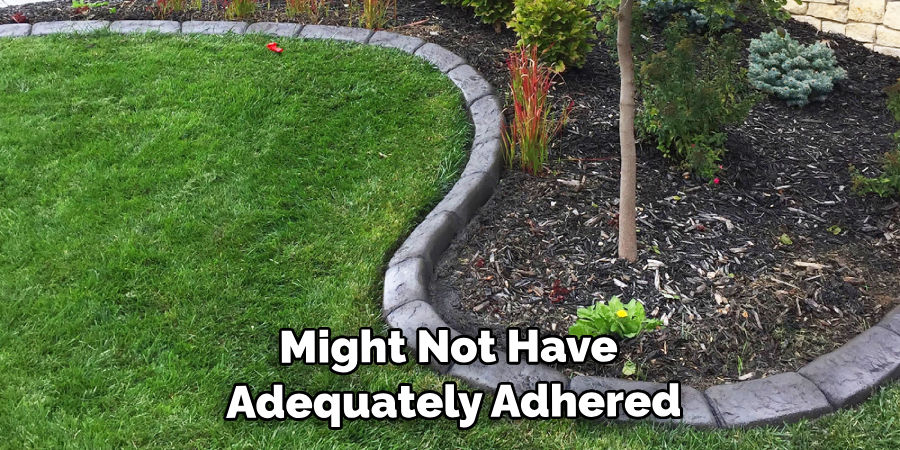
Once the first layer of sealer has completely dried, it’s time to inspect the curbing. Look for patches where the sealer might not have adequately adhered or the coverage is thin.
If you notice any such areas, or if your chosen product recommends it, prepare to apply a second coat of sealer. As in Step 4, pour the sealer into a paint tray and spread it evenly with a roller. Remember to maintain a wet edge to prevent overlap marks. After application, allow the sealer to dry completely.
Step 7. Final Inspection and Cleanup
After the second layer of sealer has dried thoroughly, it’s time for the final inspection. Check the surface of the concrete curbing to ensure it’s evenly coated, and there are no missed spots.
If the curbing looks suitable and uniformly sealed, remove the plastic sheeting or drop cloths you used to protect the surrounding areas. Dispose of any leftover sealer according to local waste disposal regulations. Finally, clean your tools and equipment with soap and water to remove any residual sealer.
Step 8. Maintenance
Proper maintenance is key to extending the lifespan of your sealed concrete curbing. Regularly inspect the curbing for signs of wear or damage.
Clean any debris or stains promptly to prevent them from setting in and damaging the sealer. Depending on the traffic and environmental conditions your curbing is exposed to, reapplication of the sealer might be necessary every few years. Always follow the sealer manufacturer’s instructions for maintenance and reapplication.
Step 9. Routine Checks
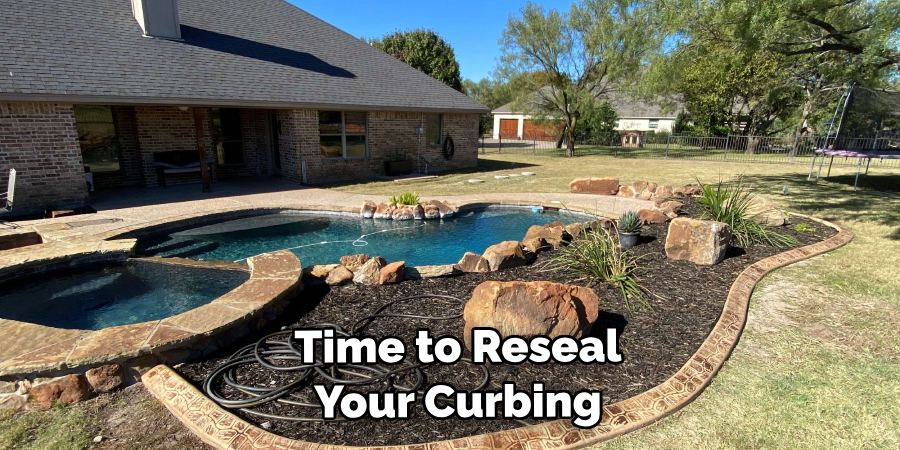
In addition to continuous maintenance, you should perform regular checks on your concrete curbing.
These checks should be done at least every six months or after significant weather events. Look for signs of sealer breakdown, such as flaking, peeling, discoloration, or visible concrete damage. If you spot any of these signs, it might be time to reseal your curbing. Remember, it’s always more accessible and cost-effective to address minor issues before they become more significant problems.
Step 10. Resealing
The final step in maintaining your sealed concrete curbing involves resealing. The frequency of this procedure will depend mainly on the type of sealer you initially used, the weather and environmental conditions in your area, and the amount of traffic your curbing sees. However, a general rule of thumb is to reseal every 2-5 years.
To do this, follow the same steps outlined above: thoroughly clean and dry the curbing, protect adjacent areas, select and apply the suitable sealer, allow it to dry, and perform inspections. Resealing ensures that your concrete curbing remains protected and maintains its appearance and durability for many years to come.
Following these steps, you can successfully seal your concrete curbing and protect it from damage.
5 Additional Tips and Tricks
- Test the Sealer: Before you apply the sealer to the entire curbing, consider doing a small test patch first to ensure the sealer reacts well with your concrete and provides the desired finish.
- Weather Conditions: Try to undertake the sealing process on a dry, overcast day. If it’s too hot, the sealer may dry too quickly and not penetrate deeply enough into the concrete.
- Proper Ventilation: Ensure the area is well-ventilated when sealing, especially if using a solvent-based sealer, as these can emit strong fumes.
- Consistent Application: Apply the sealer consistently and continuously to avoid any streaks or patches. A paint sprayer often gives a more uniform finish than a roller or brush.
- Consider Professional Help: If you are uncomfortable doing the job, hire a professional. They will have the experience and tools to ensure the job is done correctly and efficiently, potentially saving you time and money in the long run.
With these additional tips and tricks, you can confidently seal and protect your concrete curbing for years.
5 Things You Should Avoid
- Avoid Rushing the Process: Sealing concrete curbing is a task to be completed on time. Each step, from preparing the surface to drying the sealer, needs sufficient time. Hasty work may lead to a poor finish or reduced durability.
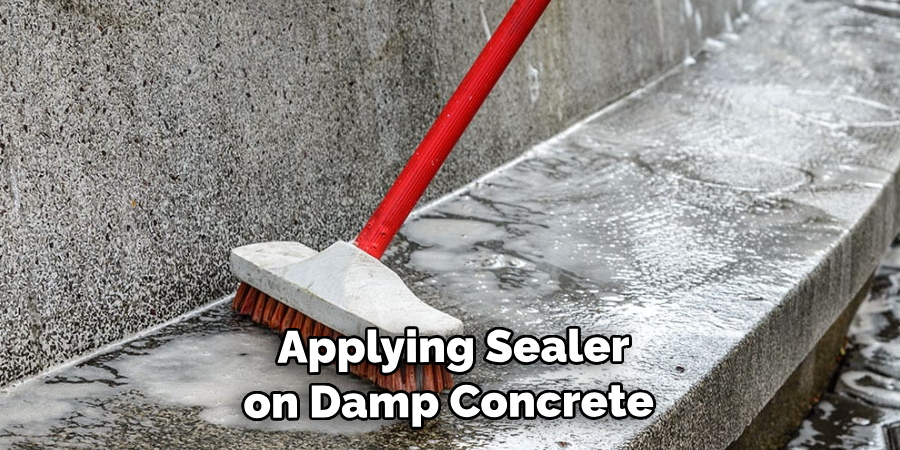
- Never Apply Sealer on Damp Concrete: Applying sealer on damp concrete can result in incomplete sealing, leading to many problems later. Always ensure the concrete is thoroughly dry before proceeding.
- Don’t Ignore Manufacturer’s Instructions: Always adhere to the manufacturer’s instructions regarding the sealer’s application and drying process. Their guidance is based on extensive experience designed to give you the best results.
- Avoid Inappropriate Weather Conditions: Do not attempt to seal your concrete, curbing in extreme weather conditions such as high heat, heavy rain, or freezing temperatures. These conditions can adversely affect the performance and drying time of the sealer.
- Don’t Neglect Regular Maintenance Checks: Regular checks and maintenance are critical to the longevity of your sealed concrete curbing. Avoiding or postponing these checks can lead to minor issues escalating into significant problems that require costly rectification.
By avoiding these mistakes, you can ensure a successful sealing process and maintain the durability and appearance of your concrete curbing.
Conclusion
To properly seal concrete curbing, you must ensure it’s firm and level. After filling any gaps with a filler material of your choice, it’s essential to apply sealer for protection from the elements. This can be done either with an aerosol spray or using a roller and brush, whichever you feel most comfortable with.
Make sure to use a clear and consistent pattern when applying the sealer to ensure thorough coverage of the entire curb. Having a sealer on your concrete curbing will add value and keep it looking great for many years to come.
Hopefully, the article on how to seal concrete curbing has provided valuable information and tips for proper maintenance. By following these steps, your concrete curbing will continue to serve its purpose and enhance the appearance of your property. Happy sealing!
