Are you looking for a way to improve the look of your home and protect it from damage? Sealing your brick driveway can be an excellent solution. Not only will this help preserve the color of the bricks, but it will also make them more resistant to staining, cracking, and other forms of wear and tear due to weather. In addition, sealed surfaces are much easier to clean than unsealed ones.
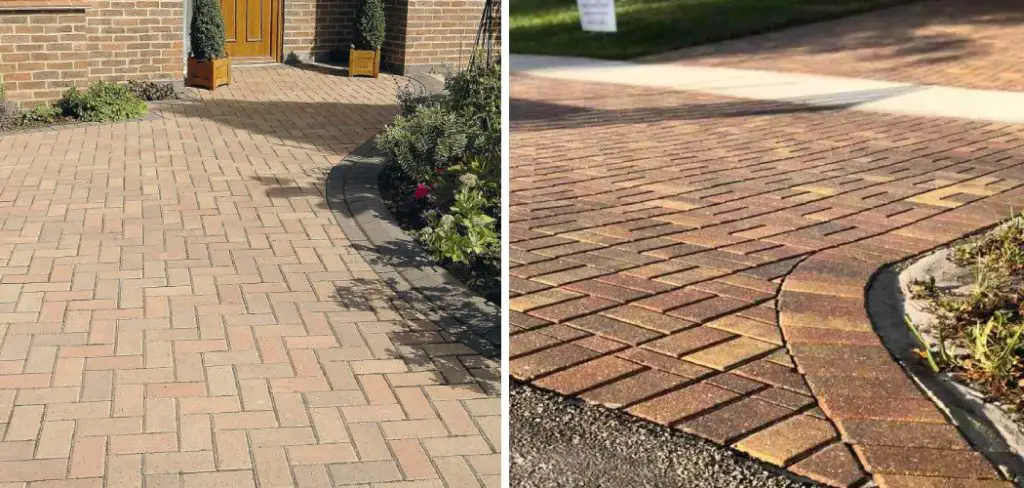
If you’re ready for a project that can give your driveway or patio a new lease on life without breaking the bank – then read on! Here’s everything you need to know about how to seal brick driveways and patios with ease and effectiveness.
Tools and Materials You Will Need to Seal Brick Driveway
1. High-quality sealer for brick driveways
2. Paint roller and tray
3. Roller extension (for hard-to-reach spots)
4. Wire brush or stripping pad
5. Garden hose & nozzle
6. Safety glasses
Step-by-Step Guidelines on How to Seal Brick Driveway
Step 1: Preparing the Area for Sealing
Before you can seal your brick driveway, there are a few steps you need to take in order to prepare. First, make sure that all dirt and debris have been removed from the surface of your driveway.
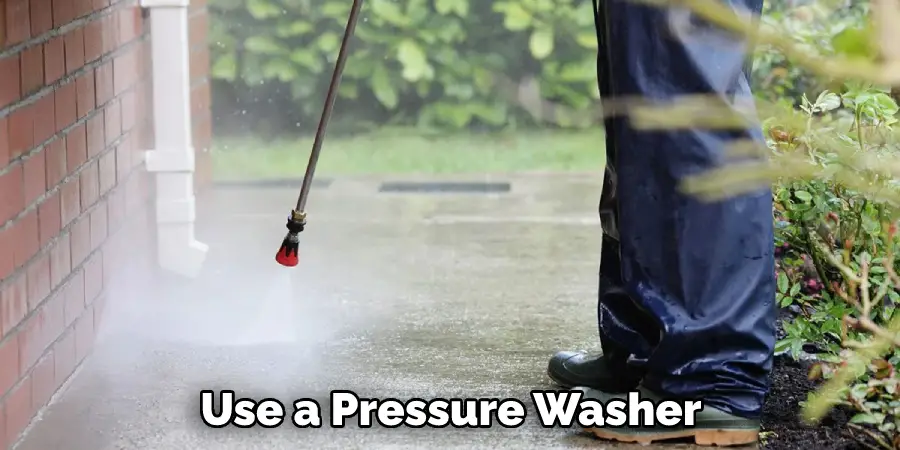
This can be done with a power washer or by scrubbing the area with soap and water. Once it is clean and dry, you’ll want to make sure there are no cracks or chips in the bricks that could cause water to seep beneath the sealant.
Step 2: Applying the Sealer
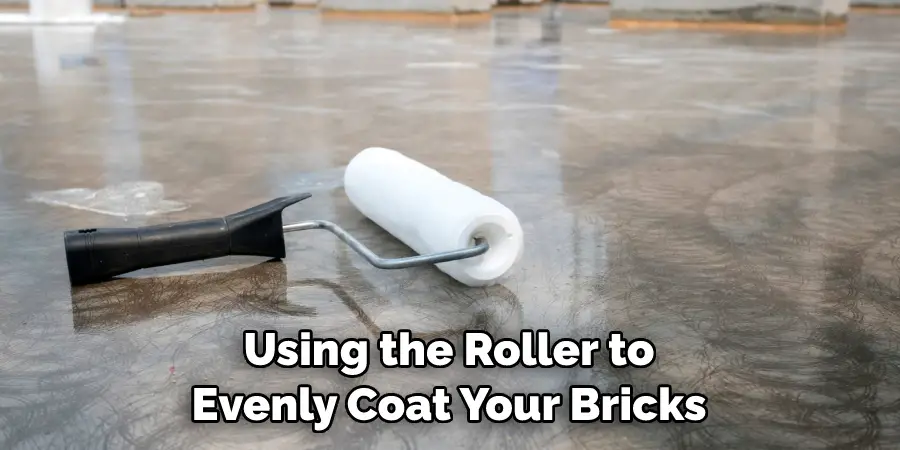
Now it’s time to apply the sealer. Start by pouring some of the sealers into a paint tray and using the roller to evenly coat your bricks. Make sure to cover every part of your driveway, including any nooks or crannies that may be hard to reach. Allow this first coat to dry completely before applying the second.
Step 3: Touching Up Any Problem Areas
Once the sealer has dried, you’ll want to inspect it for any areas that need touch-ups. If there are any cracked or chipped bricks, use a wire brush or stripping pad to smooth them out, and then apply another layer of sealer. This will help to ensure that your driveway is fully protected.
Step 4: Clean Up and Final Touches
Once you’ve finished sealing your brick driveway, it’s time for the final touches. Use a garden hose to wash away any excess sealer, and then inspect the area again for any spots that may need additional attention.
With these steps, you’ve successfully sealed your brick driveway! Now you can relax and enjoy the newfound protection and aesthetic beauty that comes with a well-sealed brick surface. Enjoy!
Additional Tips and Tricks to Seal Brick Driveway
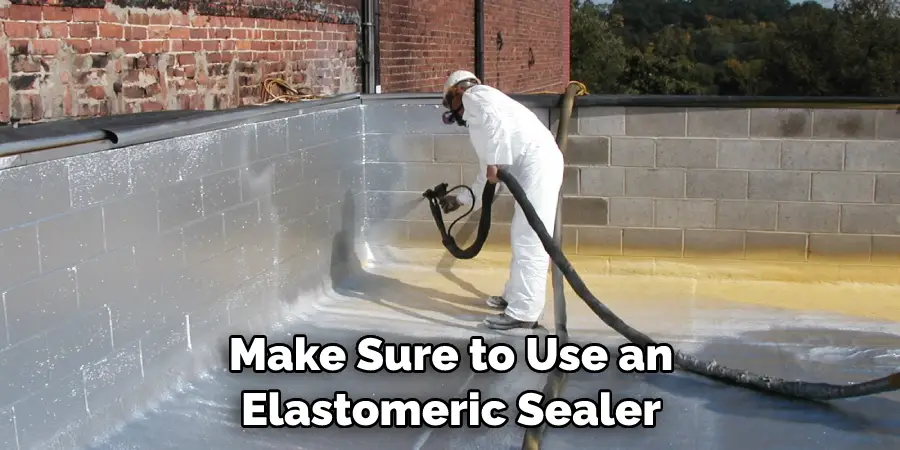
- Make sure to use an elastomeric sealer. This type of sealer is specifically designed for brick driveways and will provide the best long-term protection.
- Clean the surface before sealing by using a pressure washer and cleaning solution. Sweep away any debris, dirt, or dust before starting the sealing process.
- Start in one corner and work your way across the driveway in a zigzag pattern. This will help ensure a thorough and even coating.
- Always wear gloves and protective goggles when applying the sealer to protect yourself from splashing.
- When applying the sealer, use a brush to get into any crevices or cracks in the brick. This will help ensure an even coverage of the sealant.
- Let the sealer dry completely before walking on the brick driveway or driving a car over it. This will help preserve the sealant and keep your brick driveway looking great for years to come.
- If you have any questions about how to properly seal a brick driveway, check with an experienced professional in your area. They can provide guidance and advice on the best materials and techniques for sealing your brick driveway. With proper care and maintenance, your brick driveway can last a lifetime.
- For added protection, consider applying a water-repellent sealer or a coating that is designed specifically for brick driveways. This will help protect against staining and weathering from rain, snow, and other elements.
- If possible, it’s always best to have an experienced professional apply the sealer. This will ensure that it is applied properly and safely.
Sealing a brick driveway is an easy DIY project that can be done in a matter of hours. With the right tools and materials, you can have your brick driveway looking like new in no time. Taking the time to properly seal your brick driveway will help protect it from the elements and keep it looking great for years to come.
Things You Should Consider to Seal Brick Driveway
- Make sure the surface is clean, dry, and free of dirt and debris before you start to seal your brick driveway.
- Choose an elastomeric sealer that is specifically designed for brick driveways. This will provide the best protection from wear and tear over time.
- Use a pressure washer or cleaning solution to thoroughly clean the surface before sealing.
- Always wear gloves and protective goggles when applying sealer to protect your skin from splashing.
- Use a brush to get into any crevices or cracks in the brick surface for even coverage of the sealant.
- Let the sealer dry completely before walking on it or driving a car over it.
- Consider applying a water-repellent sealer or coating for added protection from the elements.
- Have an experienced professional apply the sealer if possible to ensure proper application and safety.
Following these considerations will make sure that you properly seal your brick driveway. Taking the time to do this project correctly will help protect it from the elements and keep it looking great for years to come. With proper care and maintenance, your brick driveway can last a lifetime!
Precautions Need to Follow for Sealing Brick Driveway
- Make sure to wear the correct safety equipment when sealing a brick driveway, including goggles and gloves.
- Do not use any sealer that is not specifically designed for brick driveways. These can damage or discolor the brick surface over time.
- Be sure to check the weather forecast before starting the project. Sealing a brick driveway should only be done in dry and mild conditions.
- Wait until after rainfall to seal a brick driveway, as moisture can cause the sealer to bubble or blister.
- Do not allow any children or animals into the area while sealing the driveway. The fumes can be toxic and hazardous if inhaled.
- Only use a commercial-grade sealer for best results. This type of sealer is designed to withstand extreme temperatures and resist fading, cracking, and peeling over time.
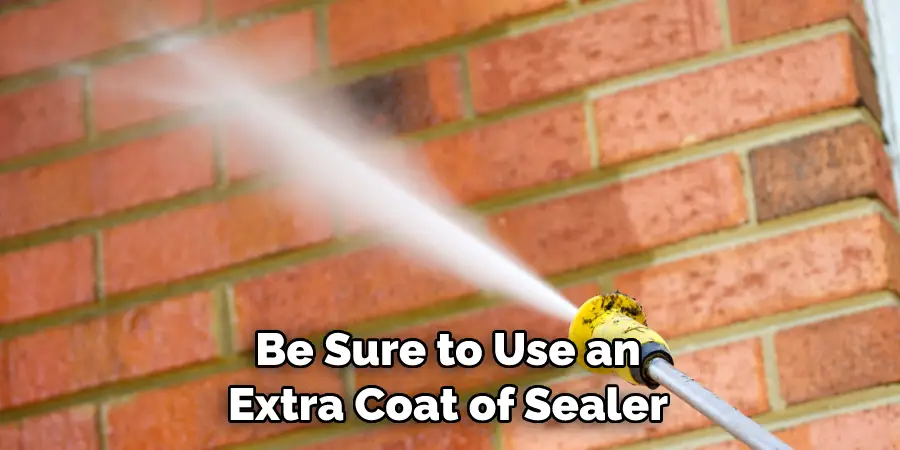
- If sealing in cold weather, be sure to use an extra coat of sealer to ensure complete protection.
- Always read the manufacturer’s instructions before beginning the sealing process. This will help ensure proper application and the best results possible.
Following these precautions and tips can help extend the life of your brick driveway and keep it looking its best for years to come. Proper care and maintenance are key for a long-lasting, beautiful driveway. With some simple steps, you can protect your investment and have a beautiful brick driveway for the foreseeable future.
Frequently Asked Questions
How Long Will a Sealed Brick Driveway Last?
The longevity of the sealant depends on the type of sealer used, as well as environmental conditions. Generally, a professionally applied elastomeric sealer can last up to 10 years with proper maintenance.
Is Sealing a Brick Driveway Necessary?
Sealing a brick driveway is not absolutely necessary, but it can help protect the surface from staining and weathering. It also helps to preserve the color of the bricks and keep them looking great for longer.
Can I Seal a Brick Driveway Myself?
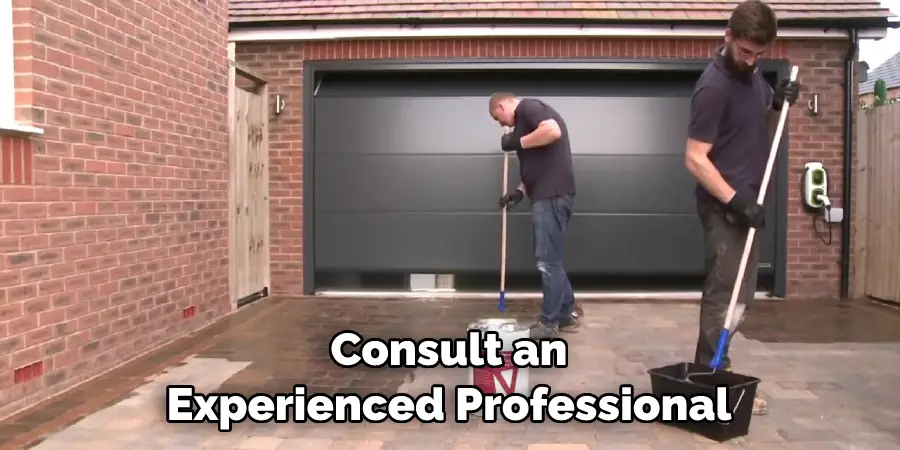
Yes, sealing a brick driveway is a relatively simple DIY project that can be done in a few hours. However, it’s always best to consult an experienced professional for advice and guidance before starting the process.
Can I Seal a Brick Driveway In Cold Weather?
Yes, you can seal a brick driveway in cold weather—just make sure to use an extra coat of sealer for added protection. It’s also important to check the weather forecast before starting the project, as sealing in wet or overly cold conditions can cause bubbling or blistering of the sealant.
Conclusion
Sealing your brick driveway is an important home improvement project that will help maintain the aesthetic of your home and also protect it from weather damage. You can tackle the sealing job yourself with the right supplies and tools.
Start by obtaining a quality sealant, then prepare the surface before evenly applying it with a brush or roller over the driveway. Keep in mind to continuously move back and forth to create multiple layers for better protection.
Once done, let it dry completely and enjoy your newly sealed brick driveway. If you’ve been considering how to seal brick driveway projects, start preparing now for a successful, long-lasting outcome! It may be time-consuming but you’ll be happy that you’ve invested the resources into protecting one of your most valuable assets.
With proper care, maintenance, good research, and preparation, sealing your own driveway can be manageable and achieve great results!
