Revitalizing the protective shield of your garage begins with the essential task of reshingling the roof. Over time, exposure to the elements, temperature fluctuations, and general wear can cause roofing materials to deteriorate, compromising the structural integrity of the entire system.
In this comprehensive guide, we will navigate through the step-by-step process of how to reshingle a garage roof, offering invaluable insights for homeowners seeking to undertake this rejuvenating project.
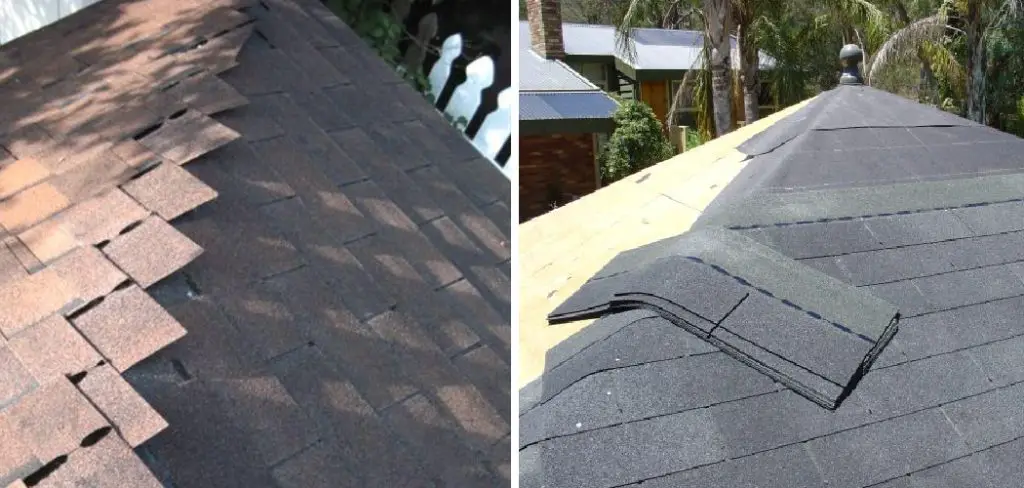
From material selection and preparation to the intricacies of proper installation, we will explore the key considerations necessary for ensuring a successful reshingling endeavor.
By empowering individuals with the knowledge to assess, plan, and execute a roof reshingling project effectively, this guide aims to transform the daunting task into a manageable and rewarding undertaking, ultimately enhancing the longevity and functionality of your garage roof.
Importance of Reshingling a Garage Roof
Replacing the shingles on your garage roof may not be the most exciting home improvement project, but it is one that should not be overlooked. The condition of your roof can greatly impact the overall health and safety of your garage, as well as your entire home.
Neglecting to reshingle a damaged or worn out roof can lead to costly repairs in the future and potential hazards for you and your family. In this section, we will discuss the importance of reshingling a garage roof and why it should be a priority for homeowners.
The first and most obvious reason to reshingle a garage roof is to maintain its functionality. The shingles on your roof act as a barrier against natural elements such as rain, wind, snow, and sunlight. Over time, these elements can cause wear and tear on your shingles, resulting in leaks and other damage to your roof. By regularly replacing damaged or worn out shingles, you ensure that your garage remains a dry and protected space for storage and other activities.
In addition to functionality, reshingling a garage roof also has aesthetic benefits. A new set of shingles can instantly improve the appearance of your garage and enhance the overall curb appeal of your home. This is especially important if you are planning to sell your house in the future, as a well-maintained roof can greatly increase its value.
Another reason for reshingling a garage roof is to prevent potential safety hazards. A damaged or deteriorating roof can pose a threat to anyone who enters or passes by your garage.
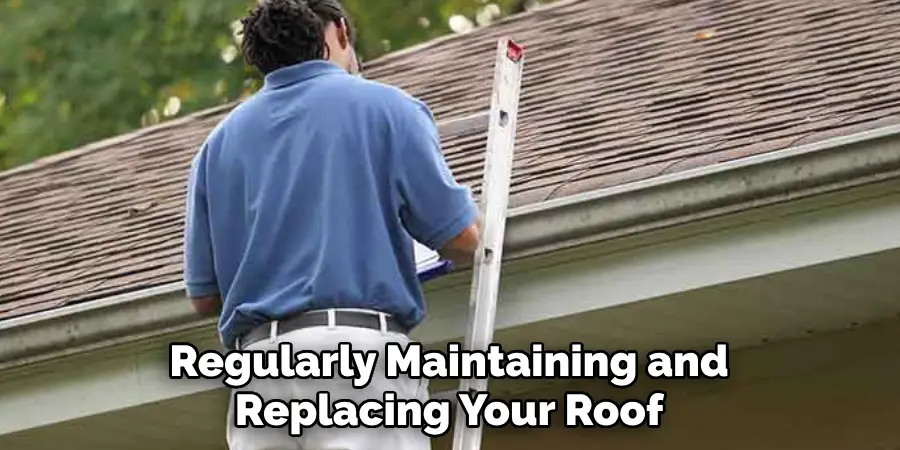
Loose shingles can fall off and cause injury, while leaks can lead to slippery surfaces and potential accidents. By regularly maintaining and replacing your roof shingles, you ensure the safety of yourself, your family, and anyone else who may come into contact with your garage.
10 Methods How to Reshingle a Garage Roof
1. Gather the Necessary Materials and Tools
Before beginning any roofing project, it is important to make sure that you have all of the necessary materials and tools. For re-shingling a garage roof, you will need shingles, nails, felt paper, roofing cement, and a hammer or nail gun. You may also need a ladder if the roof is too high to reach from the ground.
2. Remove Old Shingles
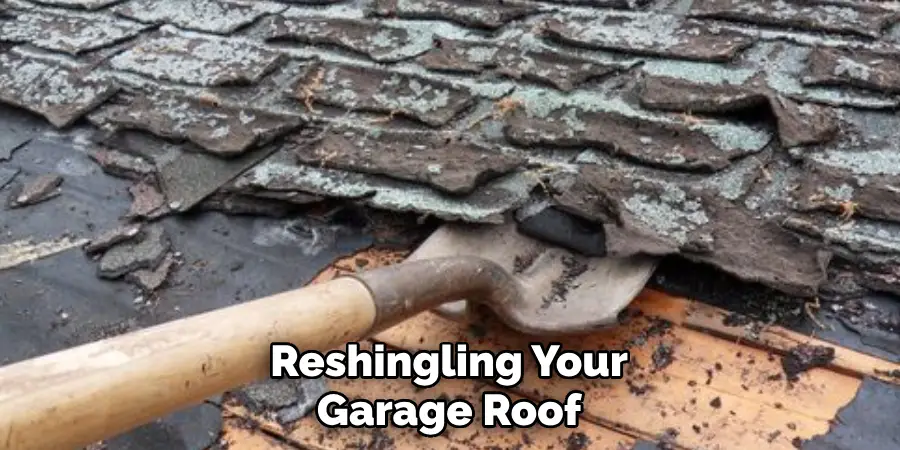
Once you have gathered all of the necessary materials and tools, you can begin removing the old shingles from the roof. Start at one corner of the roof and work your way across until all of the old shingles are removed. Be sure to wear safety goggles when doing this as there may be nails or other debris in the shingles that could fly up into your eyes.
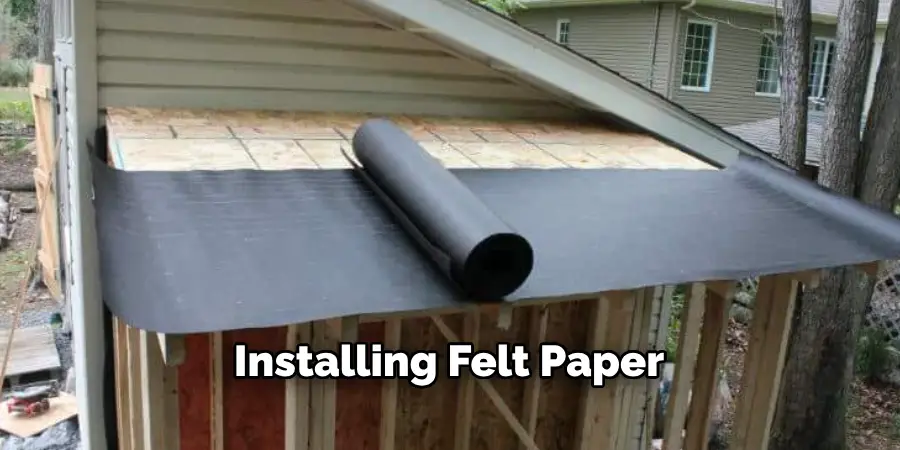
3. Install Felt Paper
Once all of the old shingles have been removed, you can begin installing felt paper on top of the wood sheathing beneath them. Start at one corner of the roof and work your way across until all of the felt paper has been installed. Make sure that each piece overlaps with its neighbor by at least two inches for maximum protection against water damage.
4. Apply Roof Cement
After installing felt paper on top of the wood sheathing, it’s time to apply roof cement along each edge where two pieces overlap with each other or where they meet an obstruction, such as a chimney or wall vent pipe. This will help keep water out and prevent leaks in your new roof system.
5. Cut Shingles to Size
Next, measure and cut your new shingles to size so they fit perfectly on top of your garage roof’s surface area without any gaps or overhangs between them. You should also use a chalk line to make sure that each row is straight before nailing them down onto your roof sheathing with either a hammer or nail gun depending on what type of tool you have available to use for this job.
6. Nail Down Shingles
Now it’s time to start nailing down your new shingles onto your garage roof’s surface area, starting from one corner and working towards another corner until all rows are complete on both sides of your garage structure’s peak line center point location marker spot (which is usually indicated by an arrow).
Make sure that each nail is driven in deep enough so that it won’t come loose due to wind gusts later on down the road once everything else has been completed properly.
7. Seal Around Edges
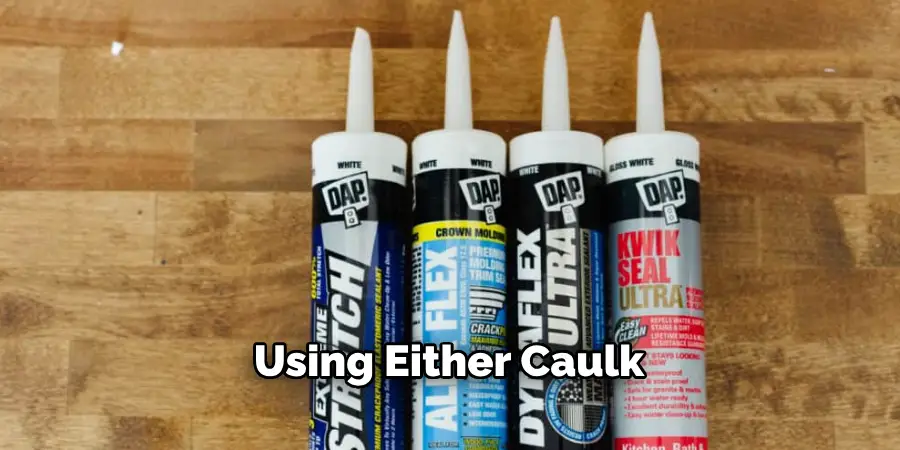
Once all rows are nailed down securely onto your garage structure’s surface area, seal around edges using either caulk or special adhesive material designed specifically for sealing around edges where two pieces overlap with each other or where they meet an obstruction such as a chimney or wall vent pipe (in order to prevent water damage).
8. Install Flashing Around Vents
Now install flashing around vents, such as plumbing pipes coming out through walls, in order to protect against water infiltration near these areas, which could potentially cause serious structural damage if not taken care of properly beforehand.
9. Install Ice & Water Shield Around Perimeter
Now install ice & water shield membrane material around the perimeter in order to provide extra protection against water infiltration near eaves (overhangs), which could potentially cause serious structural damage if not taken care of properly beforehand.
10. Check for Leaks & Cleanup Site
After completion, check for any potential leaks by running the garden hose along perimeter eaves (overhangs) while someone else inspects inside attic space for any signs/evidence of water infiltration (if present), which could potentially cause serious structural damage if not taken care properly beforehand beforehand beforehand. Finally, clean up the site after completion, making sure no debris is left behind before the calling job is done.
Things to Consider When Reshingling a Garage Roof
When it comes to reshingling a garage roof, there are a few important things to consider before getting started. It’s not just about choosing the right materials and tools, but also making sure your garage is structurally sound and properly prepared for the job.
Here are some key points to keep in mind when planning to reshingle your garage roof:
Assess the Current Condition of Your Roof
Before you start buying materials and tearing off old shingles, it’s important to inspect your current roof and determine if any repairs or reinforcements are needed. Look for signs of water damage, rotting wood, or other issues that could affect the integrity of your new roof.
Choose High-Quality Materials
Investing in quality materials can make a big difference in the longevity and durability of your roof. Opt for shingles that are specifically designed for the size and pitch of your garage, as well as the climate in which you live.
Consider the Aesthetics
Reshingling your garage roof is not just about functionality; it’s also an opportunity to enhance the appearance of your home. Take some time to think about the color, texture, and style of shingles that will best complement your garage and overall property.
Don’t Forget About Proper Ventilation
Proper ventilation is crucial for maintaining a healthy roof and preventing issues like moisture buildup or mold growth. Make sure to install adequate ventilation systems when reshingling your garage roof.
Safety First
Reshingling a garage roof is no easy task and should not be taken lightly. Make sure you have the necessary safety equipment, such as a harness and sturdy ladder, as well as proper training before attempting this project.
Conclusion
Reshingling a garage roof can be a daunting process, but the benefits are immense. Not only do you get a better-looking garage, but you also make it more resilient and last longer against wear and tear. When planning to reshingle your garage roof, always remember that safety comes first, so be sure to follow the instructions accurately.
If you feel overwhelmed or intimidated by this task, don’t hesitate to contact a licensed professional who will help you achieve your desired outcome. With some patience and dedication, you can prolong the life of your roof and save yourself lots of money in repairs down the line. So why not take this opportunity today and learn how to reshingle a garage roof?
