Embarking on a home renovation or simply looking to update your space often involves the need to remove existing materials, and when it comes to travertine tile, a thoughtful and strategic approach is essential. Travertine, known for its natural elegance and durability, may need to be replaced due to wear and tear, style changes, or damage.
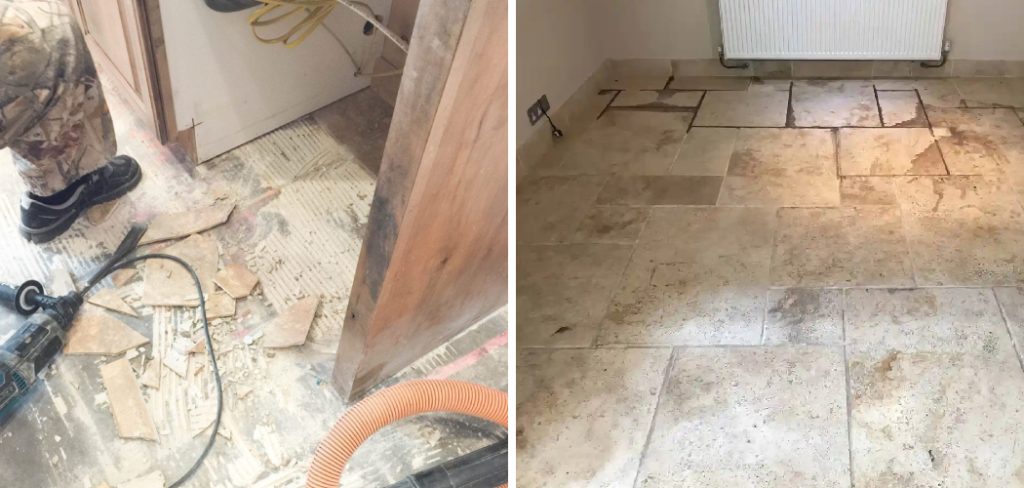
Whether you’re renovating a bathroom, kitchen, or outdoor area, understanding how to remove travertine tile without causing unnecessary damage is crucial.
In this guide, we’ll delve into the step-by-step process of safely and efficiently removing travertine tiles, covering essential tools, techniques, and precautions.
From loosening adhesive to avoiding structural harm, this tutorial will empower you with the knowledge to undertake the task confidently, ensuring a smooth transition to your desired aesthetic and functional updates. Prepare to navigate the removal process with precision and finesse as you transform your living space.
Reasons for Removing Travertine Tile
The process of removing travertine tile can seem daunting; the thought of having to dismantle your beautiful flooring or backsplash can be overwhelming. However, there are several reasons why you may need to remove travertine tile from your home.
Renovation or Redecoration
One of the most common reasons for removing travertine tile is for renovation or redecoration purposes. Perhaps you want to change the look of your kitchen backsplash or update your bathroom flooring. Removing the existing travertine tile is necessary for these changes to take place.
Damaged Tiles
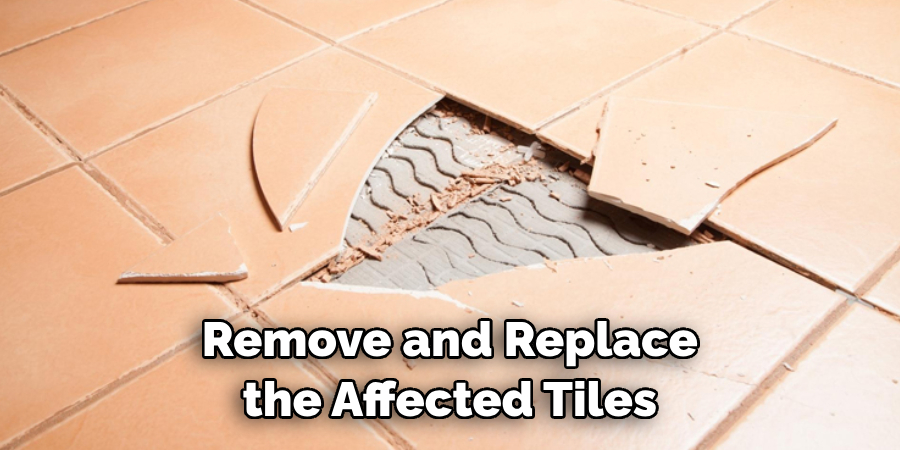
Travertine tile, while durable, is not indestructible. Over time, tiles can crack or become chipped due to heavy foot traffic or accidents. If the damage is significant, it may be necessary to remove and replace the affected tiles.
Water Damage
Travertine tile is not completely impervious to water, and over time, exposure to moisture can cause damage. This is especially true for travertine tile in areas such as bathrooms or laundry rooms where there is a lot of moisture present. If the tile becomes discolored or starts to lift from the subfloor, it may be necessary to remove and replace it.
Mold or Mildew Growth
Similar to water damage, areas with high moisture levels can also lead to the growth of mold or mildew on travertine tile. Not only is this unsightly, but it can also be harmful to your health. If the mold or mildew is limited to a small area, you may be able to clean it off. However, if it has spread and cannot be removed, removing the affected tiles may be necessary.
10 Methods How to Remove Travertine Tile
1. Gather the Necessary Tools
Before beginning the process of removing travertine tile, it is important to gather all of the necessary tools. This includes a hammer, chisel, utility knife, putty knife, wet/dry vacuum, and protective gear such as safety glasses and gloves. Additionally, it may be helpful to have a dust mask or respirator on hand in order to protect against dust particles that may be released during the removal process.
2. Mark Out the Tile
The next step is to mark out the tile that needs to be removed. This can be done by using a pencil or marker to draw a line around the perimeter of each tile that needs to be removed. It is important to make sure that all tiles are marked so that they can easily be identified once they are removed from the surface.
3. Remove Grout Around Tiles
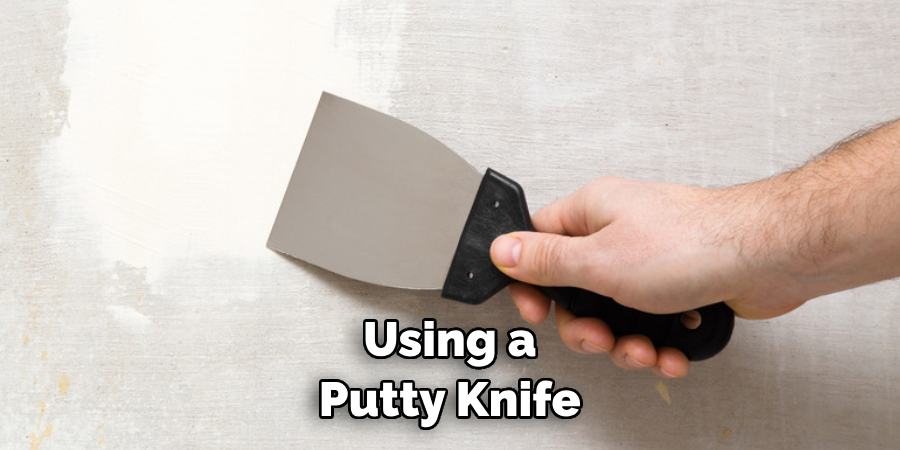
Once all of the tiles have been marked out, it is time to begin removing them from the surface. The first step is to remove any grout surrounding each tile using a putty knife or other tool with a sharp edge. This will help loosen up any debris and make it easier for the tiles to come off without damaging them or leaving behind any residue.
4. Use Hammer and Chisel
Once all of the grout has been removed, it is time to use a hammer and chisel in order to break apart each tile from its surroundings. It is important not to apply too much pressure when doing this as this could cause damage to surrounding surfaces or even break apart some of the tiles themselves. Instead, use steady and consistent pressure in order for each tile piece to come off without breaking into smaller pieces or causing damage elsewhere.
5. Vacuum Up Debris
After all of the tiles have been removed from their surroundings, it is important to vacuum up any debris left behind in order for everything to remain clean and safe for future work on other projects or tasks within your home or business space. A wet/dry vacuum should do an adequate job at collecting any remaining dirt and dust particles from around where you worked on removing your travertine tiles so that no further messes are created afterward.
6. Scrape Away Residue
Once all of the debris has been vacuumed away, you will need to scrape away any remaining residue left behind by your work with a putty knife or other tool with a sharp edge in order for everything underneath your travertine tiles to look as new as possible before moving onto another project or task within your home or business space again! Make sure not to press too hard when doing this, as this could cause more damage than good if not done carefully enough!
7. Clean Surface Thoroughly
After scraping away any remaining residue left behind by your work with a putty knife, it is now time for you to clean off any remaining dirt and dust particles from where you worked on removing your travertine tiles so that no further messes are created afterward! Use warm water mixed with mild soap in order to remove these particles effectively without damaging anything else underneath them!
8. Dry Surface Completely
After cleaning off any remaining dirt and dust particles from where you worked on removing your travertine tiles, make sure you dry off this area completely before moving on to another project or task within your home or business space again! You can use either towels or rags in order to dry up anything leftover after cleaning so that no moisture remains, which could lead to potential problems later down the road if not taken care of properly now!
9. Inspect Area For Damage
Before moving on to another project within your home or business space again after removing travertine tiles, make sure you inspect this area thoroughly for any potential damages caused during the removal process due to improper handling techniques used while working on taking these pieces off their original place! If noticeable damages are found, then take steps to fix them accordingly right away before continuing with anything else going forward!
10. Replace With New Tiles (Optional)
If desired by yourself (or anyone else involved), replacing old travertine tiles with new ones can help give an overall refreshed look while also adding value back into the property if ever looking into selling it down the line someday soon! Take measurements beforehand in order to ensure proper fitment when shopping around stores near you so nothing gets wasted due to incorrect sizing being purchased unknowingly ahead of time here!
Things to Consider When Removing Travertine Tile
Travertine tile is a popular choice for flooring, backsplashes, and countertops due to its natural beauty and durability. However, there may come a time when you need to remove travertine tile, whether it’s because of damage or simply wanting to update your space. Whatever the reason may be, there are certain things you need to consider before removing travertine tile. Here are some important factors to keep in mind:
Equipment and Tools
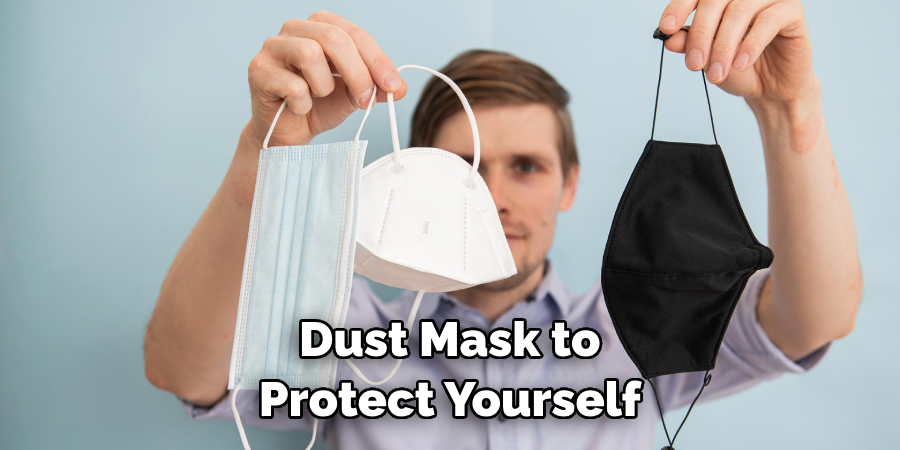
Removing travertine tile can be a labor-intensive task, so having the right equipment and tools is essential. You will need safety gear such as gloves, goggles, and a dust mask to protect yourself from any potential hazards. Additionally, you will need a hammer, chisel, pry bar, and a floor scraper to help with the removal process. It is important to have high-quality tools that are specifically designed for tile removal to make the job easier and safer.
Type of Adhesive
Travertine tile is typically installed using thinset mortar as an adhesive. However, there may be instances where different adhesives were used, such as mastic or epoxy. It is important to know what type of adhesive was used before attempting to remove the tile, as different adhesives require different removal methods. If you are unsure, it is best to consult a professional for guidance.
Conclusion
Travertine tile is certainly a unique and interesting way to bring some added aesthetic beauty and functionality to any room. Taking the time to carefully and safely remove it can be daunting task, but following these steps can make it much simpler. It’s important to remember the importance of safety first throughout the entire process.
With proper preparation and the right equipment, removing travertine tile doesn’t have to be a struggle. Just take your time, follow these steps, and you’ll have a stress-free experience getting rid of that travertine tile in no time.
So go ahead and take on this project like a pro! Get out there, get yourself organized, rent those tools you need, and get started on removing your travertine tile today! Thanks for reading, and we hope this has g iven you some inspiration on how to remove travertine tile!
