If you’re taking on a DIY concrete project, chances are you’ll need to make some silicone molds. Whether you’re crafting garden pieces, countertops, or other custom concrete structures, molds allow you to design and replicate shapes that can add serious style to your space. Silicone mold making may seem intimidating at first, but the process is actually quite straightforward and rewarding.
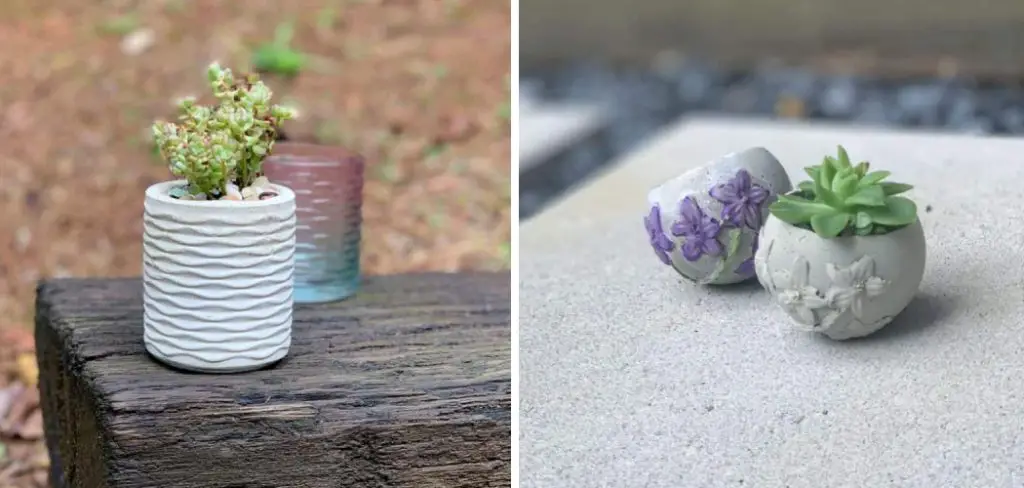
In this post on how to make a silicone mold for concrete, I’ll walk you through the step-by-step process of making a silicone mold you can use to cast beautiful concrete pieces for your home. From selecting and preparing the original pattern to pouring and demolding the concrete, I’ll cover all the key steps so you can start designing your own molded concrete creations.
Why Use Silicone for Concrete Molds?
Before we dive into the nitty-gritty of making a silicone mold, let’s first understand why silicone is an ideal material for this purpose. Silicone is a synthetic polymer that provides excellent flexibility and durability, making it perfect for creating molds that can withstand multiple casts.
Unlike traditional materials like plaster or latex, silicone doesn’t shrink or deform after multiple uses, ensuring that your molds will retain their shape and details over time. Additionally, silicone is resistant to heat and chemicals, making it suitable for use with a wide range of casting materials, including concrete.
Materials You’ll Need
Before you get started on creating your silicone mold, here’s a list of the basic materials you’ll need:
Original Pattern or Object:
This is the item you want to replicate in concrete, such as a figurine, tile, or other decorative piece.
Silicone Mold Rubber:
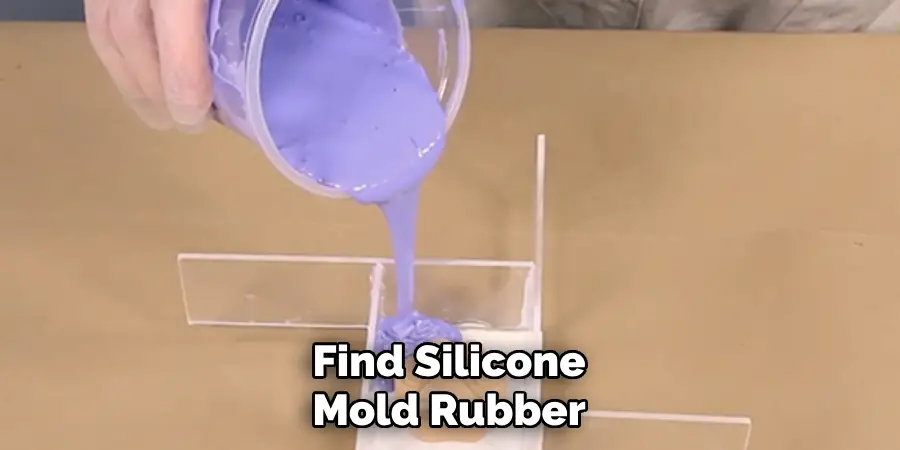
You can find silicone mold rubber at most craft and art supply stores. It usually comes in liquid form along with a catalyst that initiates the curing process.
Non-Sulfur Based Modeling Clay:
This type of clay is used to create a base for your original pattern so it doesn’t stick to the mold rubber.
It can also be used to fill in any gaps or holes in the pattern.
Mold Release:
This product helps prevent the mold rubber from sticking to your original pattern. You can find it at most hardware stores or online.
Mixing Containers and Stir Sticks:
These are essential for mixing the mold rubber and catalyst together.
Measuring Cups and Scale:
Precise measurements are crucial when making a silicone mold, so make sure you have these tools handy.
Protective Gear:
Since the mold rubber and catalyst can cause skin irritation, it’s important to wear gloves and protective eyewear while working with them.
11 Step-by-step Guidelines on How to Make a Silicone Mold for Concrete
Step 1: Prepare Your Original Pattern
Before you start working with the mold rubber, make sure your original pattern is clean and dry. If it has any holes or cracks, use the non-sulfur-based modeling clay to fill them in. It’s also a good idea to apply mold release on the surface of your pattern to ensure it doesn’t stick to the mold rubber. But if your original pattern is made of a non-porous material like glass or plastic, you can skip this step.
Step 2: Create a Base for Your Pattern
Take a small amount of the clay and flatten it into a pancake-like shape. Place your original pattern on top of it and press gently to create an even base that will keep your pattern in place. Although not necessary, this step can help prevent your pattern from floating or moving when you pour the mold rubber. You can also use the clay to build walls around your pattern, creating a mold box that will contain the liquid rubber.
Step 3: Prepare Your Mold Rubber
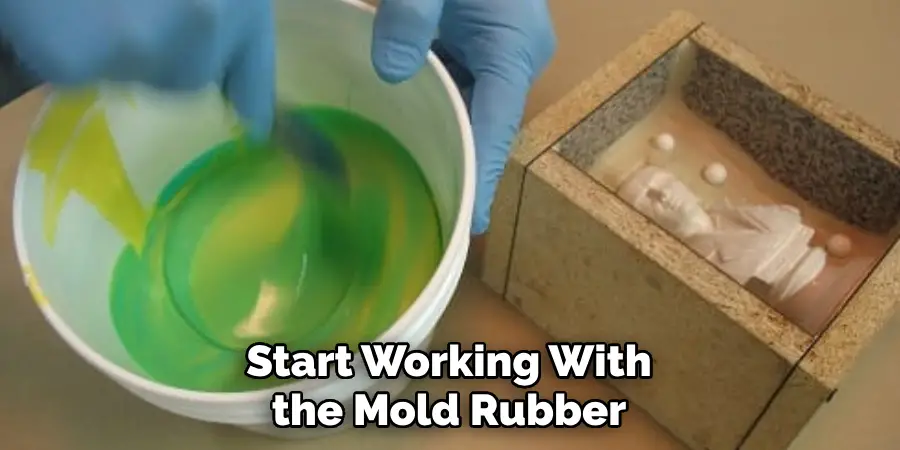
Carefully follow the instructions on the mold rubber package to mix it with the catalyst. Make sure you measure the correct proportions and stir thoroughly, as not mixing properly can lead to incomplete curing. If you’re using a silicone mold rubber with a fast curing time, work quickly as the mixture will start to set within 5-10 minutes.
Step 4: Pour the Mold Rubber
Pour the mold rubber over your pattern while holding it at a slight angle. This will help get rid of any air bubbles that may have formed during mixing. Continue pouring until the entire pattern is covered and the mold rubber reaches a depth of at least 1/2 inch. You can also use a brush to ensure the mold rubber gets into all the small crevices and details of your pattern.
Step 5: Let it Cure
Allow the mold rubber to cure for at least 12 hours. This time may vary depending on the type of silicone mold rubber you’re using, so make sure to check the instructions. You’ll know it’s fully cured when it feels firm and doesn’t leave an indentation when pressed. You can also use a mold release on the cured rubber to make it easier to remove from your original pattern.
Step 6: Remove the Clay Walls
Once the mold rubber has cured, gently remove the clay walls if you used them. This will reveal your original pattern encased in the mold rubber. But don’t worry, you can reuse the clay for your next mold-making project. It’s also a good idea to keep the mold box intact in case you need to make any repairs or modifications to your mold.
Step 7: Create a Pour Hole
Using a sharp object like a toothpick, create a small hole in the mold rubber that will serve as the pour hole for your concrete. Make sure it’s large enough for your mixture to flow through and reach all areas of the mold. Otherwise, you may end up with air bubbles or pockets in your final piece. You can also create multiple pour holes for larger or more complex molds.

Step 8: Mix Your Concrete
Follow the instructions on your concrete mix to create a smooth, pourable mixture. You can also add colorants or other additives to achieve the desired look for your concrete piece. Make sure to mix enough concrete to fill your mold completely. But don’t worry if you mix too much, you can always use the extra for another project. It’s also important to work quickly, as concrete starts to set within 20-30 minutes.
Step 9: Pour the Concrete
Carefully pour the concrete mixture into the mold through the pour hole. Use a stick or tool to gently tap the mold and remove any air bubbles that may have formed during pouring. Continue filling until the mold is completely full and level on top. You can also add reinforcement materials like wire mesh or nylon fibers for added strength.
Step 10: Let it Cure
Just like with the mold rubber, make sure to let the concrete cure for at least 12 hours. But depending on the type of concrete mix you used, it may take longer to fully harden. Once cured, carefully remove the concrete piece from the mold by gently peeling back the mold rubber. If there are any imperfections, you can use sandpaper or a small chisel to fix them.
Step 11: Enjoy Your Concrete Creation
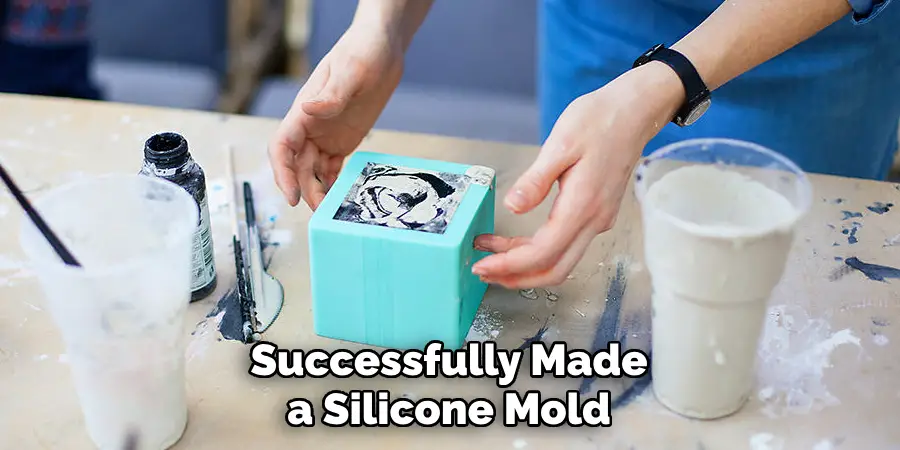
Congratulations! You have successfully made a silicone mold for concrete and created your own concrete piece. Allow it to fully cure for a few more days before handling or using it. You can also seal or paint your concrete piece for added protection and customization. Now that you know how to make a silicone mold for concrete, the possibilities are endless! Experiment with different patterns and designs to create unique pieces for your home or garden. So, have fun creating and don’t forget to share your creations with us! Happy molding!
Conclusion
In conclusion, learning how to make a silicone mold for concrete opens up endless possibilities for creativity and innovation in your DIY projects. Not only is this method cost-effective and easy to do, but it also allows you to create unique designs that cannot be achieved with traditional molds. Whether you are a beginner or an experienced crafter, I highly encourage you to give this technique a try and see the amazing results for yourself. From personalized planters to stylish coasters and even intricate jewelry pieces, the options are truly limitless with silicone molds. So don’t be afraid to experiment and push your creative boundaries!
And remember, always follow safety precautions when working with concrete and handle these delicate molds with care. Now go forth and unleash your inner artist with this fun and innovative method of molding concrete. Trust me, you won’t be disappointed! Don’t just take my word for it though, try it out and share your stunning creations with us on social media using the hashtag #ConcreteMoldsByYou. Happy crafting!
