Rubber flooring tiles are an affordable, durable, easy-to-maintain option for areas requiring a resilient surface. It is slip-resistant and available in multiple colors and textures, making it suitable for many different spaces.
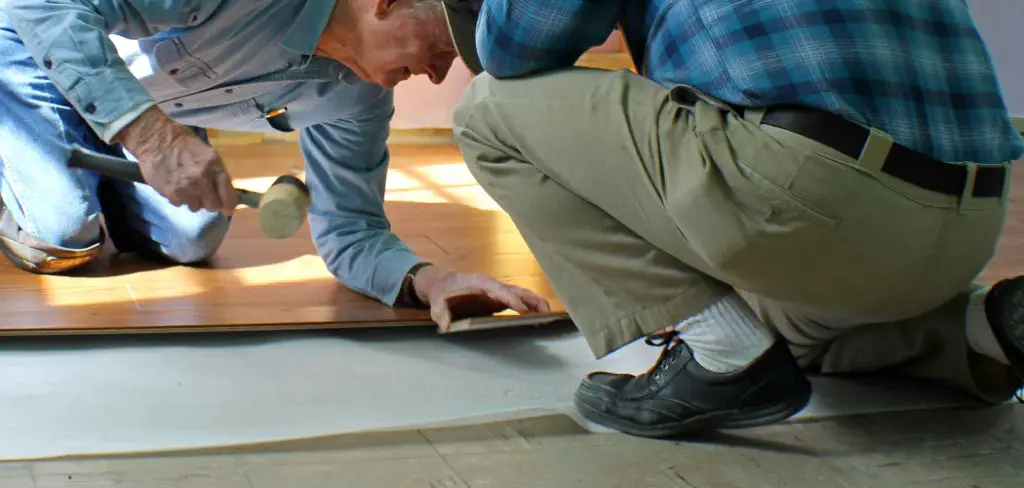
When it comes to installing rubber flooring tiles on a concrete surface, there are many advantages. To begin with, rubber is extremely durable and recyclable. This makes it an ideal choice for both commercial and residential areas where foot traffic is both heavy and consistent. Moreover, rubber has natural sound-dampening qualities that can be beneficial in areas where noise control is important. In this blog post, You will learn in detail how to install rubber flooring tiles on concrete.
Tools You Will Need
- Rubber Flooring Tiles
- Tape Measure
- Pencil or Marker
- Utility Knife
- Chalk Line (Optional)
- Straight Edge
- Hammer and Nails
- Grout and Sealing Agent
- Caulking Gun
- Level
- Adhesive
- Putty Knife
- Roller
Once you have all the tools and supplies, it’s time to install rubber flooring tiles on concrete. Begin by measuring the area you want to tile with a tape measure. Then draw a guideline with a pencil or marker along the edge of your planned surface.
Step by Step Processes for How to Install Rubber Flooring Tiles on Concrete
Step 1: Inspect the Concrete Slab
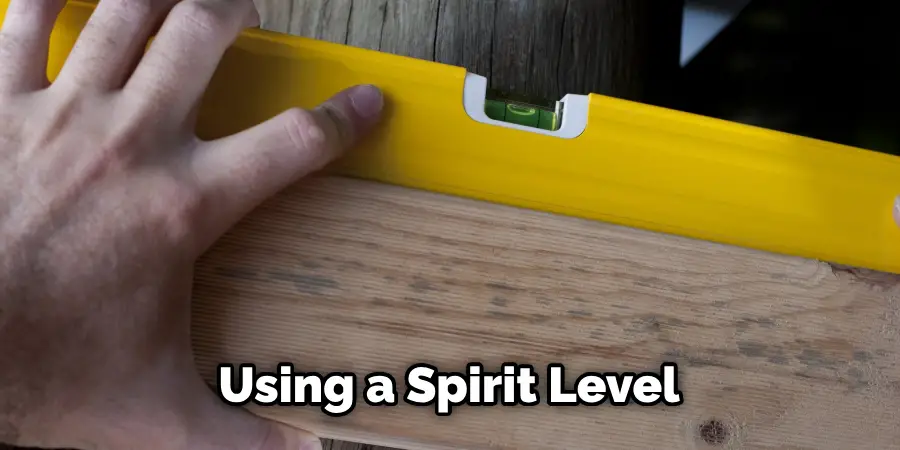
Before installing rubber flooring tiles on a concrete slab, it is important to ensure the surface is clean and level. You can easily inspect the area by using a spirit level or laser. This will ensure that the installation of your rubber flooring tiles goes smoothly and securely.
Step 2: Prepare the Concrete Slab
Once you have inspected the concrete slab, you must prepare it for installation. You can do this by using a grinder or sander to remove any dirt and debris on the surface. Filling in any cracks or holes with a repair compound compatible with rubber flooring tiles is also advisable.
Step 3: Apply Adhesive
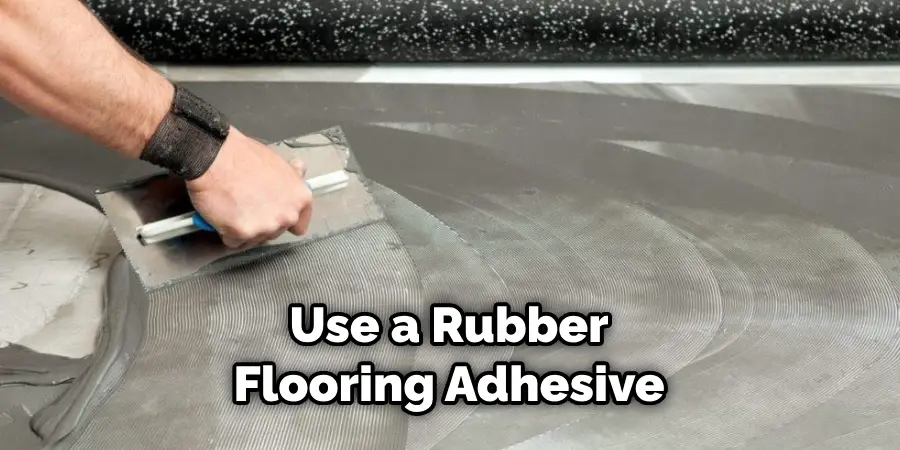
Once the concrete slab is prepped and ready, you must apply adhesive or mastic to the surface. This will ensure that your rubber flooring tiles are securely attached to the concrete. Make sure you use a high-quality product designed for this purpose.
Step 4: Lay Tiles
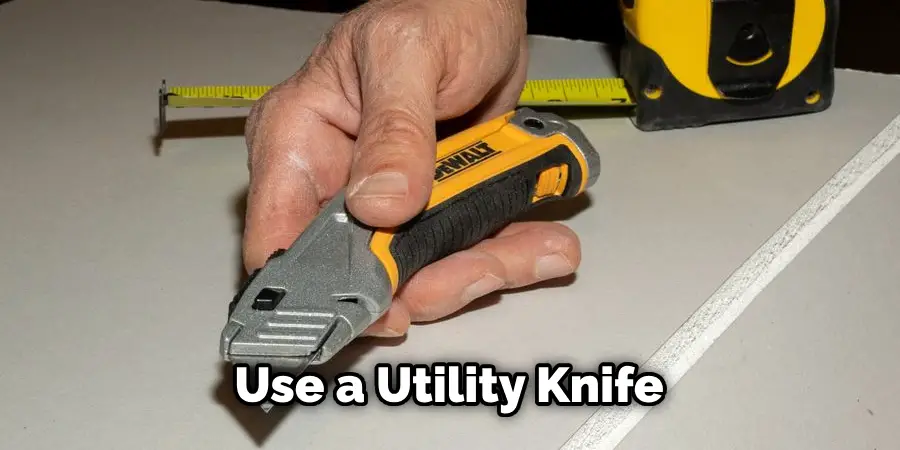
Now it is time to start laying your rubber flooring tiles. Make sure you start from one corner and work your way out. It is important to stagger the tiles so that each piece is evenly balanced on the concrete slab. If necessary, you can use a utility knife or saw to cut some rubber flooring tiles to fit around the edges or corners of the concrete slab. Make sure to measure twice and cut once when doing this.
Step 5: Apply Pressure
Once all the tiles are laid, you must apply pressure using a roller or rubber mallet. This will ensure that each tile is attached securely to the concrete surface. Once all the tiles are attached, you must use quality double-sided tape to adhere them together. This is important to ensure that your rubber flooring tiles remain securely attached and do not move around on the concrete slab.
Step 6: Caulk Edges
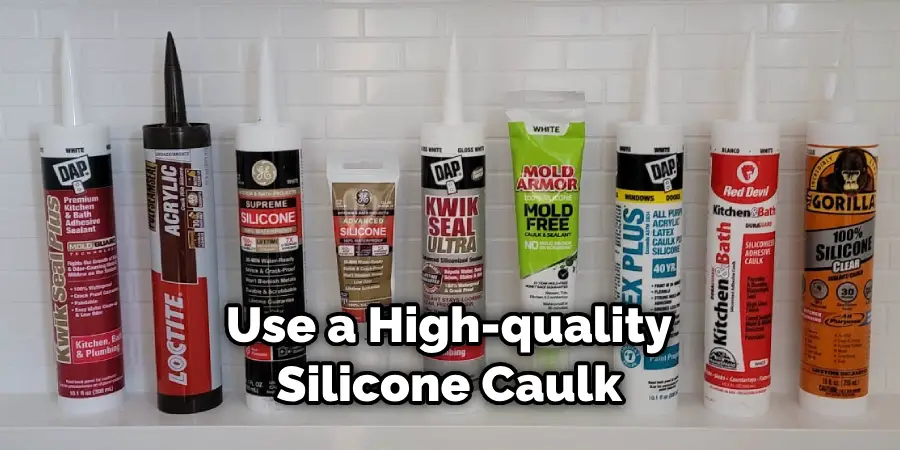
To give your rubber flooring tiles a finished look, you should use a high-quality silicone caulk to fill in any small gaps between the tiles and the edges of the concrete. Once all of the steps are complete, cleaning up any excess adhesive or mastic that may have spilled on the concrete during the installation process is important.
Step 7: Apply a Sealant
Finally, you should apply a sealant to your rubber flooring tiles to protect them from wear and tear. This will also help to extend the life of your rubber flooring for many years.
Following these steps will ensure that you can install rubber flooring tiles on a concrete slab quickly and easily. With the right preparation, materials, and tools, you can install your rubber floors in no time.
Safety Precautions for How to Install Rubber Flooring Tiles on Concrete
- Wear safety goggles and a dust mask to protect your eyes and lungs from airborne particles.
- Measure the area where the rubber tiles will be placed, allowing for at least a ½ inch expansion gap around each tile. Mark this area with chalk or tape to know exactly how many rubber flooring tiles you need to purchase.
- Before installing the rubber tiles, ensure the concrete is clean and free of any dirt, debris, or moisture. Use a floor grinder with diamond blades to ensure a smooth surface after removing any existing flooring material or coating.
- Start in the middle of the room for best results and work your way out. Use a rubber flooring adhesive to affix tiles using a trowel, ensuring they are pressed firmly into position.
- Once all of the tiles have been installed, use a heavy roller to ensure a proper bond between them and the concrete substrate.
- To complete the flooring installation, use a utility knife to cut any tiles that need to fit around walls or doorways.
- Finally, let the rubber flooring cure for at least 24 hours before walking on it or placing furniture on top of it. Following these simple steps will ensure that your rubber flooring tiles are properly installed and ready to last for years.
These safety tips and precautions will help ensure your rubber flooring tiles are properly installed and ready to last many years. By following these steps, you can rest assured that your rubber flooring installation will be done right and provide a safe environment for you and your family.
Are There Any Special Instructions For Cutting and Trimming Rubber Flooring Tiles?
Yes, following the instructions when cutting or trimming rubber flooring tiles is important. To ensure the tiles fit properly and look great, use a sharp utility knife or an oscillating tool with a sharp blade. Make sure to wear all protective safety gear when using these tools. Use a ruler or straight edge and a soft-lead pencil when marking your cut lines. It is important to score the tiles with several light passes instead of one deep cut so that you don’t damage the tiles or make them uneven. After scoring lines onto the tiles, proceed to snap off any excess rubber for a precise fit.
When it comes to installing rubber flooring tiles on concrete, it is important to follow the manufacturer’s instructions carefully. Make sure to use a good-quality adhesive and sealant the manufacturer recommends to ensure proper adhesion. Ensuring all tiles are installed in a uniform and leveled pattern is also important. Make sure to take extra care when trimming and cutting around door frames, fixtures, and other items for the flooring to fit properly.
What Maintenance is Required After Installation of the Rubber Flooring Tiles?
After the rubber flooring tiles have been properly installed onto the concrete, a few important maintenance steps need to be taken to ensure they last for years. The first step is to regularly clean and vacuum the tiles. This will help keep them free of dirt and debris, so they’ll look their best for a long time. Be sure to use a vacuum with a brush attachment, as this will help to loosen any dirt that has built up on the tiles.
It’s also important to periodically reseal the rubber flooring tiles. This helps protect them from dirt and other contaminants that can cause damage over time. To do this, simply apply a sealer to the tiles after cleaning them, then let them dry for several hours. Finally, make sure to check on the rubber flooring tiles occasionally for any signs of wear and tear. If any are found, be sure to repair them immediately to prevent further damage. By following the instructions, you can ensure that your rubber flooring tiles on concrete last for many years.
Conclusion
In conclusion, installing rubber flooring tiles on concrete is a straightforward process that requires minimal effort. Before starting, measure the space where you plan to install the tiles and purchase enough for the area. It’s important to clean the surface of any dirt or debris prior to installation and make sure it’s dry before beginning.
Utilize a rubber floor adhesive to secure the tiles in place. If you’d prefer, you can also use double-sided tape or an adhesive mat for installation. Your rubber flooring tiles will look great and last for years with proper preparation and care. I hope this article has been beneficial in learning how to install rubber flooring tiles on concrete. Make Sure the precautionary measures are followed chronologically.
