No matter the size of your concrete project, it’s important to plan for potential movement between different slabs and other structures. Expansion joints are a vital factor in ensuring that these structures remain stable over time by bridging two surfaces together and providing room for flex without compromising strength or durability.

In this blog post, we’re breaking down how to install expansion joints in concrete; from preparation to general guidance on products needed, you’ll have all the information you need to understand why they’re essential and how best to go about installing them correctly.
What is an Expansion Joint?
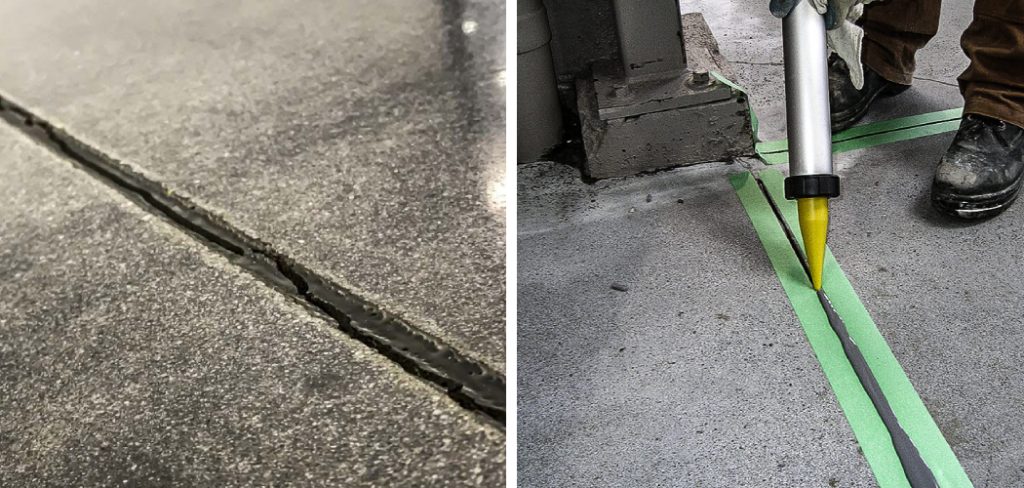
An expansion joint is a gap installed between two concrete slabs to allow for movement. Expansion joints prevent cracking in concrete by bridging the gap between two sections of the slab, allowing for thermal and structural expansion without compromising strength or durability.
When considering how to install expansion joints, it’s important to understand why they are necessary and what types are available.
Why Should You Install It in Your Concrete Slab?
Installing expansion joints in concrete is essential for any structure that experiences large temperature changes or movement as it expands and contracts.
Without an expansion joint, the strain caused by thermal expansion can result in the cracking of the slab and other structural damage. Expansion joints also help to prevent water infiltration, corrosion of steel embeds, and soil erosion which can all lead to costly repairs.
12 Easy Steps on How to Install Expansion Joints in Concrete
Step 1: Measure the Distance
Measure the distance between the two concrete surfaces you’re connecting. This will determine what kind of material you need and how much of it is required.
It’s important to be precise in this step as it will determine the overall success of the installation. But don’t worry – if in doubt, err on the side of caution and opt for a longer length expansion joint than you think you’ll need.
Step 2: Choose the Right Expansion Joint Material
There are various types of expansion joint materials available, including foam and rubber. Each has its own characteristics and is suitable for different applications.
For instance, the foam may be best for large gaps or joints exposed to, while rubber may be best for smaller gaps or joints exposed to movement.
Step 3: Clean the Area
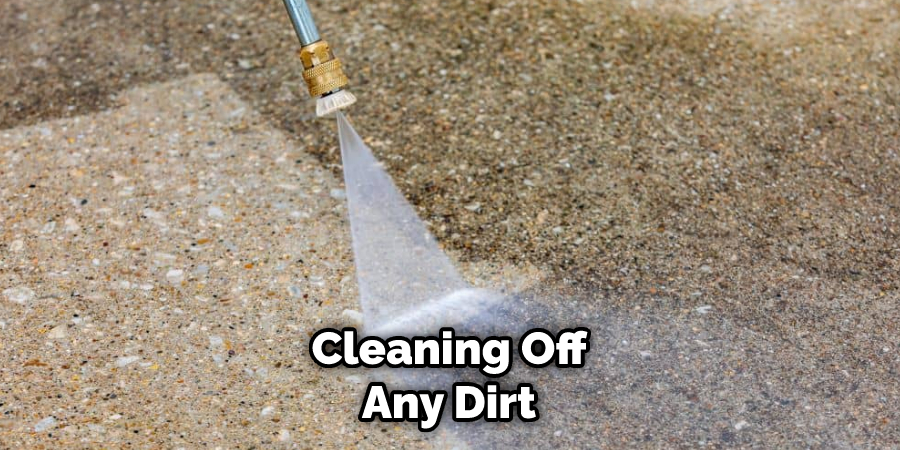
Once you’ve chosen the expansion joint material, it’s time to prepare the area by cleaning off any dirt or debris.

This will ensure that the expansion joint adheres to the surface and is able to move freely without obstruction. If the area is wet, make sure to dry it off completely before proceeding. But be sure to do this without damaging the concrete surface.
Step 4: Install the Expansion Joint
Once the area has been cleaned, you can begin installing the expansion joint. Start by cutting it to length using a sharp utility knife and then place it between the two concrete surfaces.
Be sure to use an adhesive designed for this purpose in order to secure it properly. That’s it – you’ve successfully installed an expansion joint!
Step 5: Secure with Fasteners
Once the expansion joint is in place, use fasteners such as screws or nails to secure it in place. Make sure that these are placed at least 1-2 inches apart from each other, and remember to pre-drill the holes for a better fit. It’s also a good idea to add a layer of caulk or sealant around the edges for extra protection.
Step 6: Cover and Seal
After securing the expansion joint with fasteners, it’s time to cover and seal the area. You can use caulk or tape to ensure that there are no gaps between the two surfaces. This will help prevent any water infiltration or dirt buildup in the future. Our rule of thumb is to make sure that the caulk or tape overlaps the edges of the joint by at least one inch.
Step 7: Check for Leaks
Once the expansion joint is installed and sealed, check for any leaks or air bubbles that may have formed during installation. If you find any, they should be filled in with caulk or taped over as soon as possible.
But if you don’t find any, congratulations – you’ve completed the installation of your expansion joint! However, it’s important to keep an eye on the area in case any small cracks form over time.
Step 8: Apply Primer
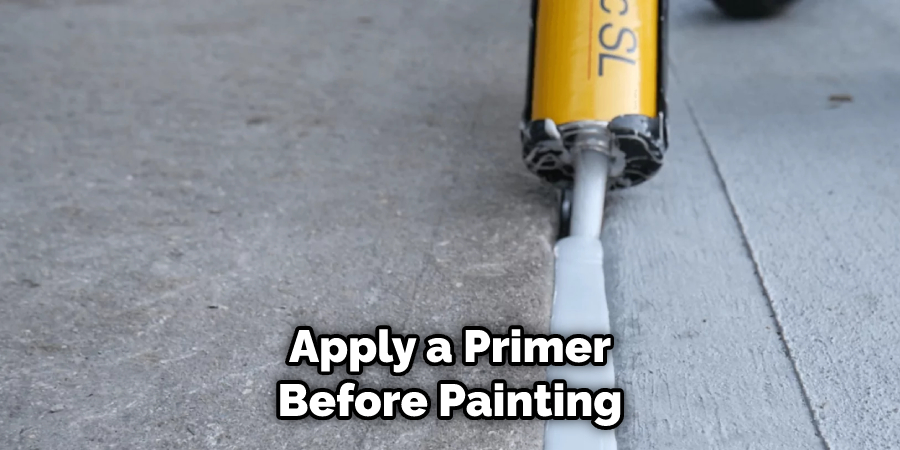
In order to ensure that the expansion joint is secure and durable, it’s important to apply a primer before painting.

This will help the paint adhere properly and provide an extra level of protection against moisture. If you are using a moisture-curing spray, make sure to follow the manufacturer’s instructions carefully. Make sure the area is completely dry before proceeding.
Step 9: Paint
Once the primer has dried, it’s time to paint. Be sure to use a concrete sealant in order to get good coverage, as this will not only protect against corrosion but also increase the life of your expansion joint.
This is the last step of installing an expansion joint and you’re now ready to enjoy its benefits! Remember to inspect the joint regularly for any signs of wear and tear.
Step 10: Wait for It To Dry
Now comes the waiting game! Once you have painted your expansion joint, be sure to let it dry completely before walking on or using it in any way.
This may take up to 24 hours depending on the weather conditions. On hot days, you may need to wait even longer. But once it has dried, your expansion joint is finally ready for use!
Step 11: Check for Cracks
Before using the expansion joint, it’s a good idea to perform a quick check for any cracks or gaps that may have formed during installation. If you find any, fill them in with caulking before moving on.
But once you’ve checked and filled any cracks, your new expansion joint is ready for use!

Remember to clean and maintain your expansion joint on a regular basis in order to ensure its longevity.
Following these steps will help ensure that your expansion joint is installed properly and securely. For more tips on how to install expansion joints in concrete, be sure to consult a professional contractor.
With the right knowledge and expertise, you can ensure that your expansion joint will last for years to come. So get out there and start installing your own expansion joint today! Good luck!
Do You Need to Use Professionals?
Installing an expansion joint in concrete is a challenging task that requires precise measurements and a good eye for detail. As such, it’s usually best to hire a professional contractor or engineer if you’re not familiar with the process.
This will help ensure that your expansion joint is installed correctly and securely.
If you decide to take on the installation yourself, make sure to double-check all measurements before beginning and always wear protective gear. This will help ensure your safety and the quality of the installation.
Frequently Asked Questions
Q: How Do I Know When an Expansion Joint is Needed?
A: Expansion joints are used to prevent damage caused by the natural expansion and contraction of concrete due to temperature changes. If you’re not sure if your project requires an expansion joint, it’s best to consult with a professional contractor or engineer.
Q: How Long Should I Wait Before Walking on the Expansion Joint?
A: It’s important to wait until the expansion joint has completely dried before walking on it. This may take up to 24 hours depending on the weather conditions, but if you’re in a hurry, you can speed up the process by using a fan or dehumidifier.
Q: How Do I Maintain an Expansion Joint?
A: It’s important to clean and maintain your expansion joint on a regular basis in order to keep it looking good and ensure its longevity. Start by brushing away dirt, debris, and any loose pieces of concrete.

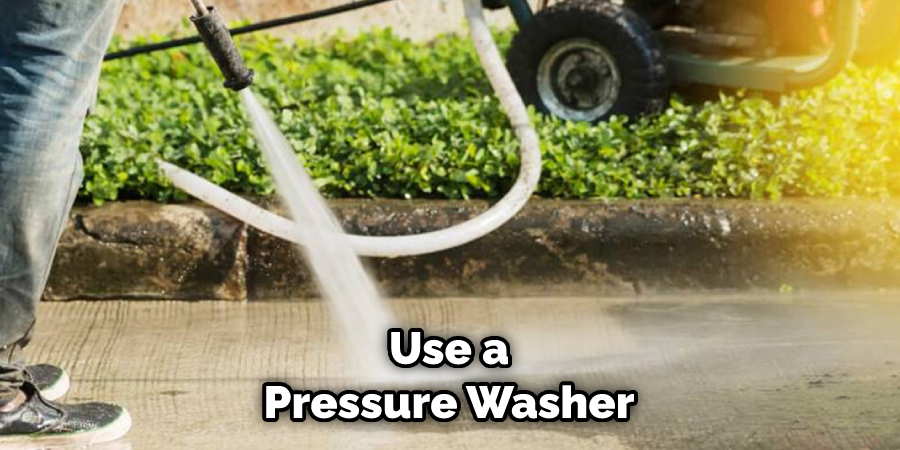
You can then use a pressure washer to remove any stubborn dirt or grime. Finally, inspect the expansion joint for any signs of damage and make repairs as necessary.
Q: What Materials Are Used for Expansion Joints?
A: The most common materials used for expansion joints are metal, plastic, rubber, and foam. Each of these has its own unique benefits and should be chosen depending on the specific needs of your project.
Conclusion
Thanks for reading this article on how to install expansion joints in concrete. Installation of expansion joints in concrete can be a tedious task but it is essential to ensure the longevity of the structure. It is important to determine where and how much gap should be kept before laying the concrete.
Apart from forming an attractive aesthetic feature, correctly installed expansion joints help reduce cracking due to heat, weathering and everyday use. Additionally, these joints also provide relief against thermal expansion and contraction of concrete.
Finally, when installed according to best practices, expansion joints provide stability and prevent any further damage to the concrete thereby ensuring its long-term serviceability. So take time while planning your expansion joint configurations as they will pay dividends in the future.
