Cedar shingles are a popular choice for roofing materials due to their durability and natural beauty. It is also known as cedar shakes and is a popular roofing material due to its durability and rustic appearance.
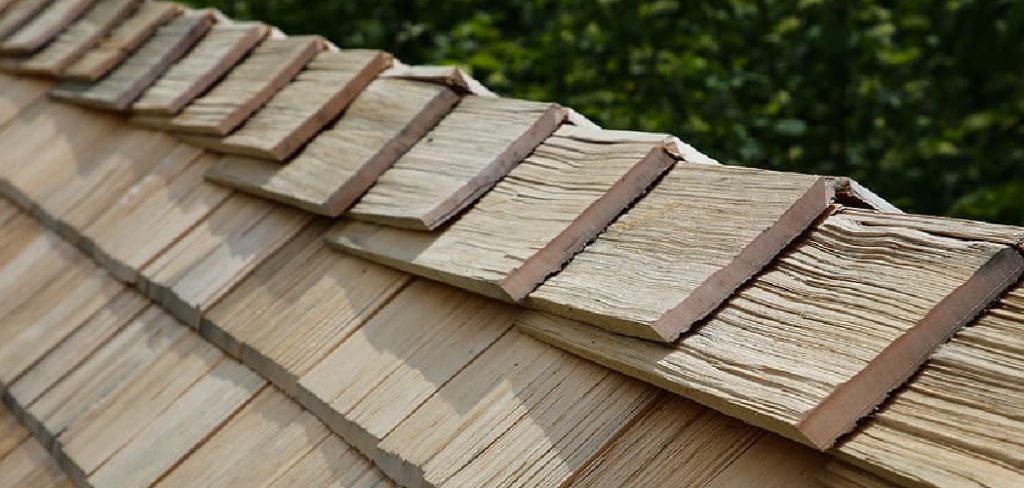
If you’re looking to install cedar shingles on a gable end, the process can be quite straightforward with the right preparation and tools. Installing cedar shingles on a gable end can be a bit challenging, but with the right tools and techniques, you can achieve a beautiful and long-lasting roof. In this guide on how to install cedar shingles on a gable end, we’ll walk you through the steps.
Materials Needed
Before installing cedar shingles on your gable end, you’ll need to gather the necessary materials. These include:
- Cedar shingles (also known as cedar shakes)
- Roofing felt
- Galvanized roofing nails
- Hammer or nail gun
- Utility knife
- Ladder or scaffolding
- Measuring tape
8 Things to Know Before You Start
1) Check Local Building Codes
Before starting any roofing project, it’s important to check with your local building codes. This will ensure that you comply with any specific regulations or requirements for installing cedar shingles on a gable end in your area.
2) Choose Quality Cedar Shingles
When selecting cedar shingles, look for high-quality materials that are free of knots and defects. These will provide better durability and longevity for your roof.
3) Decide on the Roofing Pattern
There are two common patterns used for installing cedar shingles on a gable end: the staggered pattern and the straight edge pattern. The staggered pattern is more traditional and provides better protection against water, while the straight edge pattern gives a cleaner appearance.
4) Prepare the Surface
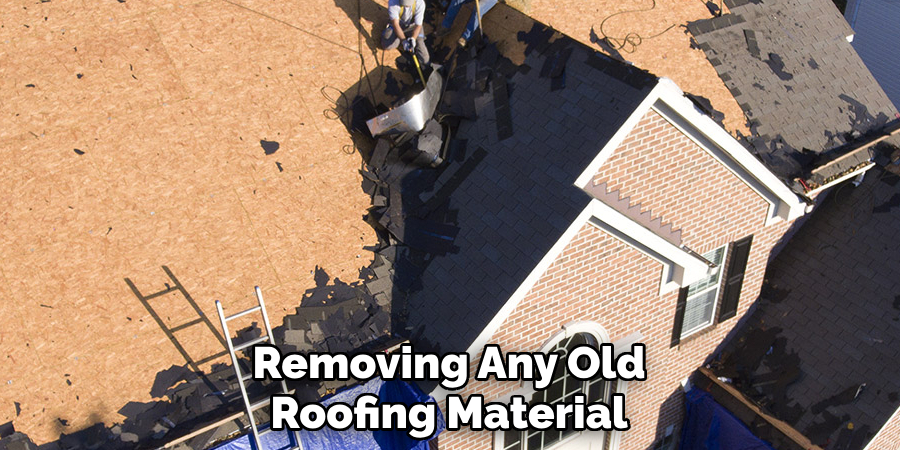
Before installing cedar shingles, you’ll need to prepare the surface by removing any old roofing material and repairing any damage. This will ensure a smooth and stable base for your new shingles. So, make sure to remove any old shingles, debris, or nails from the gable end surface.
5) Install Roofing Felt
To provide an extra layer of protection and prevent water from seeping through, install roofing felt over the entire gable end. This is especially important in areas with heavy rainfall or snow. If your gable end already has existing felt, make sure to inspect it for any tears or damage before proceeding.
6) Measure and Cut the Shingles
Before installing cedar shingles, measure the length of your gable end to determine how many shingles you’ll need. You can then use a utility knife to cut the shingles into the appropriate size and shape.
7) Begin Installing Shingles from the Bottom
Start installing the shingles at the bottom of the gable end, working your way up to the top. Make sure to leave a small gap of about 1/8 inch between each shingle to allow for expansion and contraction due to temperature changes.
8) Use Appropriate Fasteners
When attaching the shingles, use galvanized roofing nails that are long enough to penetrate through the shingle and into the roof surface. For best results, use a nail gun or hammer at an angle to secure each shingle in place.
Installing cedar shingles on a gable end can be a challenging task, but with the suitable materials and techniques on how to install cedar shingles on a gable end, you can achieve a beautiful and durable roof. Make sure to follow these steps carefully and take all necessary safety precautions when working at heights. With proper installation, your cedar shingle roof will provide years of protection and add natural beauty to your home.
12 Steps on How to Install Cedar Shingles on a Gable End
Step 1: Preparation
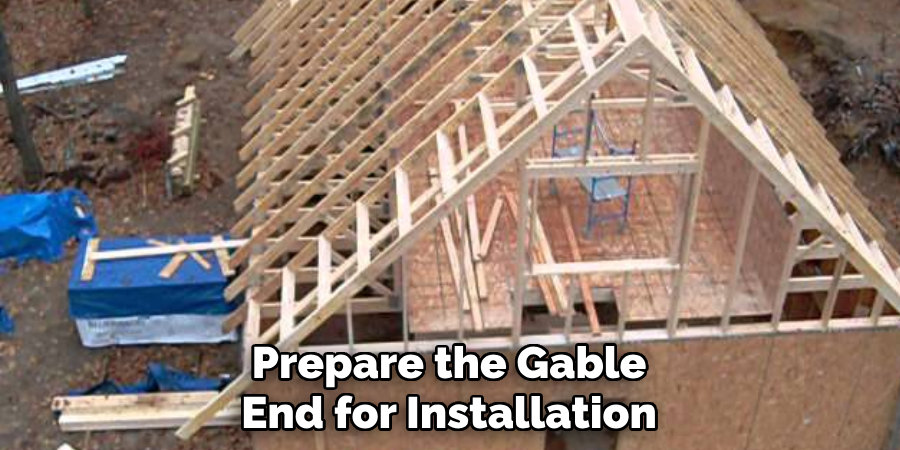
The first step is to prepare the gable end for installation. This involves removing any old roofing material, repairing any damage, and cleaning the surface. If needed, you can also install new roofing felt for added protection.
Step 2: Check Local Building Codes
As mentioned earlier, it’s important to check your local building codes before starting any roofing project. Make sure to comply with any specific regulations or requirements for installing cedar shingles on a gable end in your area.
Step 3: Gather Materials
Gather all the necessary materials for the installation, including cedar shingles, roofing felt, nails, a hammer or nail gun, a ladder or scaffolding, and measuring tape. While not necessary, it can also be helpful to have a helper to assist with the installation process.
Step 4: Measure and Cut Shingles
Measure the length of your gable end and use a utility knife to cut the shingles into the appropriate size and shape. Make sure to leave a small gap between each shingle for expansion and contraction.
Step 5: Begin at the Bottom
Start installing the shingles at the bottom of the gable end, working your way up to the top. Make sure to overlap each shingle by about 1-2 inches for proper water drainage. And remember to leave a small gap between each shingle.
Step 6: Use Proper Fasteners
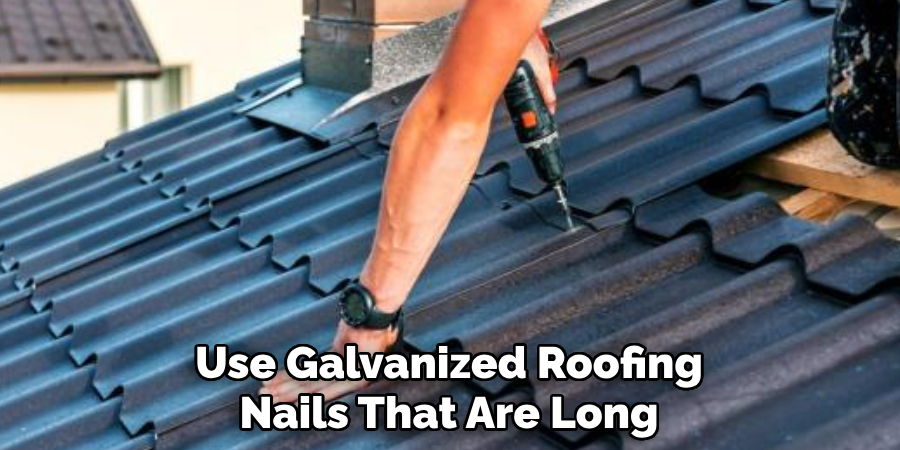
When attaching the shingles, use galvanized roofing nails that are long enough to penetrate through the shingle and into the roof surface. For best results, use a nail gun or hammer at an angle to secure each shingle in place.
Step 7: Follow Roofing Pattern
If you’ve decided on a specific pattern for your cedar shingles, make sure to follow it consistently throughout the installation process. Whether it’s staggered or straight edge, maintaining a consistent pattern will result in a more visually pleasing roof.
Step 8: Trim Shingles at Edges and Corners
When reaching the edges and corners of the gable end, you may need to trim the shingles to fit properly. Use a utility knife to cut the shingles into the appropriate shape and size carefully. So, take your time and make precise cuts for a clean and professional finish.
Step 9: Use Ladder or Scaffolding
Working at heights can be dangerous, so it’s important to use a ladder or scaffolding to safely access the gable end. Make sure to follow all safety precautions and have someone hold the ladder or assist with the installation if needed.
Step 10: Inspect for Proper Installation
After installing a few rows of shingles, make sure to step back and inspect the work for proper installation. Check for any gaps or unevenness and make adjustments as needed. It’s much easier to fix any issues at this stage rather than after completing the entire installation.
Step 11: Repeat Until Complete
Continue installing shingles in rows until you reach the top of the gable end. Remember to overlap each row and leave a small gap between each shingle for proper water drainage. As you near the top, you may need to cut shingles into smaller sizes for a snug fit.
Step 12: Finishing Touches
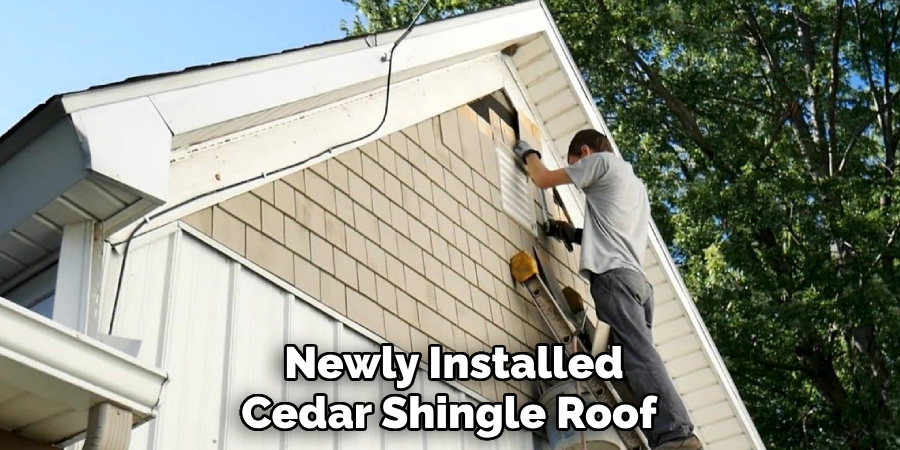
Once the entire gable end is covered with cedar shingles, make any final adjustments or trim any excess shingles if needed. Then, stand back and admire your newly installed cedar shingle roof on your gable end! With proper installation and maintenance, it will provide years of protection and bring natural beauty to your home.
Overall, installing cedar shingles on a gable end can be a time-consuming process, but the end result is worth the effort in terms of durability and aesthetic appeal. So, take your time, follow these steps carefully, and enjoy your beautiful new roof!
8 Things to Avoid When Installing Cedar Shingles on a Gable End
1) Skipping Preparation
It may be tempting to start installing the cedar shingles right away, but skipping preparation can result in a subpar installation. Make sure to properly clean and repair the gable end before beginning the installation process.
2) Not Checking Building Codes
As mentioned earlier, it’s important to check your local building codes before starting any roofing project. Failure to comply with regulations can result in costly fines or having to redo the installation. If you’re unsure, consult a professional or your local building department.
3) Using Incorrect Materials
Using incorrect materials can also lead to issues with the installation and long-term performance of your cedar shingle roof. Make sure to use galvanized roofing nails and high-quality cedar shingles for best results.
4) Installing Without Assistance
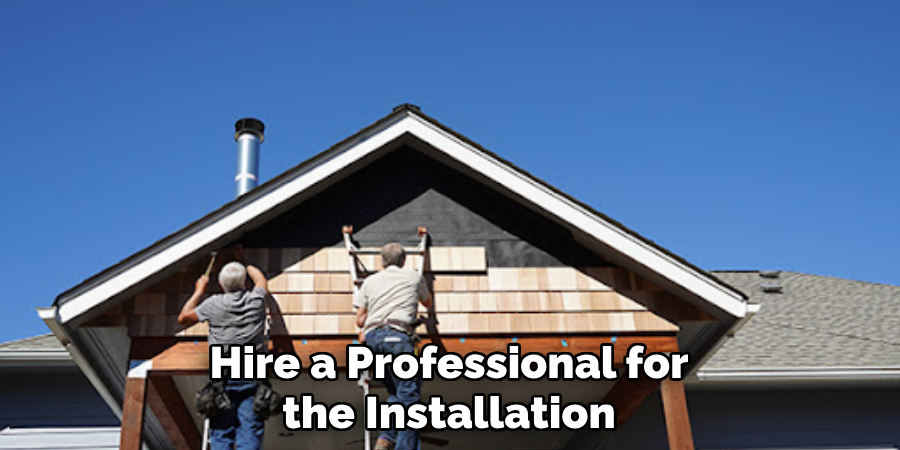
Installing cedar shingles on a gable end can be a challenging and potentially dangerous task, especially when working at heights. It’s always recommended to have someone assist you or hire a professional for the installation.
5) Improper Fastening
Improperly fastened shingles can lead to issues such as leaks or shingle blow-offs in high winds. Make sure to use the correct nails and fasteners and follow the recommended spacing and angling guidelines.
6) Ignoring Roofing Patterns
Ignoring specific roofing patterns can result in a visually unappealing roof. Whether it’s staggered or straight edge, make sure to follow a consistent pattern throughout the installation process. More intricate patterns may require more time and skill, so plan accordingly.
7) Rushing the Installation
Installing cedar shingles on a gable end requires patience and precision. Rushing through the process can result in mistakes or an uneven installation. Take your time and make sure each row is properly overlapped and fastened for a long-lasting roof.
8) Neglecting Maintenance
Even the most well-installed cedar shingle roof will require regular maintenance to stay in top condition. Neglecting maintenance tasks such as cleaning and repairs can result in issues down the road, so make sure to follow a proper maintenance schedule.
Overall, avoiding these mistakes can lead to a successful installation and long-lasting cedar shingle roof on your gable end. So, take your time, follow these tips on how to install cedar shingles on a gable end, and enjoy the beauty and durability of cedar shingles on your home. Remember to consult with professionals or local building codes for specific guidelines and recommendations before starting any roofing project. By avoiding common mistakes, properly maintaining your roof, and following additional tips, you can enjoy the beauty and durability of cedar shingles on your gable end for years to come.
8 Additional Tips for Installing Cedar Shingles on a Gable End
1) Choose High-Quality Cedar Shingles
Investing in high-quality cedar shingles from a reputable supplier can make a big difference in the overall appearance and performance of your roof. Make sure to do your research and choose shingles with good reviews and proper certifications.
2) Consider Using Underlayment
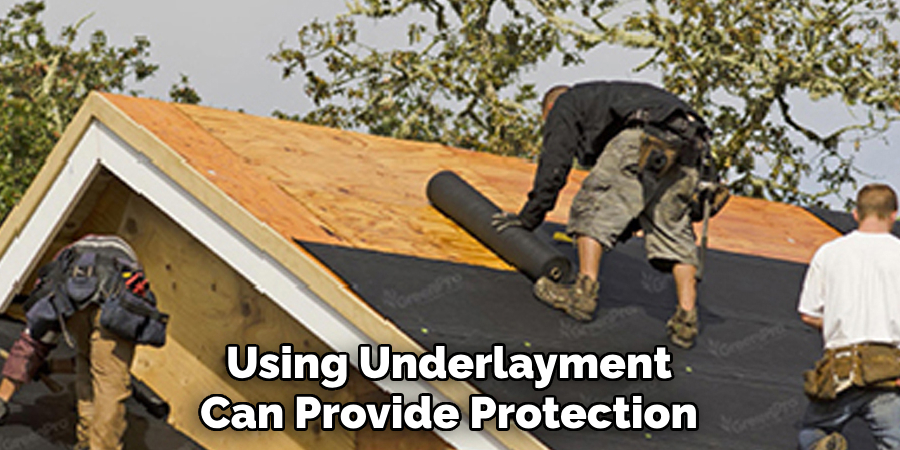
While not always necessary, using underlayment can provide an extra layer of protection against moisture and improve the overall performance of your cedar shingle roof. Consult with a professional or local building code for recommendations on the type of underlayment to use.
3) Use a Nail Gun for Efficiency
If you have experience using a nail gun, it can be a time-saving tool for installing cedar shingles on a gable end. However, make sure to use proper precautions and follow safety guidelines when using any power tools.
4) Plan for Waste
It’s important to plan for waste when purchasing cedar shingles for your gable end installation. Due to their natural variations in thickness and size, you may need more shingles than expected. It’s always better to have extra rather than running out mid-installation.
5) Consider Using a Starter Course
A starter course involves using shorter shingles along the edge of the gable end for a more professional and secure installation. This can help prevent wind damage and improve water drainage.
6) Use Caulk or Sealant for Extra Protection
Applying a thin layer of caulk or sealant along the edges and corners of your cedar shingle roof can provide extra protection against leaks. Just make sure to choose a product that is compatible with Cedar and follow the instructions carefully.
7) Protect Your Shingles During Installation
Cedar shingles are delicate and can easily be damaged during installation. Make sure to handle them with care and store them in a dry area before use.
8) Hire a Professional for Complex Installations
If your gable end has complex angles or multiple dormers, it may be best to hire a professional for the installation. This will ensure that the roof is properly installed and reduce the risk of potential issues down the road. Overall, by following these tips and avoiding common mistakes, you can ensure a successful and long-lasting installation of cedar shingles on your gable end.
Overall, by following these tips on how to install cedar shingles on a gable end and avoiding common mistakes, you can ensure a successful and long-lasting installation of cedar shingles on your gable end.
Installing cedar shingles on a gable end can be a challenging task, but with the right tools and knowledge, it can result in a beautiful and long-lasting roof. By avoiding common mistakes, properly maintaining your roof, and following additional tips, you can enjoy the benefits of cedar shingles for years to come.
Frequently Asked Questions
How Long Do Cedar Shingles Typically Last?
With proper installation and maintenance, cedar shingles can last up to 30 years or more. However, this can vary depending on factors such as climate and exposure to the elements.
Can I Install Cedar Shingles Myself?
While it is possible to install cedar shingles on a gable end yourself, it’s always recommended to consult with a professional or hire one for complex installations. Improper installation can lead to issues and costly repairs down the road.
How Do I Properly Maintain My Cedar Shingle Roof?
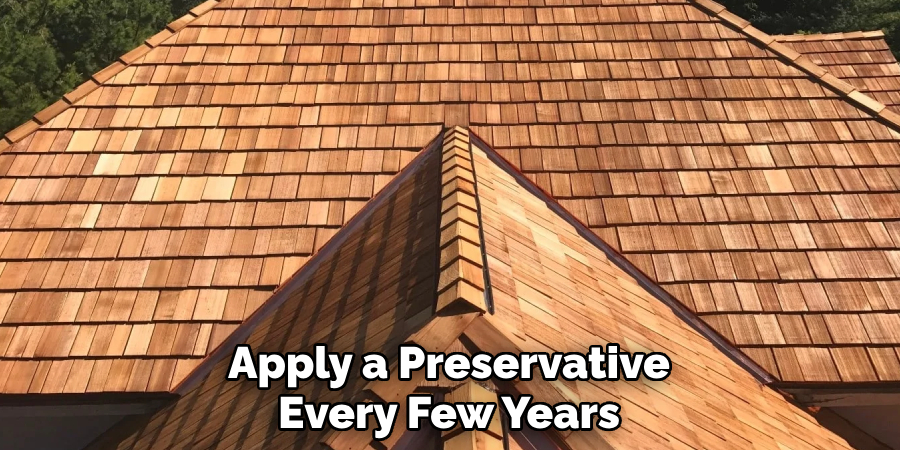
Regular maintenance tasks for a cedar shingle roof include cleaning off debris and algae, replacing damaged shingles, and checking for any leaks. It’s also recommended to apply a preservative every few years to protect against weathering.
Remember that it’s always best to consult with a professional or refer to the manufacturer’s recommendations for specific maintenance guidelines.
Are There Any Environmental Benefits to Using Cedar Shingles?
Yes, cedar shingles are a sustainable and environmentally friendly roofing option. As a natural product, they are biodegradable and can be recycled at the end of their lifespan. They also have lower energy consumption during production compared to other roofing materials.
Additionally, cedar shingles are known for their insulation properties, helping to reduce energy consumption and costs for heating and cooling. So not only do they add beauty to your home, but they also have environmental benefits.
Conclusion
Installing cedar shingles on a gable end may require more time and effort than other roofing materials, but the end result is worth it. By avoiding common mistakes and following additional tips on how to install cedar shingles on a gable end, you can ensure a beautiful and durable cedar shingle roof that will protect your home for years to come.
Remember to always prioritize safety, follow proper installation guidelines, and consult with professionals when needed. Now, go out there and create a stunning gable end with cedar shingles!
So not only do they add beauty to your home, but they also have environmental benefits. Installing cedar shingles on a gable end may require more time and effort than other roofing materials, but the end result is worth it.
By avoiding common mistakes and following additional tips, you can ensure a beautiful and durable cedar shingle roof that will protect your home for years to come. Remember to always prioritize safety, follow proper installation guidelines, and consult with professionals when needed.
