Are you a DIY enthusiast looking to spruce up your bathroom? If so, learning how to grout in corners can be an exciting and rewarding task.
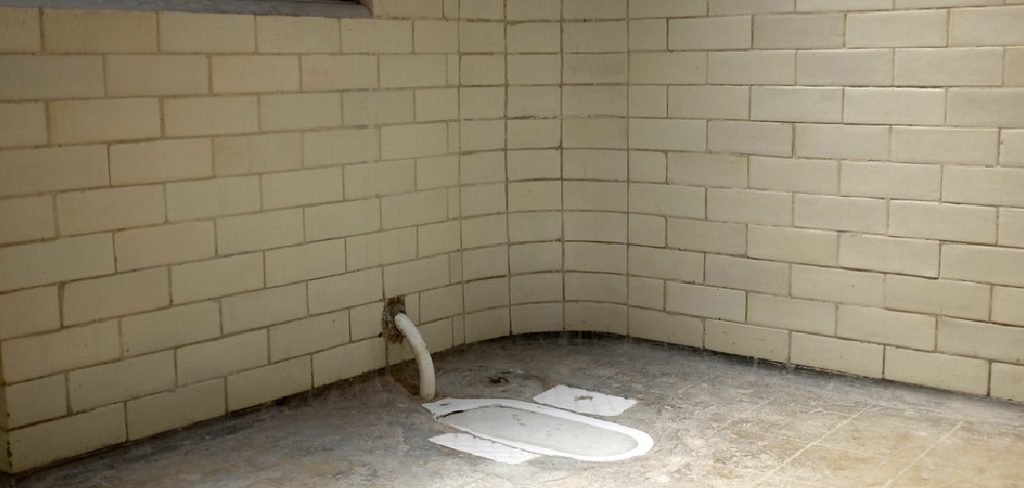
Grouting is the process of filling spaces between tiles that provide stability and support for tile installations by providing a water seal barrier. When it comes to tiling around bathtub, shower or sink edges, one key step is mastering grouting in corners before moving onto larger areas.
Whether it’s your first time taking on this kind of project or you’re simply trying new techniques, nailing these tricky spots might seem overwhelming but don’t worry – we have all the tips and tricks you need!
Why Do You Need to Grout in Corners?
Grouting in corners is essential because it helps seal the edges of your tiles, preventing water seepage into the surrounding area. This is especially important if you are tiling a shower or bathtub as any leakage can cause long-term damage and mold growth to the underlying walls and floors.
Additionally, the grout helps create a strong bond between the tiles, so that they stay in place and don’t move around when you stand on them or put weight on them. This is especially important for places where there is a lot of foot traffic like a bathroom floor or shower walls.
Needed Tools
Given below are some of the tools you will need before starting your grouting work:
Grout
This is available in powder or ready-mixed form, and you will need to mix it with water according to the manufacturer’s instructions.
Grout Float
This is used to press the grout in and smooth the surface.
Rubber Gloves
This help protect your hands from accidental scratches and contact with the grout.
Sponge
This is used to wipe away the excess grout from the tiles after it has been applied.
Pail of Water
This is used to moisten the sponge and help remove any remaining grout residue on the tiles.
11 Step-by-step Instructions on How to Grout in Corners
Step 1: Place the Tiles in Their Desired Positions
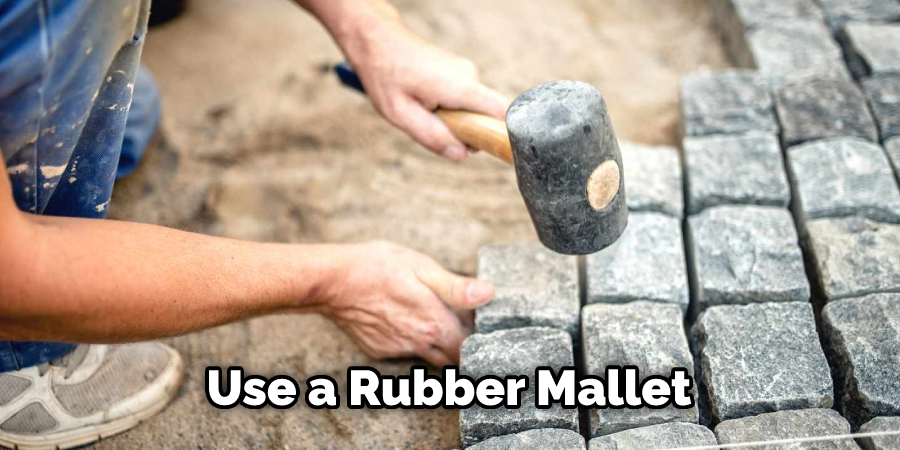
Take special care while placing the tiles around corners, making sure they fit snugly into position. If you’re having trouble getting them to fit, use a rubber mallet or similar tool to knock them into place. It’s important to take note of any gaps between tiles as they need to be filled with grout. If the gap is too wide, you will need to go back and adjust the tiles. It is also important to leave a 1/8-inch gap between the tiles and any walls or other surfaces. Otherwise, the grout will not adhere properly.
Step 2: Mix the Grout
Follow the manufacturer’s instructions to mix the grout, usually, this involves adding some water and stirring it until it has a thick consistency. But make sure the grout isn’t too wet – it should have a paste-like texture. If it’s too wet, the grout will run and won’t stick to the tiles properly. You should also be sure to mix enough grout for the entire area you are tiling, as it’s not a good idea to have to mix more when you’re in the middle of the job.
Step 3: Apply the Grout
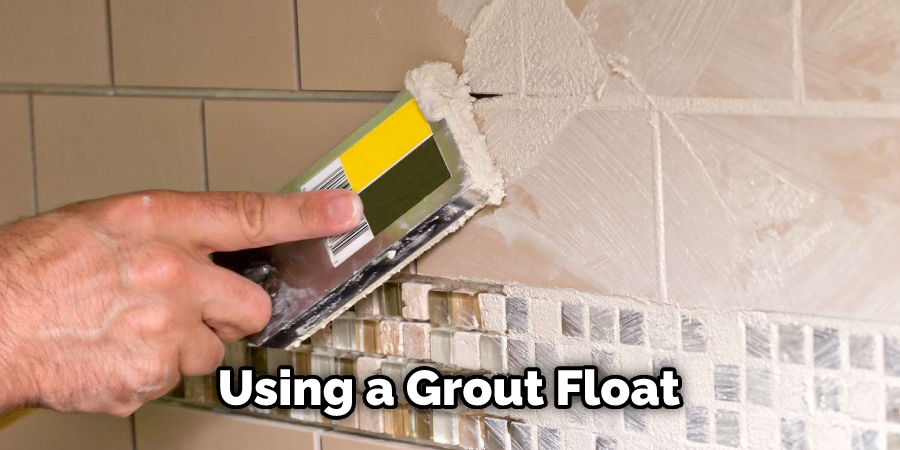
Using a grout float, spread the grout over the tiles in a crosswise motion, pushing it into any gaps between tiles. Once you have filled all of the gaps, use an old credit card or similar tool to scrape off any excess grout that might be sitting on top of the tiles. Make sure to work the grout into the corners, filling any gaps and pressing it firmly into place. If you don’t, the grout won’t adhere properly. It’s also important to take your time with this step and make sure you get all of the corners, as any missed spots will be visible after the grout has dried.
Step 4: Allow It to Set Up
Now that you have applied the grout and removed any excess, allow it to be set up according to the manufacturer’s instructions. This typically takes 10-15 minutes, depending on the type of grout used. It’s important to not disturb the grout during this time, as it may cause problems later. However, if you find that the grout has dried too much and is starting to crack, you can try adding a bit more water to the mix and reapplying it to the corners.
Step 5: Smooth Out the Grout Lines
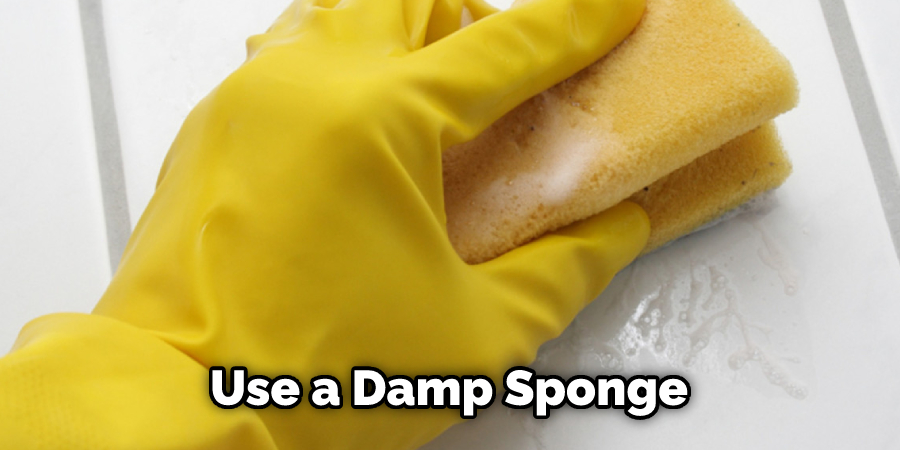
Once the grout has been set up and no longer feels wet or sticky to the touch, use a damp sponge to smooth out any rough lines. You don’t need to press down too hard as this could remove some of the grout from between tiles. If there are still some visible lines, you can use a grout saw to cut them away.
Step 6: Clean Up Excess Grout
Using a damp sponge, wipe away any remaining excess grout from around the corners and edges of your tiles. Make sure you rinse out your sponge frequently and change the water often in order to get rid of all traces of residual grout. But be careful not to rub too hard, as this could damage the tiles.
Step 7: Allow It to Dry
Allow the grout to dry completely before you apply any sealer or cleaner. You can use a fan or dehumidifier to speed up the drying process if necessary. This may take up to 24 hours, depending on the type of grout used and the conditions in your area. Remember, the grout must be completely dry before you apply any sealer or cleaner.
Step 8: Seal the Grout
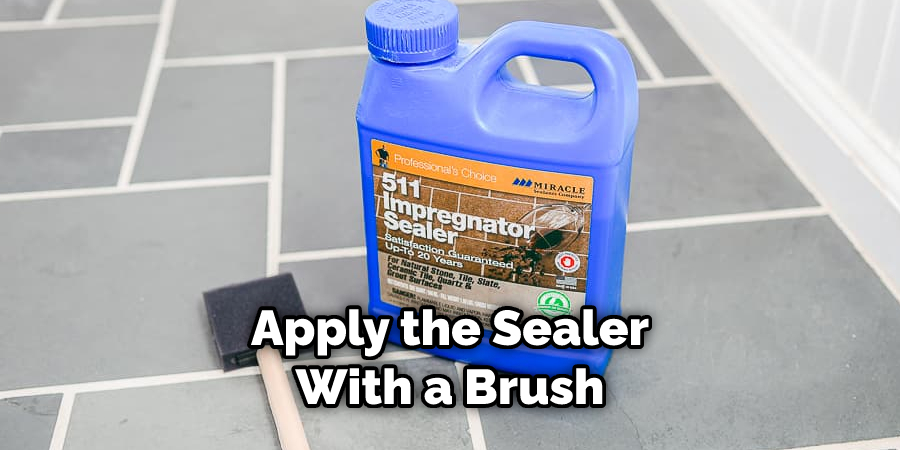
Once your grout is completely dry, it’s time to seal it with a specialized grout sealer. This will help prevent water and stains from penetrating into the porous surface of the grout and causing damage over time. It’s best to apply the sealer with a brush, working it into all of the corners and edges. Follow the manufacturer’s instructions for the best results.
Step 9: Clean Up
Using a damp cloth, wipe away any excess sealer from the tiles and surrounding area. Make sure all traces of the sealer are removed before allowing the area to dry completely. If you notice any discoloration or staining on the tiles, you can use a specialized grout cleaner to remove it. This will help keep your tiles looking as good as new for years to come.
Step 10: Caulk Around Corners
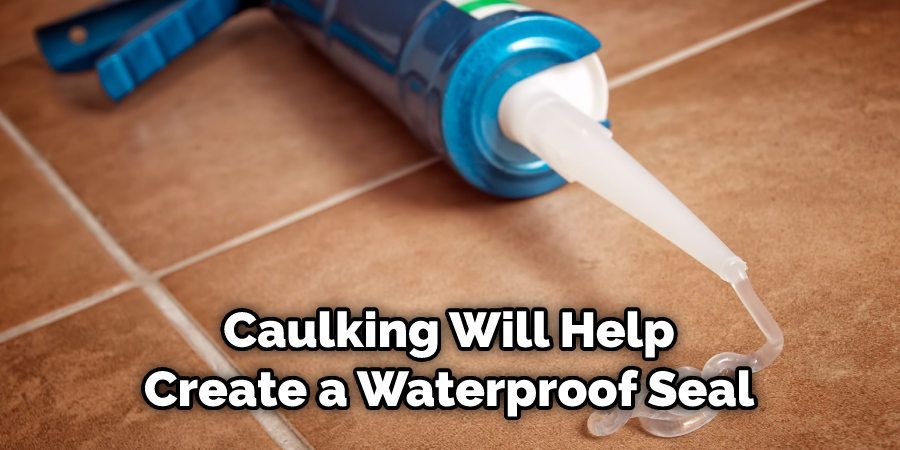
Once the grout and sealer have completely dried, you may want to caulk around the corners of your tiles. This will help create a waterproof seal between the tiles and walls, preventing moisture from seeping in and damaging the underlying surface. It is best to use a specialized tile caulk, as it will be able to adhere more effectively and won’t crack over time.
Step 11: Rejoice!
You’re done! Sit back, admire your work and enjoy the fact that your corner grouting job is complete and looks great! Always remember to clean and maintain your tiled surfaces regularly for the best results. It’s also a good idea to inspect your grouting every few months for any signs of wear or damage.
With the right tools and techniques, you can keep your grout looking good as new for years to come. Grouting is an important part of any tile installation project and with these step-by-step instructions on how to grout in corners, you can be sure it’s done right. Good luck with all your future tiling projects!
Do You Need to Hire a Professional?
If you don’t feel confident in your ability to grout in corners, it may be best to hire a professional. It’s important that the job is done correctly so as not to damage or deteriorate the tiles and surrounding walls or floors. A professional tiler has all the right tools and knows exactly how to grout corners correctly, taking all of the guesswork out of the process. This will ensure that your tiling looks great and lasts for many years to come.
Frequently Asked Questions
Q: How Long Does Grout Take to Set in Corners?
A: It depends on the type of grout used, but typically it takes 10-15 minutes before it is ready to be smoothed out with a damp sponge.
Q: Is it Necessary to Seal the Grout After Installation?
A: Yes, it’s important to use a specialized grout sealer in order to protect your tiles and walls from water damage and staining over time.
Q: Can I Use Caulk Around Corners When Grouting?
A: Yes, caulking will help create a waterproof seal between the tiles and walls, preventing moisture from seeping in and damaging the underlying surface.
Q: What’s the Best Way to Clean Up Excess Grout?
A: Use a damp sponge and rinse it out frequently, changing the water often in order to get rid of all traces of residual grout.
Conclusion
Regrouting tiles in corners can be more challenging than simply regrouting along the flat surfaces of walls and countertops. It can require more time and precision, but with the right tools and techniques, one can confidently know they have done their best work. Not only is it important to consider the condition of the grout when repairing gaps in corners, but also to be mindful of sealants and substances present during cleaning as well.
All these considerations will determine a successful outcome for any project involving corner grout repair. Taking these tips into account will guarantee that your grout job looks professional, attractive, and long lasting for years to come. Whether you are just starting out or an experienced renovator, this guide proves how relatively simple it is to learn how to grout in corners. Redoing the tiles in your home with new grout at their edges will help maintain its safety and beauty for years to come.
