It’s one of the most frustrating and confusing problems to have in your home – a wet spot that appears on your ceiling. But don’t let it get you down! With a few simple steps, you can fix that pesky wet spot and make sure it doesn’t come back any time soon.
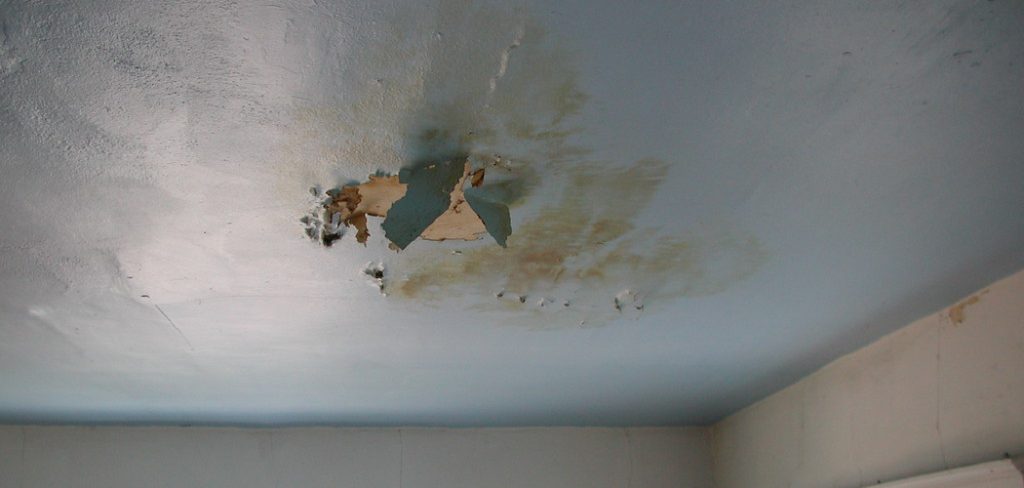
Follow this guide to learn how to fix a wet spot in ceiling, plug up its possible points of entry, and repair any damage that may have been done by water suctioning into your walls or ceilings. You’ll be rid of that unsightly and potentially dangerous wet spot before you know it!
What Causes a Wet Spot in Ceiling?
1 . Improper Roofing
A leaky roof is one of the biggest culprits when it comes to wet spots on your ceiling. This can be caused by a damaged shingle, cracked flashing or improper installation. The best way to prevent this is by regularly inspecting your roof for any signs of damage and fixing them immediately. If you notice a wet spot on your ceiling, check your roof for any leaks and repair it as soon as possible.
2 . Plumbing Issues
Another common cause of wet spots on ceilings is plumbing issues. This can be due to a leaky pipe, damaged water heater or clogged drain. If you suspect that this may be the cause of your wet spot, turn off your water supply and call a professional plumber to fix the issue.
3 . Condensation
Sometimes, a wet spot on your ceiling may not be caused by external factors but rather by internal ones. If you have noticed a wet spot forming in your bathroom or kitchen, it could be due to condensation. This occurs when warm, moist air comes into contact with a colder surface, such as your ceiling. To prevent this, ensure proper ventilation in these areas and use exhaust fans when cooking or showering.
4 . Structural Damage
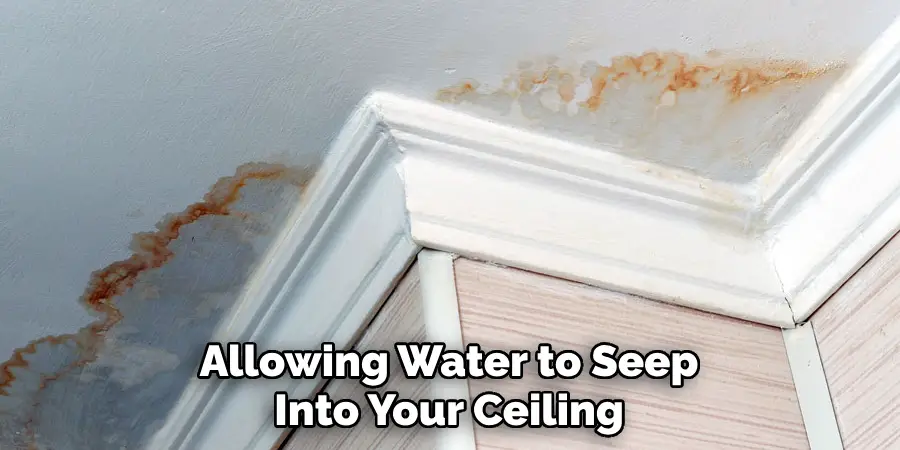
In some cases, a wet spot on your ceiling may be an indication of structural damage in your home. This could be due to a crack in the foundation or walls, allowing water to seep into your ceiling. If you suspect that this may be the case, it is important to address it immediately to prevent further damage to your home.
5 . Inadequate Insulation
Another potential cause of a wet spot on your ceiling is inadequate insulation. This can lead to condensation forming in your attic and eventually seeping through your ceiling. To fix this issue, ensure that your attic is properly insulated and ventilated to prevent moisture build-up.
How to Fix a Wet Spot in Ceiling in 5 Easy Steps
Step 1: Identify the Cause of the Wet Spot
Before you start fixing a wet spot in your ceiling, it’s important to first identify the cause. This will help you determine the best course of action and prevent the problem from recurring. Some common causes of wet spots in ceilings include leaking pipes, roof damage, and condensation buildup.
Step 2: Stop the Source of Moisture
Once you have identified the cause of the wet spot, you need to stop the source of moisture. This could involve repairing a leaky pipe or patching up a damaged roof. If the issue is condensation buildup, make sure to properly ventilate the area to prevent it from happening again.
Step 3: Dry Out the Wet Spot
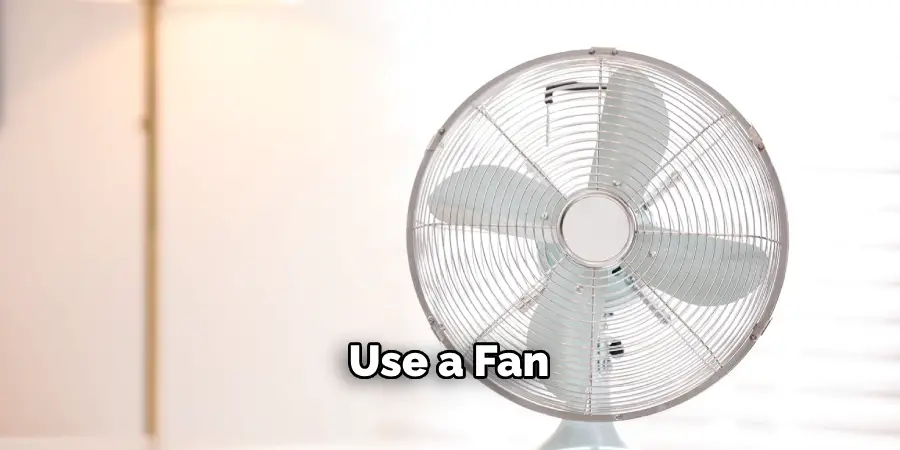
After stopping the source of moisture, it’s important to dry out the wet spot in your ceiling. You can use a fan or dehumidifier to speed up the process. Make sure to also remove any waterlogged materials such as insulation or drywall.
Step 4: Repair the Ceiling
Once the wet spot is completely dry, you can move on to repairing the ceiling. This may involve patching up the affected area or replacing damaged materials. If the damage is extensive, it may be best to call in a professional for assistance.
Step 5: Paint and Restore
The final step in fixing a wet spot in your ceiling is to paint and restore the area back to its original condition. Make sure to use a primer before painting over any water stains to prevent them from seeping through. You may also want to consider using a mold-resistant paint to further protect your ceiling.
By following these 5 easy steps, you can effectively fix a wet spot in your ceiling and prevent any further damage. Remember to always address the root cause of the issue and properly dry out the area before repairing it. If you encounter any difficulties, don’t hesitate to seek professional help. With the right techniques and tools, you can easily fix a wet spot in your ceiling and keep your home looking its best.
Some Tips to Fix a Wet Spot in Ceiling
1. Do Not Panic
The first thing that you should do when you discover a wet spot on your ceiling is to remain calm. It’s natural to feel worried or even scared, especially if this has never happened before. But panicking will not help the situation and may cause further damage.
2. Identify the Source of the Leak
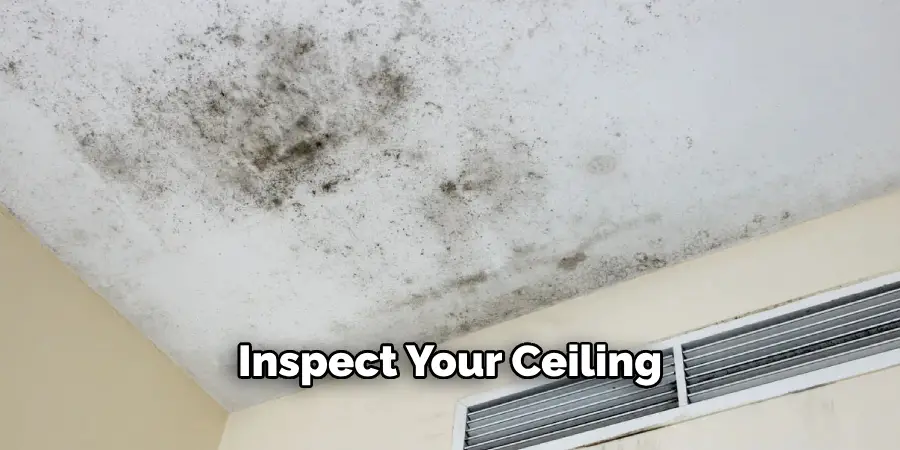
Before fixing the wet spot, it’s crucial to determine where the water is coming from. In most cases, a wet spot on the ceiling is caused by a leaky roof or a burst pipe. If you have an attic, it’s best to go up there and see if you can locate the source of the leak. Otherwise, carefully inspect your ceiling and nearby walls for any signs of water damage.
3. Contain the Water Damage
If there is still water dripping from the ceiling, it’s essential to contain the damage before you start fixing the wet spot. Place buckets or containers under the leak to catch any water and prevent it from spreading further.
4. Fix the Source of the Leak
Once you have identified where the water is coming from, fix the source of the leak. If it’s a roof leak, you may need to call a professional roofer to repair it. For burst pipes, shut off the main water supply and call a plumber for assistance.
5. Dry Out the Wet Spot
After containing the damage and fixing the source of the leak, your next step is to dry out the wet spot on your ceiling. You can use a dehumidifier or fans to speed up the drying process. It’s crucial to dry out the area completely to prevent mold growth.
6. Repair the Wet Spot
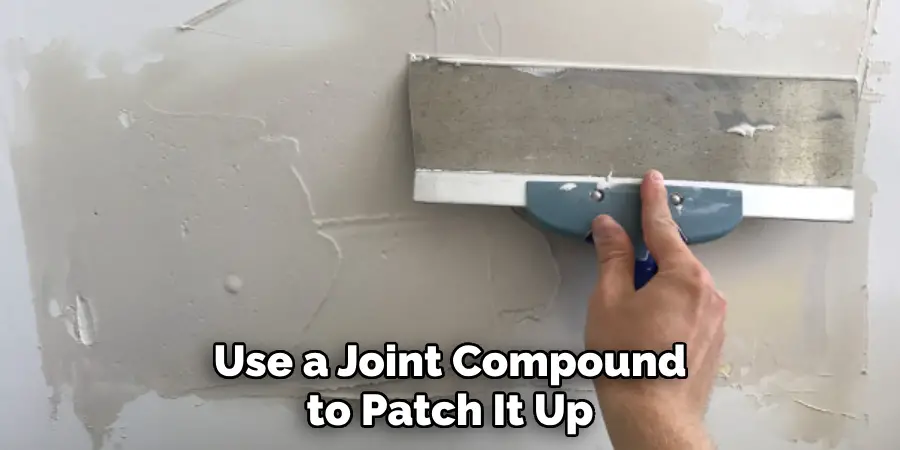
Once the wet spot is fully dried, it’s time to repair it. You may need to scrape off any flaking paint or damaged drywall and replace it. If the spot is small, you can use a joint compound to patch it up. For larger areas, you may need to replace the entire section of drywall.
7. Repaint the Ceiling
After repairing the wet spot, it’s essential to repaint your ceiling. This will not only restore its appearance but also prevent any future water damage. Make sure to use a primer before applying paint to ensure proper adhesion.
8. Watch for Future Leaks
It’s crucial to keep an eye out for any future leaks and fix them immediately. Regularly inspect your roof and pipes for any signs of damage or wear and tear. If you notice any water stains on your ceiling, address them promptly to prevent further damage.
Frequently Asked Questions
What Precautions Should I Take When Fixing a Wet Spot in Ceiling?
When dealing with any issue related to your home’s ceiling, it is always important to take certain precautions to ensure your safety and the safety of others. Here are some key tips to keep in mind when fixing a wet spot in your ceiling: Before attempting to fix a wet spot in your ceiling, make sure to turn off any electricity running through the affected area.
This will help prevent any potential electrical hazards while you work. Next, be sure to wear protective gear such as gloves and goggles to protect yourself from any debris or materials that may fall from the ceiling. Finally, use a sturdy ladder and have someone steady it for you if needed to avoid falls or injuries.
How Can I Identify the Cause of a Wet Spot in My Ceiling?
There are several common causes of wet spots in ceilings, including leaks from plumbing, roof damage, or condensation buildup. One way to identify the cause is to inspect the area around the wet spot and look for any visible signs such as dripping water, mold growth, or damaged pipes. You can also use a moisture meter to measure the level of moisture in the affected area. If you are unable to determine the cause on your own, it is best to consult a professional for further assistance.
Conclusion
It’s important to be able to identify and fix ceiling wet spots quickly because if neglected, the spot can become bigger, leading to costly damages. With these simple steps, you can easily fix a wet spot on your ceiling and avoid the headache of having to repair a much larger area. Try not to overthink it; remember that drywall and plaster are common materials with which builders construct ceilings and walls.
Now you know how to fix a wet spot in ceiling! Through practice and experimentation, you will feel more comfortable taking on bigger projects as time goes by. So get creative! Take a look around at your space as an opportunity for some affordable DIY projects all while preventing further damage to your home.
