Are you looking for an easy and affordable way to upgrade your outdoor living space? If so, covering your concrete patio is a great DIY project that can help add both beauty and protection to your home. With the right materials and steps in place, it can be surprisingly simple to cover a concrete patio – no matter the size or shape.
Covering concrete patio surfaces is also a great way to give your outdoor space a fresh new look without having to replace it completely. Plus, covering it can help protect the concrete from weathering and cracking over time, making it a smart investment for your home.

In this blog post, we’ll discuss everything you need to know about transforming your backyard into a stunning oasis with just one quick project! Keep reading to learn more about how to cover a concrete patio!
Why Cover Your Concrete Patio?
Before we dive into the steps of how to cover a concrete patio, let’s first discuss why it may be beneficial to do so. There are a few reasons why you might want to protect your concrete patio:
- Aesthetics: Uncovered concrete patios can often look dull and uninviting. By covering it with a new material, you can instantly transform the appearance of your outdoor space and create a more welcoming atmosphere.
- Durability: While concrete is a strong and durable material, it can still be vulnerable to damage from weathering and regular use. By covering it with an additional layer, you can help protect it from wear and tear over time.
- Cost-effective: Covering your concrete patio is a simple and cost-effective way to upgrade its appearance without having to replace it completely. It can also be a great alternative to more expensive materials like stone or tile.
Now that we’ve covered the why, let’s move on to the how!
What Will You Need?
Before you get started on covering your concrete patio, it’s essential to gather all the necessary materials. Here’s a list of what you’ll typically need:
- Patio Covering Material: There are various options for covering materials, such as stone, tile, brick pavers, or even outdoor carpeting. Choose whichever material best fits your budget and aesthetic preferences.
- Concrete Cleaner: Before covering your patio, it’s essential to clean the surface thoroughly to ensure proper adhesion of the new material. You can use a pressure washer or concrete cleaner to remove dirt or stains.
- Adhesive or Mortar Mix: Depending on the covering material you choose, you may need adhesive or mortar mix to secure it.
- Tools: You’ll likely need a few essential tools like a tape measure, level, trowel, and rubber mallet to help with the installation process.
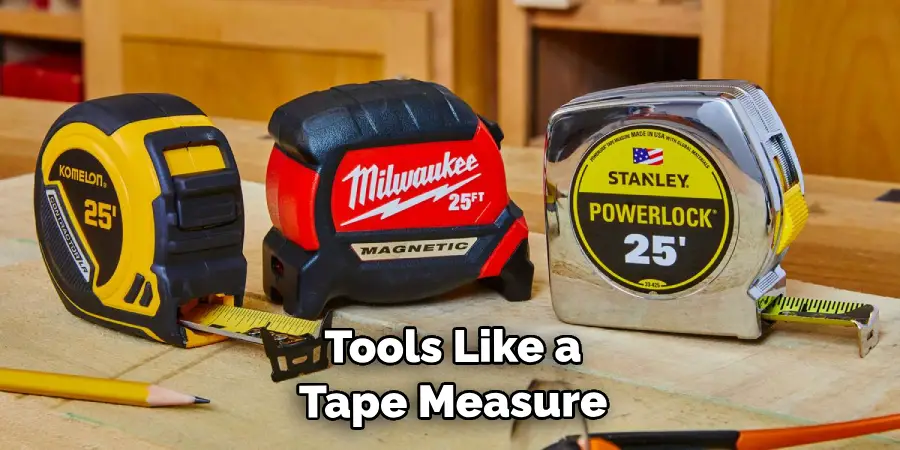
Once you have all your materials ready, it’s time to get started on transforming your concrete patio into a beautiful and functional outdoor space!
10 Easy Steps on How to Cover a Concrete Patio
Step 1. Planning and Design
The first crucial step is to plan out how you want your new patio to look. Consider the size and shape of your patio, and decide on the layout for your covering material. Sketch out a design, marking where each stone, tile, or paver will go. This will serve as your blueprint throughout the installation process.
Step 2. Clean the Concrete Patio
Before installing the new patio cover, any dirt, grime, or stains on the concrete surface must be thoroughly cleaned. Use a pressure washer or a concrete cleaner for this purpose. Ensure the surface is completely dry before moving on to the next step. This will help to ensure that the adhesive or mortar mix sticks properly to the concrete, providing a sturdy base for your new patio cover.
Step 3. Prepare the Covering Material
Prepare your chosen covering material according to the manufacturer’s instructions. If you’re using stone or tile, you may need to cut them to fit your patio’s dimensions. If you use brick pavers or outdoor carpeting, ensure they’re clean and ready for installation. It’s a good idea to lay the materials out on the patio according to your design before you start attaching them to make sure everything fits correctly.
Step 4. Apply the Adhesive or Mortar Mix
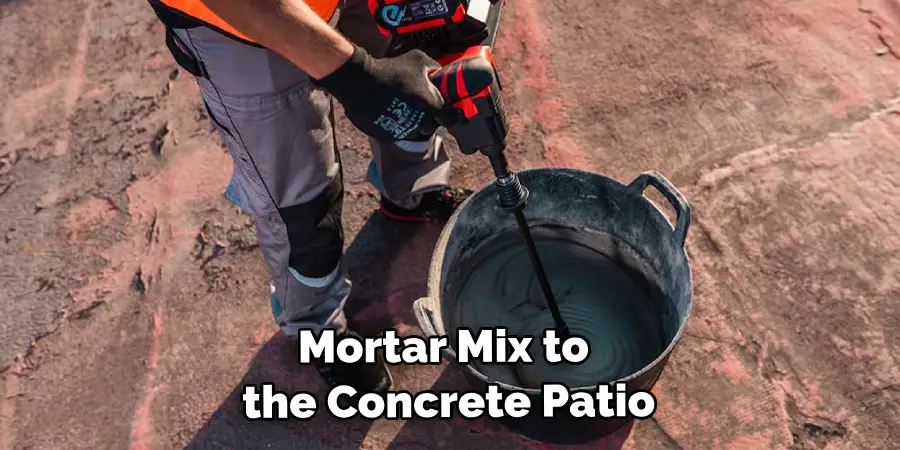
Start applying the adhesive or mortar mix to the concrete patio using a trowel. Work on a small section at a time to prevent the adhesive from drying out before you can lay down the covering material. Spread the mixture evenly across the concrete surface, ensuring it covers all corners and edges. The adhesive layer should be thick enough to hold the covering material securely but not so thick as to create an uneven surface.
Step 5. Lay the Covering Material
Begin to lay your chosen covering material onto the adhesive or mortar mix. Start from one end of the patio and work your way across, following the design you planned earlier. Press each piece firmly into the adhesive or mortar mix, ensuring it’s secure and level with the surrounding pieces. Use a level to check and maintain an even surface as you go. Leave a little space between the pavers or tiles for grout if your covering material requires it. Move steadily, ensuring each piece is securely in place before moving on to the next.
Step 6. Apply Grout (If Necessary)
If your chosen covering material requires grout, this is the time to apply it. After all the pavers, tiles, or stones are securely in place and the adhesive or mortar has dried, prepare the grout per the manufacturer’s instructions. Using a grout float, apply the grout into the spaces between the pavers, tiles, or stones, filling them. Wipe away any excess grout with a damp sponge, being careful not to remove grout from the joints. Allow the grout to dry thoroughly before moving on to the next step.
Step 7. Seal the Patio Cover
Once the grout (if necessary) has thoroughly dried, it’s time to seal your patio cover. The sealing process can vary depending on the material you’ve chosen. For stone, tile, or brick pavers, apply a suitable sealant per the manufacturer’s instructions.
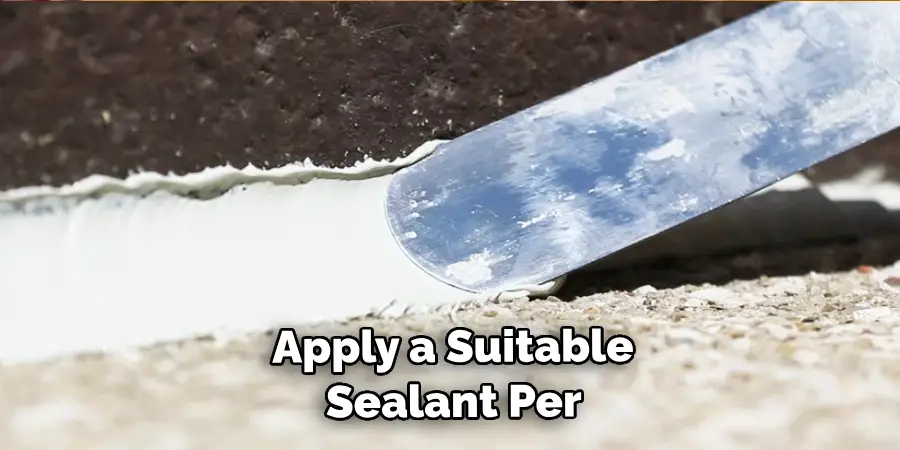
This will help protect your patio from any potential damage due to weathering and enhance its longevity. For outdoor carpeting, you may not need to seal it, but it’s still a good idea to check the manufacturer’s instructions to see if it’s recommended. Ensure that the sealant is evenly applied and allow it to dry completely.
Step 8. Final Inspection and Cleanup
After the sealant has thoroughly dried, conduct a final inspection of your patio. Ensure all materials are securely in place and there aren’t any uneven areas. Fix any issues as needed. Then, proceed to clean up your workspace. Remove any leftover materials, tools, or debris from the area. You can also give your patio a final sweep or wash to ensure it’s ready for use. Your newly covered concrete patio is now ready to be enjoyed!
Step 9. Furnishing and Decor
With the hard work behind you, it’s time to furnish and decorate your newly covered patio. Consider adding comfortable seating, a dining table, or a fire pit to create a cozy outdoor living space. Planters with vibrant flowers and greens can further enhance the aesthetic appeal of your patio. Don’t forget about lighting – string lights or lanterns can make your patio a magical place to relax on summer evenings. Take your time to select pieces that reflect your style and make the space truly your own.
Step 10. Maintenance and Care
Now that your patio transformation is complete, keeping it looking its best with regular maintenance and care is essential. Depending on your chosen material, this may involve periodic resealing or cleaning with specific products.
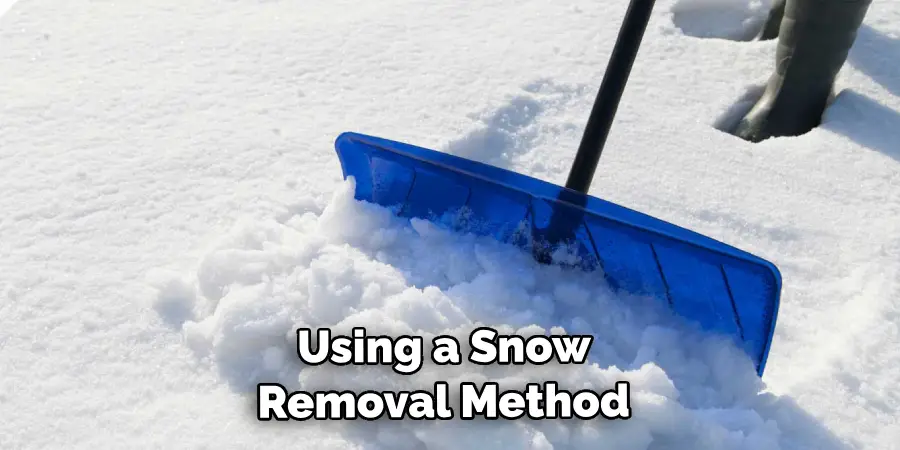
Be sure to remove any debris promptly to prevent stains or damage. If you live in a colder climate in the winter months, consider covering your patio or using a snow removal method that won’t damage your new surface. With a little diligence, your newly covered concrete patio can remain a beautiful and functional outdoor space for many years.
By following these steps, you can easily cover your concrete patio and transform it into a stylish and inviting outdoor living area. With the suitable materials, tools, and techniques, this DIY project can be completed in just a few days.
5 Things You Should Avoid
- Neglecting to Prepare the Surface: Skipping the cleaning and preparation of your concrete patio can result in an unstable surface, causing your covering material not to adhere properly. Always ensure your patio is clean, dry, and free of any loose materials before you begin.
- Ignoring Manufacturer’s Instructions: Not following the manufacturer’s instructions when preparing your covering materials, adhesive, grout, or sealant can lead to disappointing results. These guidelines are designed to help you get the best possible outcome, so it is crucial to adhere to them.
- Rushing the Process: Covering a concrete patio is not a race. Running through the steps can lead to mistakes and a less-than-professional finish. Make sure to take your time and pay attention to details.
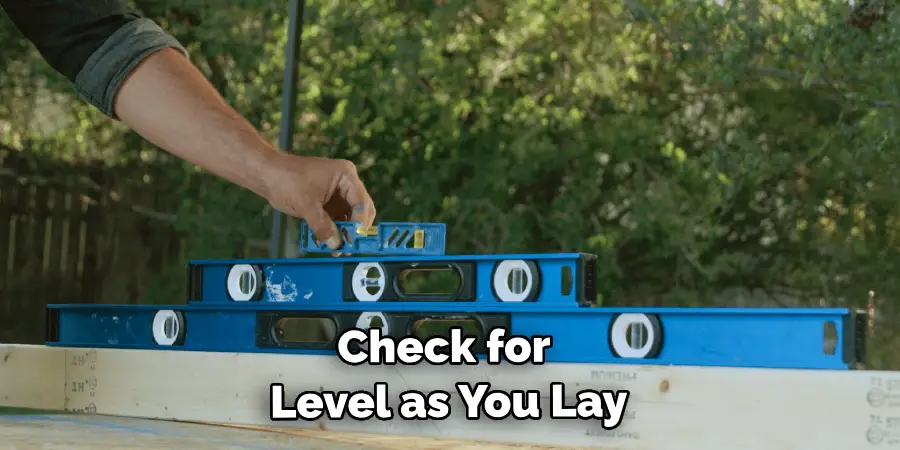
- Not Checking for Level: Please check for level as you lay your covering materials to ensure a balanced patio. Keep a level handy and use it frequently to provide a flat and even surface.
- Skipping the Sealing Process: If you decide not to seal your patio cover because it seems too much work or unnecessary, you invite rapid wear and tear. Sealing your patio cover can extend its life and maintain its look for years, so make sure to complete this step.
By avoiding these common mistakes, you can ensure your concrete patio’s successful and long-lasting transformation.
Conclusion
To finish your concrete patio makeover, take some time to find the materials that best fit your needs and budget. Be sure to check out all of your options and then decide which product is the right one for you.
Then get ready to enjoy an outdoor oasis with an updated look and feel!
And don’t forget: using proper techniques and protective measures can help protect your patio for years to come. You CAN do it—and it’s easier than you realize! So, go forth with confidence, achieve beautiful results, and have some fun while doing it. Let’s bring your vision for a decorated patio space to life!
Hopefully, the article on how to cover a concrete patio has given you the guidance and inspiration you need to transform your outdoor space. Happy decorating!
