Creating a false wall to hide unsightly pipes can enhance the aesthetic appeal of a room without the need for extensive renovations. This practical solution allows homeowners to conceal exposed plumbing and achieve a clean, seamless look in areas such as basements, bathrooms, or kitchens. With some basic tools and materials, you can build a structure that effectively hides pipes while maintaining easy access for future maintenance. In this guide, we’ll explore step-by-step instructions on how to build a false wall to hide pipes, ensuring both functionality and style in your living space.
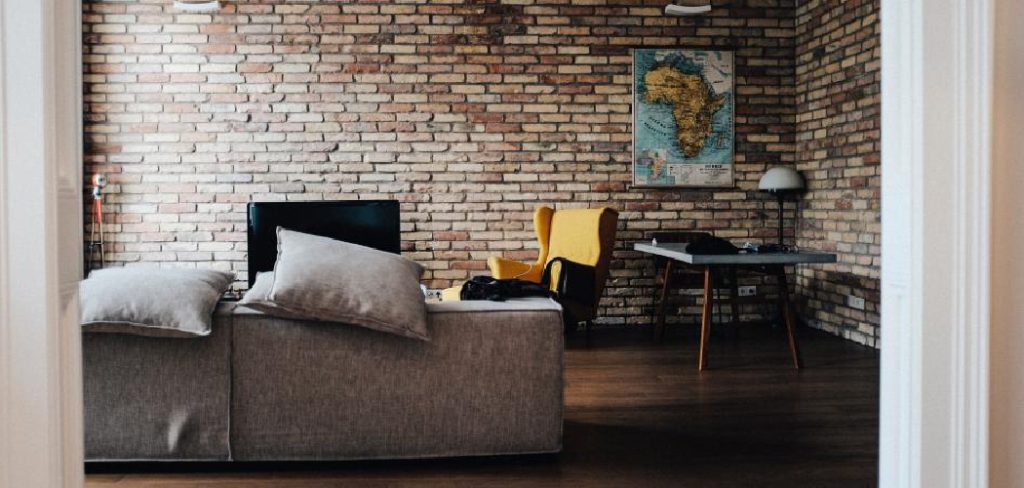
What is a False Wall?
A false wall, sometimes referred to as a partition wall, is a non-load-bearing structure built to alter the layout or appearance of a space without making permanent modifications to the building’s architecture. Unlike traditional walls, false walls are typically used for aesthetic purposes, such as hiding pipes, cables, or structural elements that detract from the visual appeal of a room.
They offer a versatile solution to conceal these elements while allowing for easy access if repairs or adjustments are necessary. Constructing a false wall can be a cost-effective way to improve a room’s design, offering flexibility in room arrangement and enhancing the overall decor.
Benefits of Building a False Wall
Building a false wall provides numerous advantages that go beyond mere aesthetics. One of the primary benefits is the ability to conceal unsightly elements like pipes, electrical wiring, and HVAC systems, resulting in a cleaner and more organized appearance in any room. This can be particularly advantageous in older homes where exposed utilities might detract from the overall decor. Additionally, false walls offer the flexibility to create additional storage space by integrating built-in shelves or cabinets directly into the design.
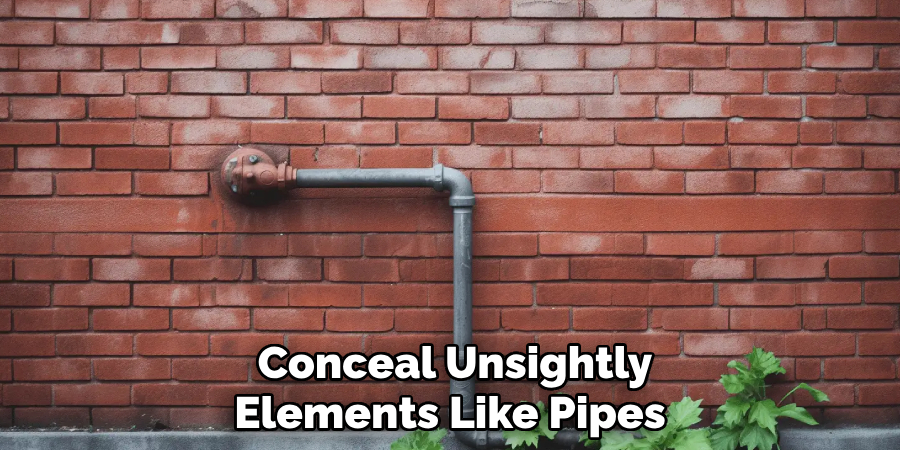
They can also contribute to soundproofing, as the added layer serves to dampen noise from adjacent rooms or external sources. Moreover, false walls can be designed to accommodate insulation or ventilation systems, improving energy efficiency by regulating temperature and air flow within a space. Overall, the construction of a false wall is an effective, adaptable solution that enhances a room’s functionality and aesthetic appeal.
10 Methods How to Build a False Wall to Hide Pipes
1. Planning and Measuring the Space
The first step in building a false wall is to plan and measure the area where the wall will be installed. Begin by identifying the pipes you want to conceal and determining how much space will be needed to create the false wall. Use a tape measure to take accurate dimensions of the area, including the height, width, and depth necessary for the wall. Consider the types of pipes you are hiding, their locations, and how the false wall will interact with existing walls and features in the room. Planning thoroughly will ensure you have a clear vision of the project, allowing you to proceed smoothly.
2. Choosing the Right Materials
Selecting appropriate materials is crucial for building a durable and effective false wall. Common materials include drywall, plywood, or paneling, depending on your aesthetic preferences and budget. Drywall is often the preferred choice due to its affordability and ease of installation. It can be easily painted to match the surrounding walls.
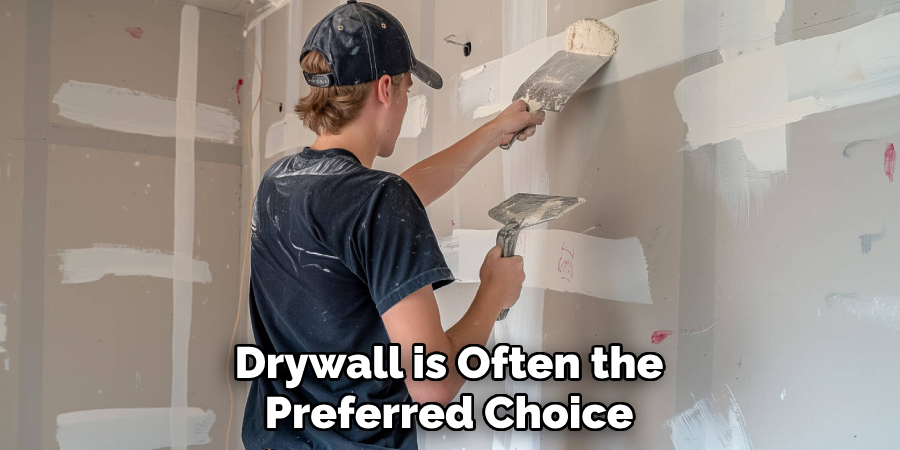
If you prefer a more decorative finish, consider using plywood or decorative panels that can add character to the space. Additionally, you will need wooden studs for framing, screws, and other hardware. Choose materials that are readily available and suitable for the specific environment where the false wall will be constructed.
3. Creating a Frame for the False Wall
Once you have your materials ready, it’s time to construct the frame for the false wall. Use wooden studs to create a sturdy frame that will support the drywall or paneling. Begin by marking the desired height of the false wall on the floor and ceiling using a level for accuracy. Attach vertical studs to the floor and ceiling, spaced 16 inches apart. This spacing ensures that the wall is stable and can support the weight of the drywall or panels.
If there are any pipes that protrude significantly, consider adjusting the framing to accommodate them. Once the vertical studs are in place, add horizontal support pieces (known as blocking) to connect the vertical studs and create a solid framework for the wall.
4. Building Around Existing Pipes
When constructing the false wall, it’s important to build around the existing pipes while maintaining accessibility. If the pipes are large or extend far from the wall, you may need to create a deeper false wall section or use a combination of framing techniques to accommodate their dimensions. One effective method is to create a box around the pipes using plywood or drywall, allowing you to conceal them while providing access points for maintenance if necessary.
Make sure to leave removable panels or access doors in areas where the pipes may require future attention. This approach allows you to hide the pipes without compromising functionality.
5. Installing Drywall or Paneling
After the frame is complete and any adjustments for pipes have been made, the next step is to install drywall or paneling. Begin by cutting the drywall or panels to the appropriate size, ensuring a snug fit between the studs. Use a drywall lift or a helper to hold the panels in place as you secure them with drywall screws. For a clean and professional finish, ensure the screws are slightly recessed below the surface of the drywall.
If using paneling, follow the manufacturer’s instructions for installation, paying attention to the recommended spacing and fastening techniques. This step will create the smooth surface of your false wall and hide the underlying pipes effectively.
6. Sealing and Taping Joints
Once the drywall or paneling is installed, it’s important to seal and tape the joints for a polished appearance. Use joint compound to fill in any gaps or seams between the sheets of drywall, smoothing it out with a putty knife. Allow the compound to dry completely before sanding it down to create a smooth surface. After sanding, apply a second coat of joint compound as needed to ensure the joints are invisible.
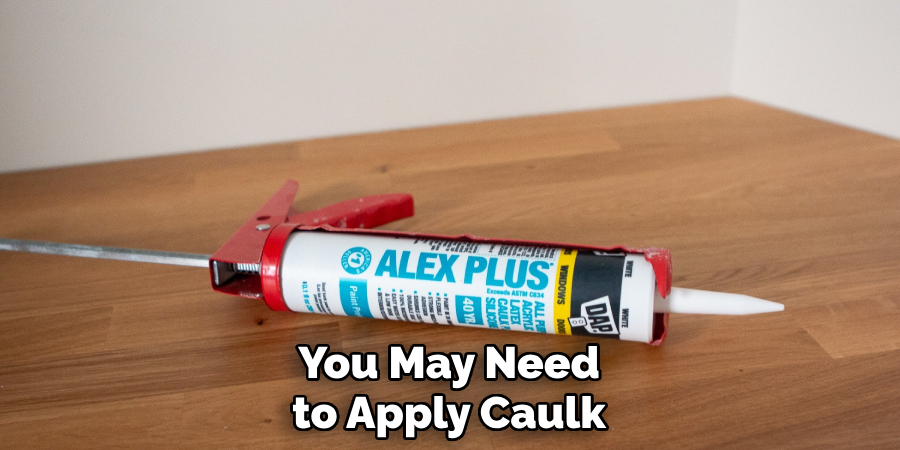
For paneling, you may need to apply caulk to the edges where the panel meets the wall or ceiling to create a seamless look. Properly sealing and taping joints will enhance the overall aesthetic of the false wall and ensure a professional finish.
7. Painting or Finishing the False Wall
After the joints are sealed and sanded, the next step is to paint or finish the false wall. Choose a paint color that complements the surrounding room decor, and apply a primer coat first to ensure an even finish. Once the primer is dry, apply one or two coats of paint, allowing adequate drying time between coats. If you used decorative paneling, consider staining or finishing it according to your style preferences. This step transforms the false wall from a construction project into a seamless extension of your room, enhancing the overall appearance and providing a cohesive look.
8. Adding Access Panels for Maintenance
To ensure that the pipes can be easily accessed in the future, consider installing access panels within the false wall. Access panels come in various sizes and styles and can be framed into the wall during construction. Mark the locations of the access points during the framing phase, allowing for easy installation of the panels after the drywall or paneling is in place. When selecting access panels, choose ones that match the surrounding materials for a clean finish.
These panels provide a convenient way to reach the concealed pipes without needing to dismantle the entire wall.
9. Incorporating Shelving or Storage Solutions
A false wall doesn’t have to be purely functional; it can also serve as a decorative element. Consider incorporating shelves or storage solutions into the false wall design. Once the wall is completed, you can add floating shelves, cabinets, or built-in shelving units to maximize the use of space while concealing pipes. This approach not only hides unsightly elements but also enhances the functionality of the room, providing additional storage for books, decor, or other items. When installing shelves, ensure they are securely fastened to the wall framing for stability.
10. Finishing Touches and Cleaning Up
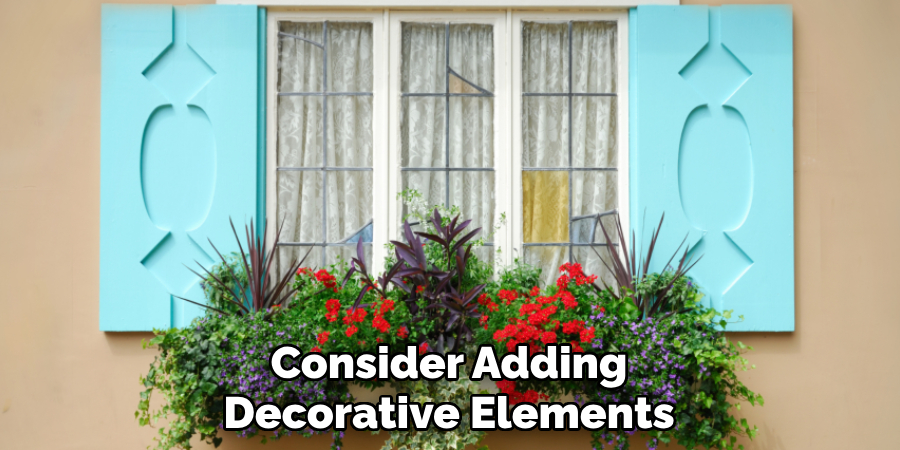
After all the construction and finishing work is completed, take a step back to assess the false wall. Look for any final touch-ups needed, such as painting touch-ups, filling in small gaps, or cleaning up dust and debris. Remove any tools or leftover materials from the area to ensure a tidy workspace. Consider adding decorative elements, such as artwork or wall decor, to enhance the visual appeal of the false wall. These finishing touches will help create a cohesive and inviting space, showcasing your efforts in hiding the pipes while adding value to your home.
Conclusion
Constructing a false wall to conceal pipes is an effective solution that not only addresses functionality but also enhances the aesthetic appeal of a room. By following the step-by-step process outlined above, you can create a polished and professional-looking wall that seamlessly integrates into your living space. Thanks for reading our blog post on how to build a false wall to hide pipes! We hope you found it helpful and informative.
