Are you interested in creating your own outdoor living space filled with comfort and style? Building a deck on a concrete slab can be intimidating, but with the right products and tools, it doesn’t have to be complicated.

We know that constructing something from scratch might seem overwhelming at first, but trust us when we say it’s totally doable! With our helpful advice on how to build a deck on a concrete slab, building a beautiful deck on top of an existing concrete slab will be easier than ever before. You’ll have stunning patio furniture set up in no time! Read on as we walk you through how to create your perfect outdoor oasis.
Needed Materials
Before we dive into the steps, let’s go over what materials you’ll need for this project. Here’s a list to help get you started:
- How to Build a Deck on a Concrete Slabdecking Boards (Pressure-treated Wood, Composite or Pvc Decking)
- Pressure-treated Lumber for Framing
- Concrete Screws
- Masonry Anchors
- Drill and Drill Bits
- Circular Saw or Handsaw
- Hammer
- Tape Measure
- Level
- Chalk Line
- Deck Screws or Clips
11 Step-by-step Guidelines on How to Build a Deck on a Concrete Slab
Step 1: Preparation

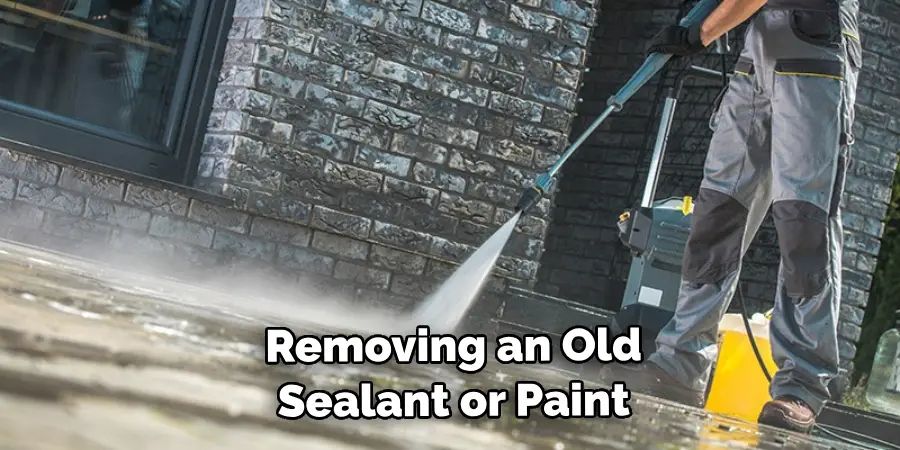
The first step to building anything is proper preparation. Start by cleaning your concrete slab and removing an old sealant or paint. If there are any cracks or chips, make sure to patch them up with a concrete filler. It’s essential to have a flat and smooth surface for your deck.
You can also pressure wash the slab for a more thorough cleaning. But don’t forget to let it dry completely before moving on to the next step. It’s also a good idea to check with your local building codes for any specific guidelines or permits needed for deck construction.
Step 2: Design and Planning
Before you start building, it’s crucial to have a clear plan in mind. Consider things like location, size, materials, and any additional features you want to incorporate into your deck. You may also need to check with local building codes and acquire the necessary permits for your deck design.
It’s also a good idea to map out the layout of your deck using chalk lines or marking tape. You can also use this time to calculate the number of materials you’ll need for your deck. It’s always better to have more than less, as you can always return any extra supplies. You can also consult with a professional for expert guidance and advice.
Step 3: Frame Placement
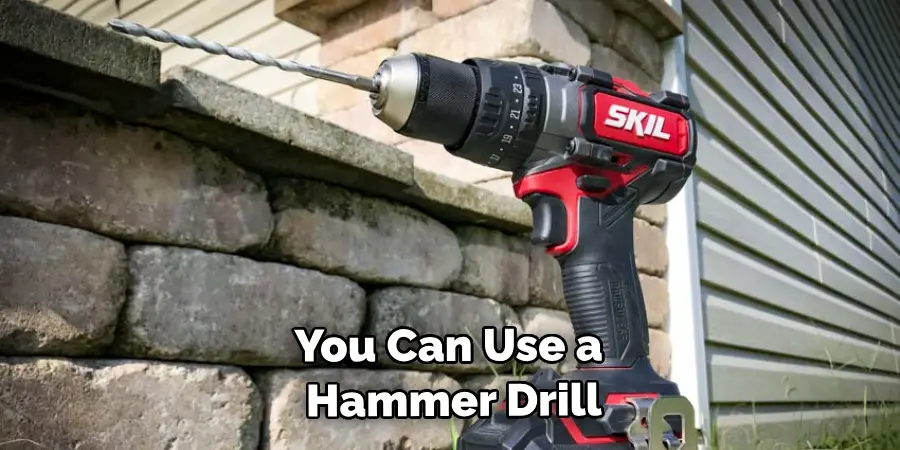
Using pressure-treated lumber, place the frame directly on top of your prepared concrete slab. Make sure the frame is securely attached and level with the ground. You can use a hammer drill to pre-drill holes into the concrete slab for masonry anchors, which will help secure your frame in place.

It’s crucial to have a stable and level frame as it will support the weight of your deck. But don’t worry, we’ll go over the technicalities of framing in more detail later on. You can also use a level and a tape measure to ensure everything is aligned correctly. It’s also a good idea to have a helper for this step.
Step 4: Install Decking Boards
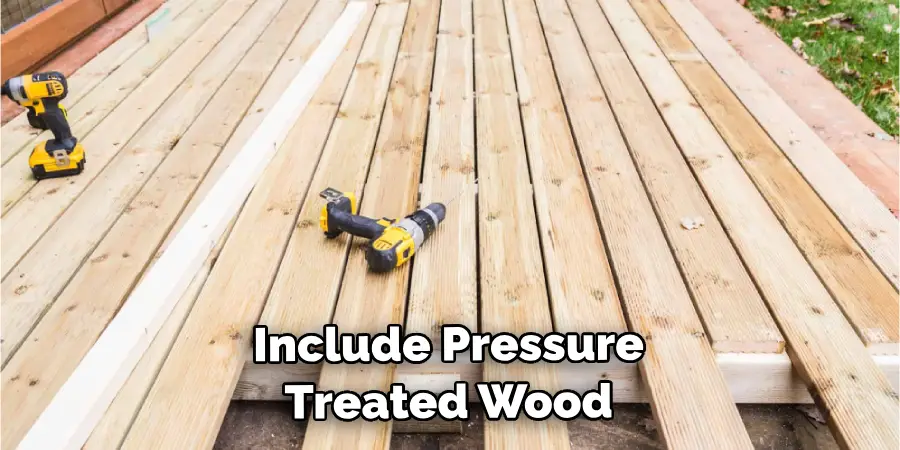
Once your frame is in place, you can start installing the decking boards. You can choose from various materials such as pressure-treated wood, composite, or PVC decking. Make sure to leave gaps between each board to allow for drainage and expansion.
You can use either deck screws or clips to secure the boards in place. You may need to cut the boards to fit your desired size, so make sure you have a circular saw or handsaw handy. It’s essential to take your time and ensure the boards are evenly spaced and level.
Step 5: Finishing Touches
After installing all of the decking boards, it’s time for the finishing touches. You can add railing, stairs, and any other additional features to your deck at this point. It’s essential to follow safety guidelines when installing railings, especially for elevated decks. Make sure everything is securely attached and level.
Otherwise, you may need to make adjustments before moving on. Otherwise, you’re ready for the final step. But before that, take a step back and admire your progress! This is your project, and you should be proud of how far you’ve come.
Step 6: Sealing the Deck

To protect your deck from natural elements and wear and tear, it’s crucial to seal it properly. You can choose from various sealants such as clear or colored stains and oil-based or water-based finishes. Make sure to follow the manufacturer’s instructions for application and drying time. It’s also a good idea to apply multiple coats for better protection. But be sure to let each coat dry completely before applying the next one.
Step 7: Adding Furniture and Decor
Now that your deck is complete, it’s time to add the finishing touches with furniture and decor. Choose pieces that not only fit your style but also withstand outdoor conditions. You can also add plants, lighting, and other personal touches to make your deck feel like a true outdoor oasis. It’s also a good idea to invest in outdoor furniture covers to protect your pieces from damage when not in use.
Step 8: Regular Maintenance
To ensure your deck stays in top condition, it’s important to regularly maintain it. This includes cleaning the deck and reapplying sealant every few years. You should also regularly check for any loose boards or railings and make necessary repairs.
With proper maintenance, your deck can last for many years to come. Although building a deck on a concrete slab may seem like a daunting task, it can also be an enjoyable and rewarding experience. You’ll have a beautiful outdoor space to relax and entertain in no time!
Step 9: Safety First
When working with power tools and construction materials, safety should always be a top priority. Make sure to wear protective gear such as goggles, gloves, and closed-toe shoes. It’s also important to follow proper safety precautions when working at heights or with power tools. You can also enlist the help of a friend or family member to make the process safer and more enjoyable. It’s always better to be safe than sorry.
Step 10: Consider Hiring a Professional

If you don’t have the necessary experience or tools to build a deck on a concrete slab, it may be best to hire a professional contractor. They have the expertise and equipment needed to complete the project efficiently and safely.
You can also consult with them for design ideas and ensure your deck meets all necessary building codes and regulations. But if you’re up for the challenge, building a deck on a concrete slab can be a fulfilling DIY project.
Step 11: Enjoy Your New Deck!
Congratulations, you’ve successfully built a deck on a concrete slab! Now it’s time to sit back, relax, and enjoy your new outdoor space. Whether you’re hosting a BBQ or simply lounging in the sun, your deck will provide a beautiful and functional addition to your home.
With proper maintenance and care, it can be a place for making memories for years to come. So grab some snacks and drinks, invite some friends over, and bask in the satisfaction of a job well done. Cheers to your new deck on a concrete slab!
Following these steps and tips on how to build a deck on a concrete slab, you can confidently build a deck on a concrete slab to enhance your outdoor living experience. From planning and prep work to finishing touches and maintenance, each step is crucial in creating a sturdy and visually appealing deck. So don’t wait any longer, get started on building your dream deck today!
How Much Will It Cost?

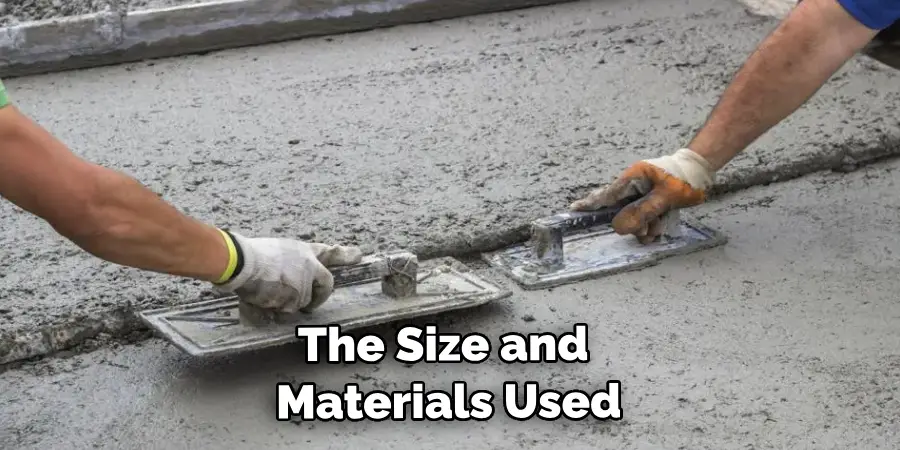
The cost of building a deck on a concrete slab will vary depending on the size and materials used. On average, expect to spend around $30-$40 per square foot for labor and materials. This can add up quickly, so it’s essential to set a budget and stick to it.
You can also save money by doing some of the work yourself or opting for more cost-effective materials. It’s also a good idea to get multiple quotes from different contractors to compare prices and find the best deal for your budget. Additionally, consider the long-term costs of maintenance and repairs when choosing materials for your deck.
Tips to Consider
- Consult With a Professional or Research Building Codes and Regulations in Your Area Before Starting the Project.
- Take Time to Carefully Plan and Prep Your Deck Design, Including Obtaining Necessary Permits and Selecting Materials.
- Follow Safety Precautions When Working With Power Tools and Construction Materials.
- Regularly Maintain Your Deck to Ensure Its Longevity and Safety.
- Consider Hiring a Professional if You’re Not Confident in Completing the Project Yourself.
- Don’t Forget to Enjoy Your New Deck With Friends and Family! Remember, It’s Not Just a Functional Addition to Your Home, but Also a Space for Making Memories.
Frequently Asked Questions
Q1: Can I Build a Deck on an Existing Concrete Slab?
A1: Yes, you can build a deck on an existing concrete slab as long as it is in good condition and level. You may need to make some adjustments to the frame placement and add additional support if necessary. It’s also important to properly clean and seal concrete before building the deck.
Q2: What Materials Can I Use for My Decking Boards?

A2: Some popular options for decking boards include pressure-treated wood, composite, and PVC. Each material has its advantages and disadvantages, so it’s important to research and choose one that fits your budget and desired look. It’s also crucial to properly maintain and seal the decking boards to ensure their longevity.
Q3: How Do I Secure My Decking Boards?
A3: You can use either deck screws or clips to secure the decking boards in place. Make sure to leave gaps between each board for drainage and expansion. If using screws, be sure to pre-drill holes for a cleaner finish. If using clips, follow the manufacturer’s instructions for proper installation.
Q4: Do I Need a Permit to Build a Deck on a Concrete Slab?
A4: It depends on your local building codes and regulations. In some areas, you may need to obtain a permit before building a deck on a concrete slab. It’s important to check with your local government to ensure you are following all necessary rules and regulations.
Conclusion
In conclusion, building a deck on a concrete slab usually requires the right materials and knowledge of construction techniques. Doing the work correctly will guarantee that your structure is stable, secure and durable.
When planning out the structure, it’s important to consider dimensions and height specifications. Lay out the outer frame with string lines and use 2x4s or 2x6s to create support for the framing while keeping it level.
After that, drilling anchors into the concrete before attaching wood posts will strengthen the foundation making sure it won’t move.
Now that you have your deck plan in place and general information on how to build a deck on a concrete slab, you are ready for this new project! Have fun designing your new structure in any shape or color you choose, as well as adding décor such as furniture under the sun! Don’t forget to purchase the necessary materials beforehand, so you can get started building right away. Let yourself be inspired by this beautiful form of outdoor decorating to transform your home’s exterior into an inviting oasis.
