Are you tired of spending hours scraping off layers of old wallpaper? Wallpaper steamer is a time-saving and effective tool that can make removing wallpaper much easier.
Removing old wallpaper can be daunting, but a wallpaper steamer can make the process significantly easier and more efficient. A wallpaper steamer uses steam to loosen the adhesive that holds the wallpaper to the wall, allowing for a smoother and faster removal. Whether you’re undertaking a small room makeover or a complete home renovation, understanding how to use a wallpaper steamer properly is crucial for achieving clean and damage-free walls.
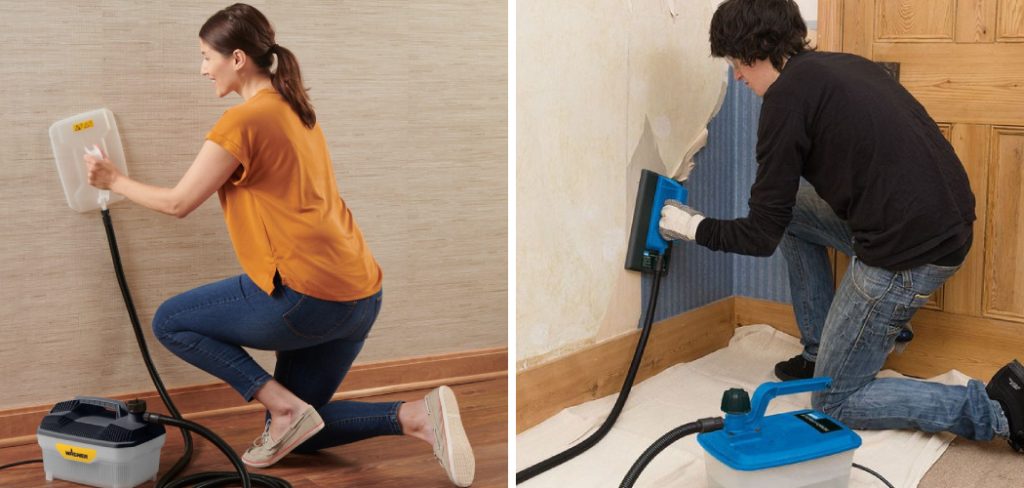
In this guide on how to use wallpaper steamer, we’ll walk you through the essential steps and share helpful tips to ensure you tackle your wallpaper removal project with confidence and ease.
What Will You Need?
Before using a wallpaper steamer, gathering all the necessary tools and materials is important to ensure a smooth and efficient process. Here are some common items that you may need:
- Wallpaper steamer
- Extension cord (if needed to reach areas)
- Plastic drop cloth or tarp
- Putty knife or scraper
- Bucket of warm water
- Sponge or spray bottle
- Protective gloves and goggles
- Protective clothing (such as long-sleeved shirt and pants)
It’s also a good idea to cover any nearby furniture or flooring with plastic sheeting or old towels to protect them from potential water damage. Additionally, make sure the room is well-ventilated to prevent the build-up of excessive steam and humidity.
10 Easy Steps on How to Use Wallpaper Steamer
Step 1. Prepare the Steamer:
Before starting, ensure that the wallpaper steamer is in good working condition. Begin by filling the steamer’s water tank with the appropriate amount specified in the manufacturer’s instructions. It’s crucial to use clean, fresh water to ensure that the steam produced is impurities-free. Once filled, securely close the tank’s lid to prevent any water leakage during usage.
Next, connect the steamer to a power source, using an extension cord if necessary to reach all areas of the room. Ensure the extension cord is heavy-duty enough to handle the electrical load safely. Turn on the steamer and allow it to heat up, which typically takes about 10 to 15 minutes, depending on the model.
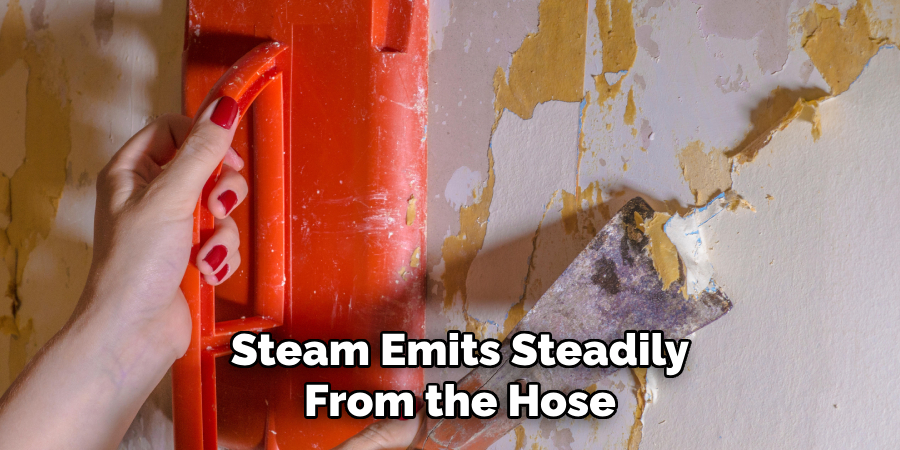
You’ll know it’s ready when steam emits steadily from the hose. During the heating process, it’s advisable to test the steamer briefly on a small, inconspicuous area of the wallpaper to ensure it produces a consistent and robust stream of steam.
Step 2. Protect Your Work Area:
While the steamer is heating up, take a moment to safeguard your work area. Begin by laying down a plastic drop cloth or tarp on the floor to catch debris and moisture and protect the surface underneath. If you haven’t already, cover nearby furniture and fixtures with additional plastic sheeting or old towels. This will prevent any water or wallpaper remnants from causing damage. Since wallpaper removal can be messy, it’s important to protect your belongings and workspace to maintain a clean environment.
Step 3. Apply Steam to the Wallpaper:
With the steamer ready and your area protected, it’s time to begin applying steam to the wallpaper. Hold the steam plate against the wallpaper, starting at the top corner of the wall. Keep it in place for about 10-15 seconds, allowing the steam to penetrate and loosen the adhesive underneath. Slowly move the steam plate down the wall in sections, overlapping slightly to ensure all areas are adequately steamed. As the adhesive softens, the wallpaper begins to bubble or loosen. Be careful not to steam any particular area for too long to avoid damaging the drywall or plaster underneath.
Step 4. Remove the Wallpaper:
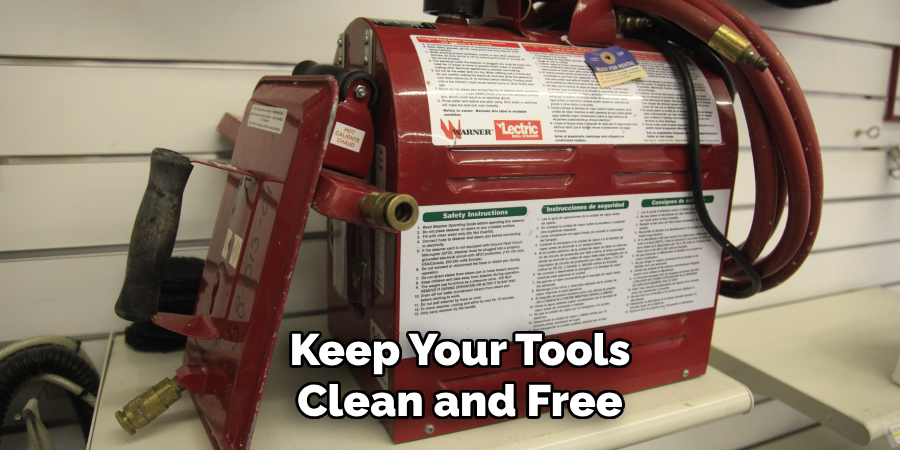
Once the steam has sufficiently loosened a section of wallpaper, use a putty knife or scraper to gently lift the edges. Begin at the top where you started steaming, and carefully peel the wallpaper away from the wall. Work your way down, using additional steam for any stubborn areas. Take care not to gouge or damage the underlying wall surface as you scrape. For particularly resistant spots, you may need to apply more steam and let it penetrate before attempting to squeeze again. Keep your tools clean and free from adhesive buildup throughout this process to ensure effective removal.
Step 5. Clean the Walls:
After successfully removing the wallpaper, it’s essential to clean the walls thoroughly to remove any remaining adhesive or residue. Fill a bucket with warm water and use a sponge or spray bottle to apply the water to the wall. Gently scrub the surface with a sponge, focusing on areas where adhesive is still present. Rinse the sponge frequently and replace the water as needed to ensure a clean application.
For stubborn adhesive, consider using a mixture of water and a mild detergent, or a commercially available adhesive remover. Once the walls are clean, dry them with a towel or allow them to air dry completely before proceeding with any further decorating or painting. Proper cleaning is essential to prepare the surface for new wallpaper or paint, ensuring a smooth and professional finish.
Step 6. Inspect the Walls for Damage:
Following the removal and cleaning process, carefully inspect the walls for any damages or imperfections that may have occurred during the wallpaper removal. Look for issues such as gouges, cracks, or nail holes. If you spot any minor damages, fill them with wall filler or spackle using a putty knife. Ensure that the surface is smooth and even by sanding any raised areas once the filler is dry. Addressing these issues before applying new wallpaper or paint will result in a more polished and professional final appearance. For more significant problems, consider consulting a professional to assess and repair any significant structural concerns.
Step 7. Prepare for New Decorations:
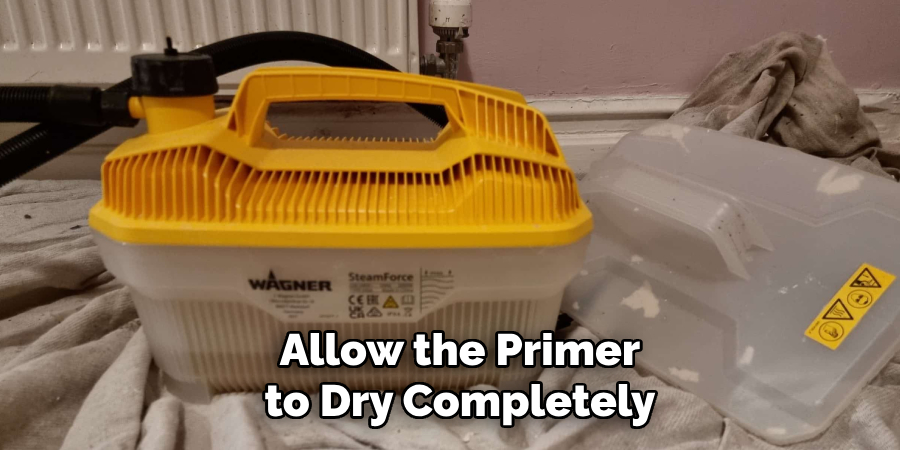
Once the walls are inspected and any necessary repairs have been completed, it’s time to prepare for decorating. Begin by wiping the walls with a clean, dry cloth and ensuring they are free from dust and any loose particles. To achieve an optimal surface for new wallpaper or paint, consider applying a coat of primer. Priming the walls helps to seal the surface, creating a smooth, even base that enhances adhesion and ensures the longevity of your new decor. Allow the primer to dry completely according to the manufacturer’s instructions.
Step 8. Apply New Wallpaper or Paint:
You can apply new wallpaper or paint with the walls primed and dry. If you’re using wallpaper, carefully measure and cut the wallpaper strips to fit the height of your wall, allowing a bit extra at the top and bottom for trimming. Apply wallpaper adhesive as the manufacturer instructed, then gently position the wallpaper on the wall. Use a smoothing tool to remove air bubbles or wrinkles, starting from the center and working outward. Trim the excess wallpaper at the top and bottom with a sharp utility knife for a clean finish. If painting, select high-quality paint and tools for best results. Apply the paint evenly, using a roller for large areas and a brush for corners and edges.
Step 9. Final Touches and Cleanup:
Once your new wallpaper or paint has dried thoroughly, it’s time to focus on the final touches that will complete the transformation of your space. Reinstall any previously removed fixtures, such as light switch covers, outlet covers, or curtain rods. Ensure all fixtures are clean and in good condition before reattaching them. Take a moment to clean up your work area by removing any remaining protective coverings, tarps, or drop cloths. Dispose of old wallpaper scraps and cleaning materials responsibly. Finally, vacuum or sweep the floor to capture any dust or debris. You create a fresh, inviting environment ready for enjoyment and admiration by thoroughly cleaning and reassembling your space.
Step 10. Enjoy Your Revamped Space:
Congratulations on completing your home improvement project! Now that your walls are freshly decorated take a moment to enjoy the transformation you’ve achieved. Add new furnishings, artwork, or personal touches to personalize your space further. Rearrange furniture to complement the new wall design or color, and experiment with different lighting to enhance the atmosphere.
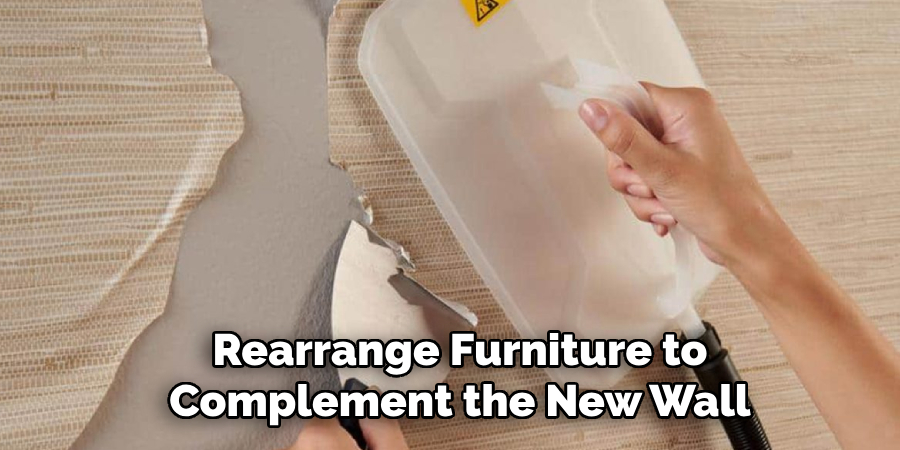
Following these steps, you can confidently tackle any wallpaper removal project and refresh your space with new decor.
Conclusion
How to use wallpaper steamer is an efficient and effective method to remove old wallpaper and start fresh with your decorating projects.
Following a systematic approach, from proper setup and preparation to thorough cleaning and inspection of the walls, ensures a smooth transition from old to new. The steamer’s ability to gently loosen adhesive allows for the clean removal of wallpaper without sacrificing the integrity of the wall surface. This process prepares the walls for new decoration and contributes to a polished and professional finish. Remember to follow safety precautions, such as using protective gear and ventilating the area well, to ensure a safe working environment.
By adhering to these guidelines, you can confidently use a wallpaper steamer to revitalize your home and enjoy the satisfaction of achieving a beautifully refreshed space.
