Are you planning to install new flooring in your home or renovate your concrete patio? If so, you may need to remove the existing thinset from the concrete slab before laying down new tiles or other flooring materials.
How to remove thinset from concrete slab can be a challenging but necessary task when preparing a surface for new flooring or renovations. Thinset, a type of adhesive mortar used to bond tiles to surfaces, hardens over time and adheres firmly to the concrete. Whether you are replacing old tiles or simply restoring the concrete slab, understanding the right techniques and tools to remove thinset efficiently is essential.
This guide will walk you through the steps to effectively tackle thinset removal, ensuring a smooth and clean surface for your next project.
What Are the Benefits of Removing Thinset From Concrete Slab?
Removing the thinset from the concrete slab is crucial for several reasons:
- A Smoother and More Even Surface: Thinset can become uneven and rough after years of use, making it difficult to lay down new flooring materials. Removing the old thinset can create a smooth and level surface for your new flooring.
- Prevent Damage to New Flooring: If you plan to install new tiles or other flooring materials on top of the existing thinset, removing any old adhesive residue is essential. This will ensure proper adhesion of the new flooring and prevent any potential damage or cracking.
- Prevent Slipping Hazards: Old thinset can become slippery, especially when wet. Removing it from your concrete slab can create a safer environment for yourself and others.
- Aesthetically Pleasing Appearance: Removing old thinset can improve the overall look of your flooring. It will also make the new tiles or flooring materials appear more even and professional.
Once you have decided on the benefits of thinset removal, it is time to dive into the steps to remove it effectively and efficiently.
What Will You Need?
Before you start the thinset removal process, gathering all the necessary tools and materials is essential. Here is a list of items that you will need:
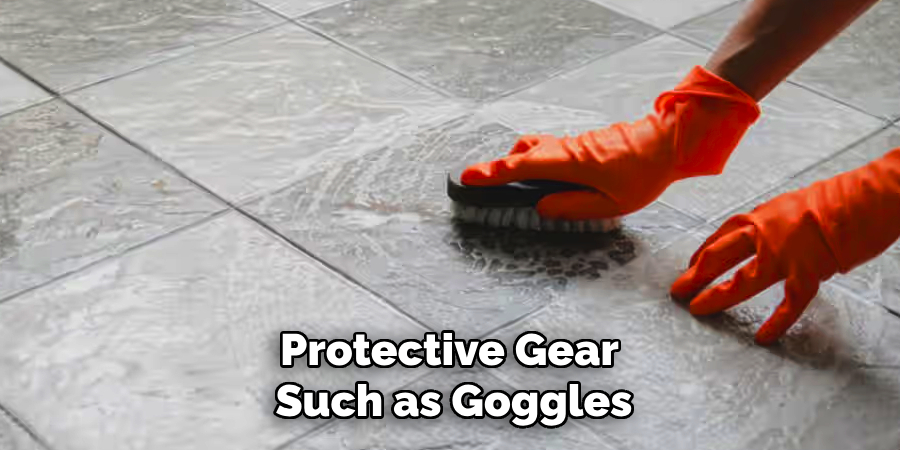
- Protective Gear: Safety should always be your top priority when working with any chemicals or sharp tools. Wear protective gear such as goggles, gloves, and a dust mask.
- Heavy-duty Scraper: You will need a sturdy scraper to remove most of the thinset from the concrete surface.
- Chisel: For tougher areas of thinset, a chisel can come in handy. Make sure to choose one with a sharp edge for more effective removal.
- Hammer: A hammer can be used with the chisel to help break up larger pieces of thinset.
- Grinder or Sander: For stubborn areas of thinset, a grinder or sander can be used to smooth out the surface after scraping.
- Chemical Adhesive Remover: In some cases, using a chemical adhesive remover may be necessary for a more challenging and stubborn thinset. Make sure to choose a safe product for use on concrete surfaces.
- Broom/Vacuum Cleaner: Once the thinset has been removed, cleaning up the debris and dust using a broom or vacuum cleaner is essential. This will ensure a clean surface for your new flooring.
8 Easy Steps on How to Remove Thinset From Concrete Slab
Step 1: Prepare Your Workspace
Before removing the thinset, it’s crucial to prepare your workspace to ensure the job is done efficiently and safely. Start by clearing the area of any furniture, tools, or obstructions to create a clean and open work area. This will provide ample space to work and minimize the risk of accidents.
You should also ensure proper ventilation, mainly if you use a grinder or chemical adhesive remover, as both can produce dust or fumes. Lay plastic sheeting or drop cloths to protect nearby surfaces from debris or dust. Lastly, gather all the necessary tools and safety equipment in one easily accessible spot to reduce interruptions. Taking time to prepare your workspace effectively will save you trouble and ensure a smooth start to the project.
Step 2: Gather the Right Tools
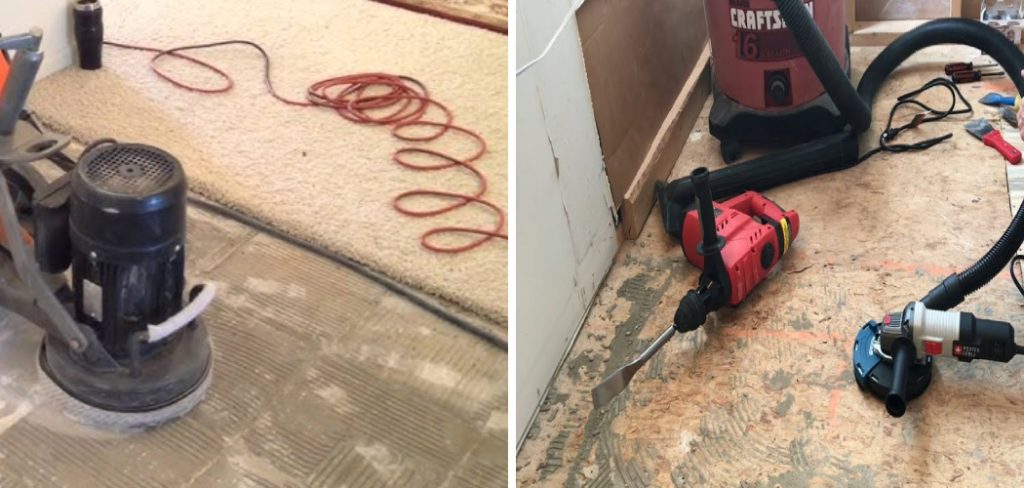
To efficiently remove thinset from a concrete slab, having the appropriate tools on hand is essential. Standard tools for this task include a floor scraper, angle grinder with a diamond cup wheel, chisel, hammer, and a rotary hammer drill with a scaling chisel attachment for more stubborn thinset. Additionally, you may need a shop vacuum to clean up debris and dust as you work. Use protective gear such as safety goggles, gloves, knee pads, and a dust mask or respirator for safety. Having the right tools ready will ensure the process is both effective and safe.
Step 3: Begin Removing the Thinset
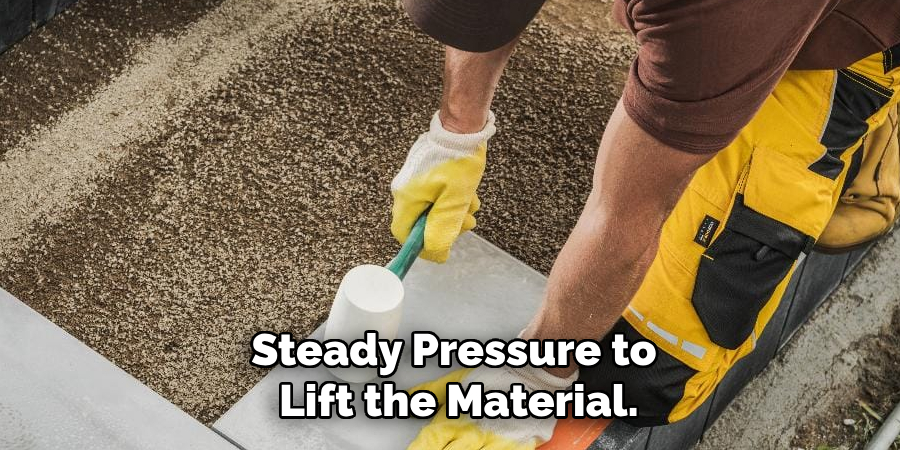
Start by using the floor scraper to tackle any loose or thin layers of thinset on the surface. Hold the scraper at an angle and apply steady pressure to lift the material. For thicker or more stubborn patches, switch to an angle grinder with a diamond cup wheel, and wear your protective gear to shield yourself from dust and flying debris. Move the grinder slowly and evenly across the surface to avoid gouging the concrete. For areas, the scraper or grinder cannot reach, use a chisel and hammer or a rotary hammer drill with a scaling chisel attachment to carefully break apart the remaining thinset. Work in small sections to maintain control and efficiency throughout the process.
Step 4: Clean the Surface
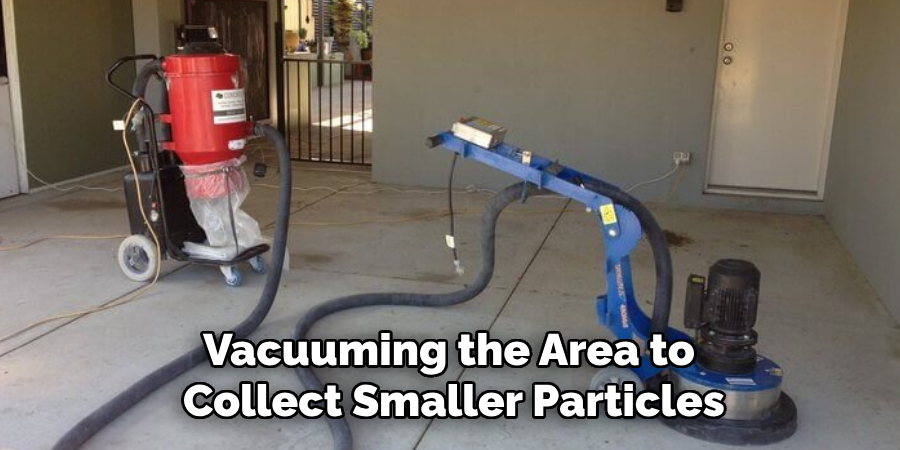
Once all the thinset has been removed, thoroughly clean the surface to prepare it for the next steps. Begin by sweeping up any large debris with a broom or vacuuming the area to collect smaller particles. Afterward, wash the surface with water and a mild detergent to remove any remaining dust or residues. Use a mop or sponge to scrub the floor and ensure it is immaculate. Allow the surface to dry completely before applying any new flooring or coatings. This step is crucial to ensure a smooth, adhesive-ready surface for the next application.
Step 5: Inspect the Surface
After the surface has dried completely, carefully inspect it for any remaining thinset or uneven areas. Use your hand to feel any rough spots that could interfere with the new flooring installation. Repeat the grinding or scraping process in these areas to ensure the surface is smooth and even. Inspecting and addressing any imperfections thoroughly will help ensure a professional and durable finish for the new flooring.
Step 6: Apply a Primer
Before installing your new flooring, consider applying a primer to the surface if required by the type of flooring or adhesive used. A primer can help improve adhesion, seal the surface, and ensure a more durable installation. Follow the manufacturer’s instructions when selecting and applying the primer, and allow it to dry completely before proceeding. This additional step can contribute to a long-lasting and professional finish.
Step 7: Measure and Plan Layout
Accurate measurements and a well-thought-out layout are essential for a successful flooring installation. Start by measuring the room dimensions, accounting for any alcoves or irregularities, to determine how much material will be needed. Plan the layout by marking reference lines to guide the placement of the flooring. This step helps install the flooring evenly and avoids awkward cuts or gaps near walls and edges. Taking the time to measure and plan thoroughly will save effort during installation and result in a more professional appearance.
Step 8: Cut and Fit the Flooring
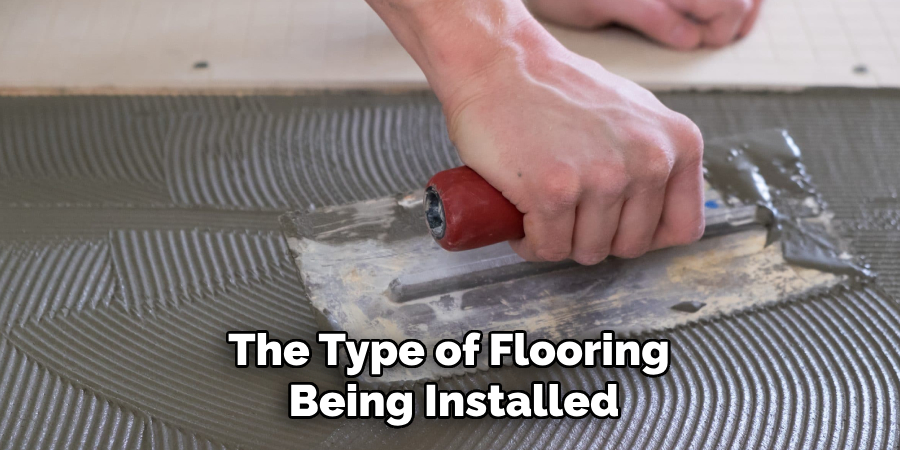
Once the layout has been planned, cut the flooring materials to fit the space. Use a sharp utility knife, saw, or other appropriate cutting tools based on the type of flooring being installed. Always measure twice before cutting to avoid errors and reduce material waste. Pay close attention to details around doorways, corners, and other irregular spaces, ensuring a precise fit. Test each piece by placing it in position before securing it to guarantee a seamless appearance. Proper cutting and fitting are key to achieving a polished and professional finish.
By following these steps and taking the time to prepare, gather tools, and carefully remove thinset, you can ensure a successful installation of your new flooring.
5 Things You Should Avoid
1. Using the Wrong Tools: Avoid using tools not designed to remove thinset, such as household scrapers or knives. These tools can make the process more time-consuming and may damage the concrete slab underneath.
2. Skipping Safety Precautions: Wear protective gear like goggles, gloves, and a dust mask. Removing thinset generates a lot of dust and debris, which can be harmful if inhaled or if it comes into contact with your skin or eyes.
3. Applying Excessive Force: Refrain from applying too much force while scraping, which can lead to gouges or scratches on the concrete slab. Instead, use a balanced technique with the proper tools to avoid unintentional damage.
4. Neglecting to Wet the Thinset: Dry thinset is more challenging to remove and creates more dust. Always wet the area slightly before softening the thinset and reducing airborne particles.
5. Rushing the Process: Removing thinset can be labor-intensive and time-consuming. Avoid rushing through the task, as this can result in incomplete removal or mistakes that damage the slab.
Conclusion
How to remove Thinset from concrete slab requires patience, the right tools, and adherence to safety precautions.
Following the steps outlined above and avoiding common mistakes, you can achieve a clean and smooth surface ready for your next project. Remember to prioritize safety, take your time, and use appropriate techniques to ensure the process is efficient and damage-free.
Removing thinset can be a manageable and successful task with proper preparation and care.