Removing a standing seam metal roof can be a challenging task that requires careful planning and attention to detail. Whether you’re replacing the roof due to wear and tear or upgrading to a different roofing material, understanding the steps involved is crucial for a successful project. This guide aims to provide clear instructions and essential tips for how to remove standing seam metal roof. By taking the proper precautions and utilizing the right tools, you can effectively remove a standing seam metal roof without causing damage to the underlying structures or compromising personal safety.
What Is a Standing Seam Metal Roof
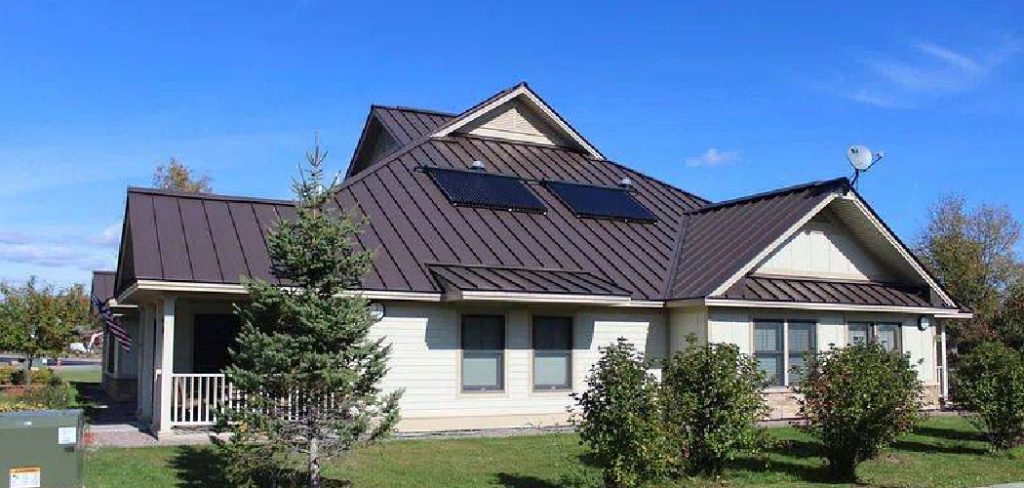
A standing seam metal roof is a popular roofing option characterized by its clean lines and sleek appearance. It consists of metal panels that run vertically along the roof’s surface, with raised seams that interlock to provide exceptional strength and durability. These seams stand several inches above the flat part of the panels, which not only enhances their weather-tight performance but also offers an aesthetically pleasing finish. Standing seam metal roofs are typically made from materials such as aluminum, galvanized steel, or copper, and are known for their ability to resist extreme weather conditions, fire, and pests.
10 Methods How to Remove Standing Seam Metal Roof
1. Assessing the Condition and Structure of the Roof
Before starting the removal process, it’s essential to thoroughly assess the condition of the standing seam metal roof. Look for signs of damage, rust, or structural weaknesses that could affect the removal process. Check for loose panels, damaged fasteners, or areas where the roof may have been repaired or patched. Also, examine the underlying roof structure to determine whether any decking or insulation needs to be replaced along with the metal roofing. This assessment will help you plan the removal, identifying potential problem areas and ensuring that you have all the necessary tools and materials to complete the job safely and efficiently.
2. Gathering the Necessary Tools and Equipment
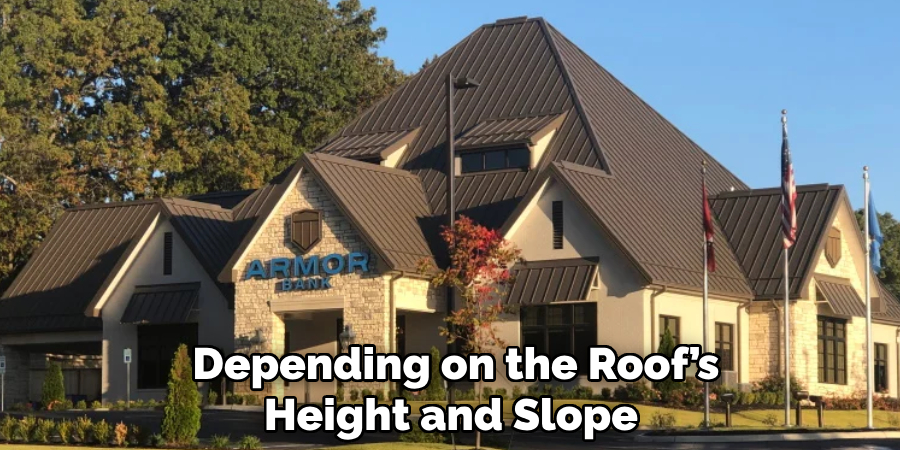
Removing a standing seam metal roof requires a specific set of tools to ensure that the process is safe and efficient. Common tools you’ll need include a pry bar, roofing hammer, utility knife, electric drill or impact driver, roofing screw removal tool, and heavy-duty gloves. You may also need safety equipment like a harness, ladder, or scaffolding, depending on the roof’s height and slope. Make sure you have a proper plan for disposing of the old roofing materials, such as a dumpster or waste bins. By gathering all the necessary tools and equipment ahead of time, you can avoid delays and ensure that the removal process proceeds smoothly.
3. Preparing the Worksite for Safe Removal
Safety is a top priority when removing a standing seam metal roof. Start by clearing the area around the building of any obstacles that could interfere with the work or pose a hazard. Set up ladders, scaffolding, or a roof safety harness to provide a secure working environment, particularly if the roof has a steep pitch. If you are working in a residential area or around people, cordon off the area below the roof to prevent accidents from falling debris. Remove any gutters, downspouts, or other accessories that are connected to the roof edges to prevent damage during the removal process. Proper preparation of the worksite will ensure a safer environment for everyone involved in the project.
4. Removing Roof Accessories and Trims
The first step in the actual removal process is to take off any accessories and trims that are installed along the roof’s edges. This includes ridge caps, hip caps, drip edges, and other flashing components. These pieces are typically installed with screws or nails, so use a drill or pry bar to carefully remove them without damaging the surrounding materials. Be cautious when working around the edges of the roof, as they can be sharp and hazardous. Remove the trims and set them aside for disposal or recycling. Clearing the roof of these elements will give you better access to the metal panels and make it easier to detach them from the roof structure.
5. Removing Fasteners from the Metal Panels
Standing seam metal roofs are attached to the roof deck with concealed fasteners that run along the seams of the panels. To remove the metal panels, you’ll need to locate and remove these fasteners first. Start at the ridge or the highest point of the roof and work your way down. Use a drill or screw gun to unscrew the fasteners holding the metal panels in place. Be sure to save or discard the screws properly, as they can be sharp and hazardous.
In some cases, you may encounter nails instead of screws—use a pry bar or nail puller to carefully remove them without damaging the roof decking beneath. Removing the fasteners properly ensures that the metal panels can be lifted off without causing damage to the roof structure.
6. Separating the Standing Seams of the Metal Panels
After the fasteners are removed, the next step is to separate the standing seams of the metal roof panels. The seams are interlocked to create a watertight barrier, and you’ll need to carefully break this seal to lift the panels off. Using a pry bar, gently lift the edges of the panels where they are joined, taking care not to bend or damage the metal if you plan to reuse or recycle it. In some cases, the seams may be sealed with adhesive or sealant, so you may need to use a utility knife to cut through the material.
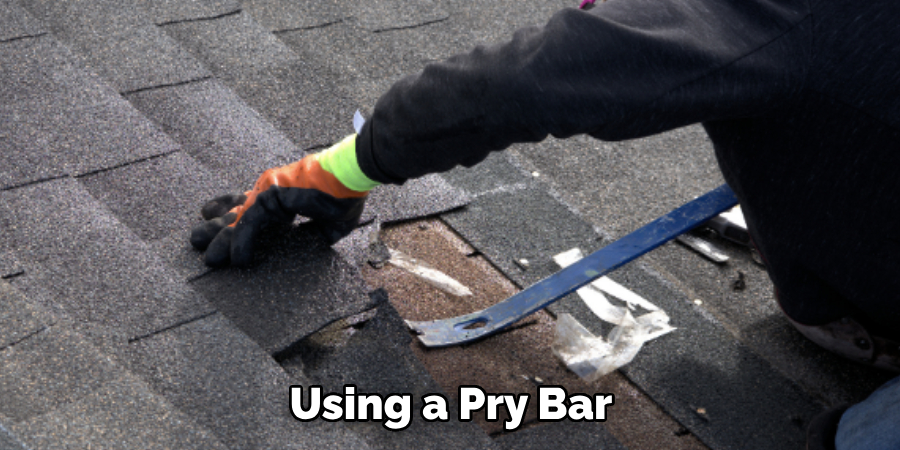
Work methodically along each seam to ensure that the panels are fully detached before lifting them off the roof. Proper separation of the seams will make the removal of the panels much easier and reduce the risk of damage to the underlying structure.
7. Removing the Metal Panels
Once the seams have been separated and the fasteners removed, it’s time to lift the metal panels off the roof. Start at the ridge and remove the panels one by one, working your way down to the eaves. Depending on the size and weight of the panels, you may need assistance to safely remove them without causing damage to the roof or injuring yourself. Use both hands to grip the panel securely, and carefully lift it up and over the roof’s edge, lowering it to the ground or passing it to a helper.
Be sure to handle the panels with care, as they can be sharp and heavy. Removing the panels methodically will prevent damage to the roof and make the disposal or recycling process more manageable.
8. Inspecting and Repairing the Roof Deck
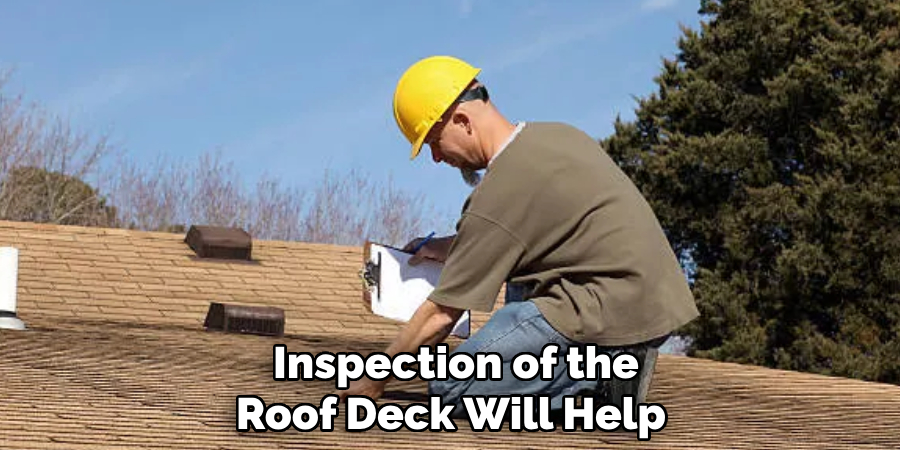
After all the metal panels have been removed, inspect the roof deck for any signs of damage or deterioration. Check for rot, warping, or moisture damage that may have occurred beneath the metal roofing. If any sections of the decking are damaged, they will need to be replaced before new roofing materials can be installed. Additionally, check for any nails, screws, or other debris left behind from the metal roofing, and remove them to ensure a clean and smooth surface. A thorough inspection of the roof deck will help you identify any necessary repairs and ensure that the new roof has a solid, stable foundation to be installed upon.
9. Disposing of or Recycling the Old Metal Panels
Once the metal roof panels have been removed, you will need to properly dispose of or recycle them. Metal roofing materials, especially aluminum and steel, are highly recyclable, so consider taking them to a local recycling facility rather than discarding them as waste. If the panels are still in good condition, they may be reused for other projects or sold as scrap metal. Be sure to remove any fasteners, adhesives, or other non-metal materials before recycling the panels. Proper disposal or recycling of the old metal panels helps reduce environmental impact and ensures that the materials are put to good use after they are no longer needed for your roof.
10. Cleaning and Preparing the Roof for the Next Installation
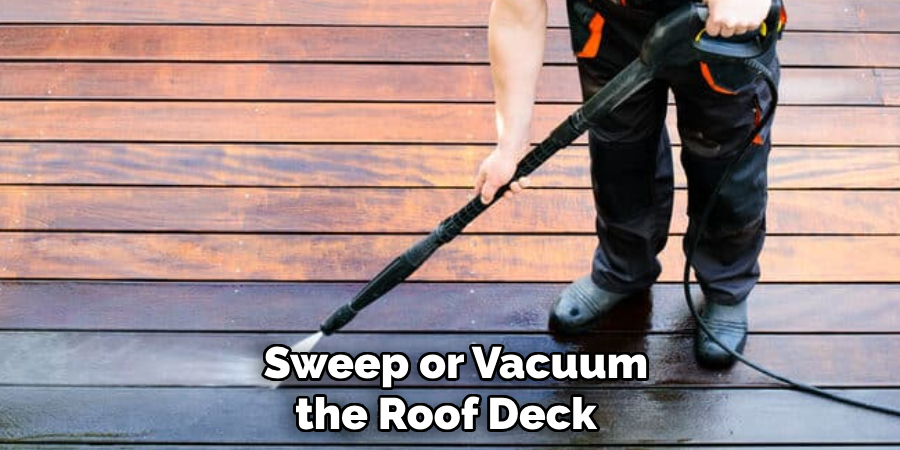
After the old standing seam metal roof has been removed, and any necessary repairs to the roof deck have been completed, it’s time to clean and prepare the roof for the next installation. Sweep or vacuum the roof deck to remove any debris, dust, or remnants of the old roofing material. Check that the surface is smooth and free of any obstructions that could interfere with the installation of new roofing materials.
If you plan to install a new metal roof, follow the manufacturer’s recommendations for underlayment or insulation to create a proper base for the new panels. By thoroughly cleaning and preparing the roof, you’ll ensure that the next roofing installation goes smoothly and provides long-lasting protection for your home.
Conclusion
Removing a standing seam metal roof is a detailed process that requires careful attention to each step to ensure safety and the integrity of the building’s structure. By following the outlined stages—from removing trims and fasteners to inspecting the roof deck and preparing for new installation—you can achieve a successful removal and transition to a new roofing system. Thanks for reading our blog post on how to remove standing seam metal roof! We hope you found it helpful and informative.
