Removing peel and stick tiles from a wall can seem like a daunting task, but with the right approach, it can be done efficiently and with minimal damage to the wall surface. Whether you’re planning to update your decor or repair an existing issue, understanding the process and tools needed for this task is crucial. This guide will walk you through how to remove peel and stick tile from wall, ensuring you achieve a clean removal without the hassle. With patience and the right techniques, you’ll be able to create a fresh canvas for your next project.
The Need for Removal
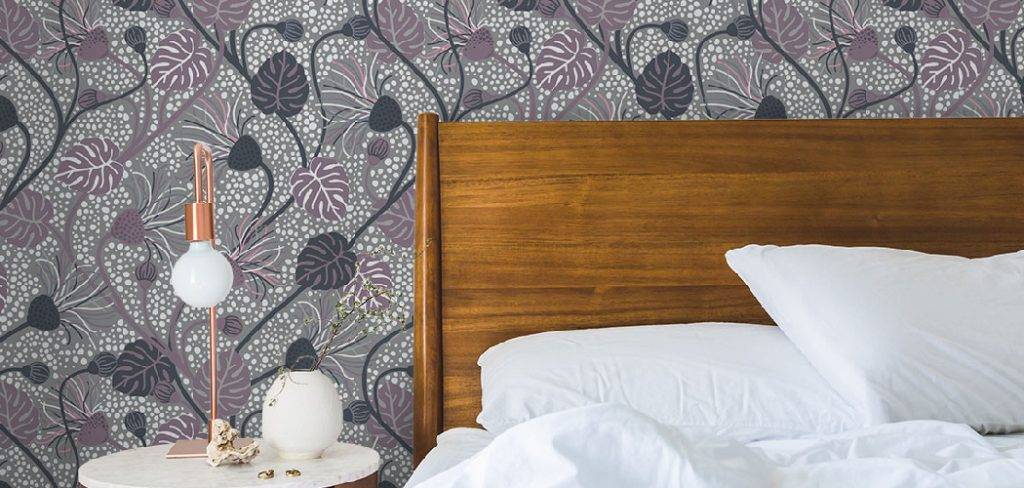
There are several reasons you might find yourself needing to remove peel and stick tiles from a wall. One common motivation is updating the aesthetic of a room. Over time, colors and patterns that were once in vogue may become outdated, prompting a redesign to reflect current trends or personal tastes. Additionally, wear and tear can lead to damaged tiles that require replacement to maintain the appearance and integrity of the wall.
In other cases, you might need to address underlying issues such as mold or water damage that can accumulate beneath the tiles. Whatever the reason, removing the tiles carefully is essential to prepare the wall for whatever comes next, whether it’s a new tile design, a fresh coat of paint, or other creative wall treatments.
Materials Needed for Removing Peel and Stick Tiles
Before starting the tile removal process, gather the following materials to ensure a smooth and efficient experience:
- Hair Dryer or Heat Gun: Used to warm the adhesive, making it easier to peel off the tiles.
- Putty Knife or Scraper: To help lift and remove the tiles from the wall.
- Adhesive Remover or Rubbing Alcohol: Useful for cleaning any remaining adhesive residue once the tiles have been removed.
- Cloth or Sponge: For applying adhesive remover and wiping the wall clean.
- Protective Gloves: To protect your hands from sharp tile edges and cleaning chemicals.
- Step Ladder: If the tiles are placed on higher sections of the wall, a ladder will be essential for safe access.
- Trash Bag or Container: For collecting removed tiles and any debris generated during the process.
Having these materials ready will help guarantee a tidy and effective removal process.
10 Methods How to Remove Peel and Stick Tile from Wall
1. Start by Testing the Edges
Before diving into the full removal process, it’s helpful to test the edges of a tile to see how easily it can be peeled off. Using a flathead screwdriver or a putty knife, gently lift a corner or edge of one tile. If the adhesive is weak or the tile comes off with minimal effort, the job will be much easier. However, if the tile resists peeling or pulls off in bits, this indicates a stronger bond and requires a more thorough approach. Always start at the edges to avoid damaging the wall.
2. Use Heat to Loosen the Adhesive
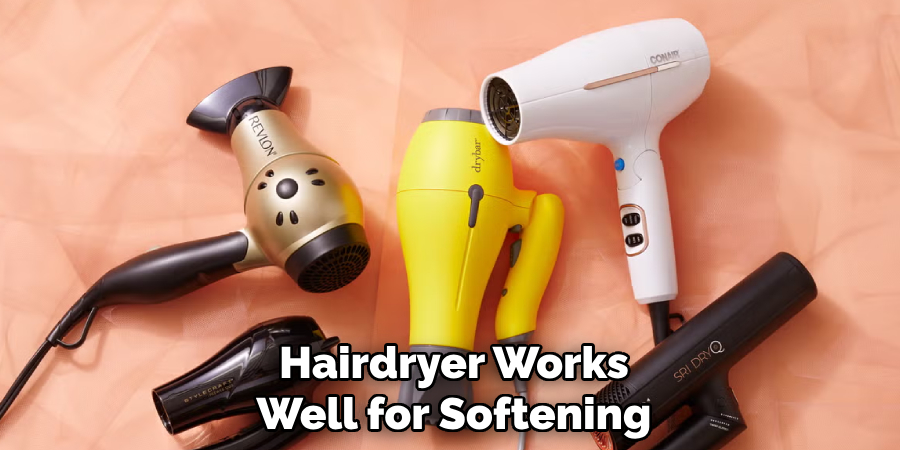
One of the most effective methods for loosening the adhesive on peel-and-stick tiles is by using heat. A heat gun or hairdryer works well for softening the adhesive beneath the tiles, making it easier to peel them off without damaging the wall. Hold the heat source a few inches away from the tile and heat it for about 30 seconds. The heat will soften the adhesive, allowing the tile to lift more easily. Be cautious not to overheat the wall, as prolonged heat can cause damage to the surface, especially with painted or drywall finishes.
3. Apply a Solvent to Break Down the Adhesive
For tiles that are particularly stubborn or have been adhered for a long time, using an adhesive remover or solvent can be an excellent solution. Commercial adhesive removers are formulated to dissolve the sticky substance, allowing you to peel the tiles off with less resistance. You can also use natural solvents like white vinegar or rubbing alcohol for a less chemical-intensive approach. Apply the solvent to a cloth or sponge and gently rub it over the tile’s edges and adhesive. Let it sit for a few minutes before attempting to peel the tile off. This will help break down the adhesive, making removal easier.
4. Score the Tiles for Easier Removal
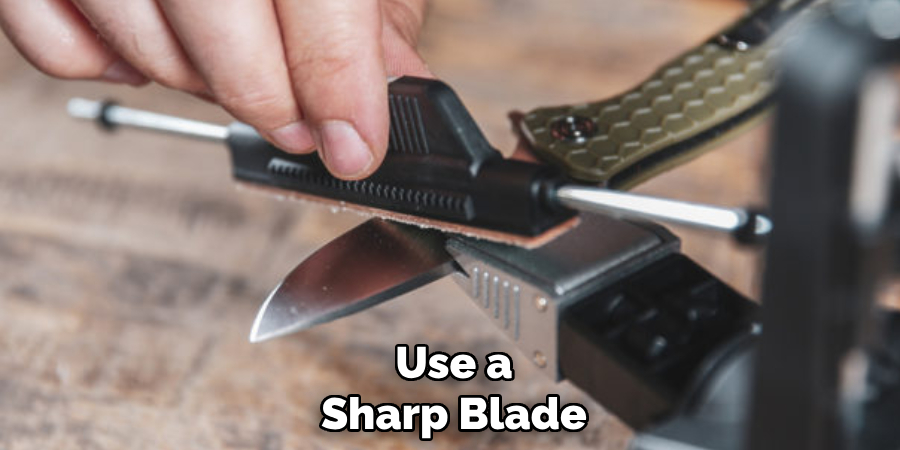
If the peel-and-stick tiles are not coming off easily, scoring them with a utility knife can make a huge difference. Use a sharp blade to make shallow cuts along the tile surface in a crisscross pattern, especially in the center of the tile. Scoring the tiles allows you to break the bond between the tile and the wall, making it easier to peel the tile off in smaller sections. Be sure to score gently to avoid cutting too deeply into the wall or damaging the surface. Once scored, you can use a scraper to gently lift and remove the pieces of the tile.
5. Use a Plastic Scraper for Gentle Lifting
To avoid damaging the wall’s surface, a plastic scraper or putty knife is your best tool for gently lifting the peel-and-stick tiles. Metal scrapers can cause scratches or gouges, so always opt for a plastic alternative, especially if you’re working with drywall or painted surfaces. Insert the edge of the scraper between the tile and the wall, then gently slide it under the tile. Work your way around the edges and carefully lift the tile off the wall in sections. For larger areas, you may need to apply heat or solvent to loosen the adhesive further.
6. Try the Freezer Method for Stubborn Tiles
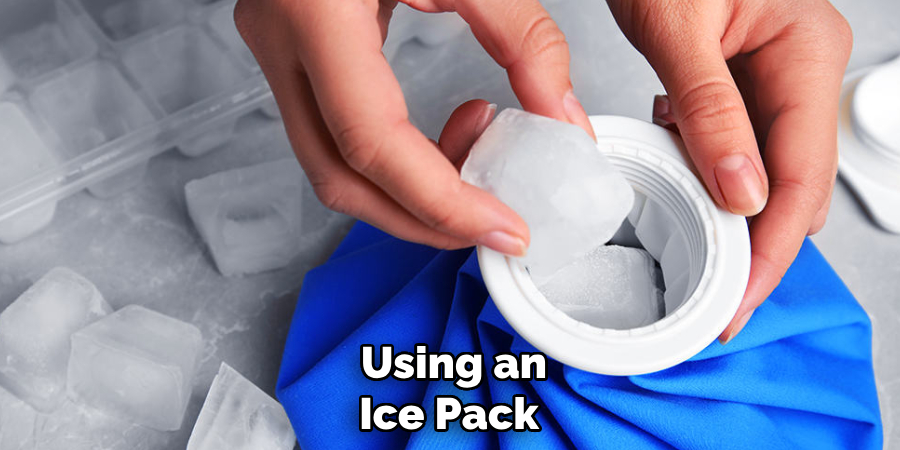
An unconventional but surprisingly effective method for removing peel-and-stick tiles is the freezer method. If you have the flexibility of time, you can apply this technique to small sections of tiles at a time. Using an ice pack or placing the tile area in a very cold environment (like a freezer for a few hours) will cause the adhesive to harden and become brittle. Once the adhesive is cold and stiff, the tiles can often be pried off much more easily. This method is particularly helpful for tiles that have become overly sticky or soft due to heat or humidity.
7. Use a Steamer to Loosen Adhesive
Another highly effective way to remove peel-and-stick tiles without damaging the wall is by using a steam cleaner or steam iron. The steam works to soften the adhesive, making it easier to peel the tiles away. Hold the steam cleaner or steam iron a few inches from the tile surface and allow the steam to penetrate the edges of the tile. The moisture will break down the adhesive bond, and you should be able to use a plastic scraper to gently lift the tiles. Always be cautious with steam, as excessive moisture can damage drywall or paint.
8. Apply a Sticky Residue Remover After Tile Removal
Once the tiles have been removed, you may be left with sticky residue on the wall. To remove this residue, you can apply a sticky residue remover, such as Goo Gone, to the affected areas. These products are specifically designed to dissolve sticky substances without harming your walls. Simply apply the remover to a clean cloth or sponge and rub it over the sticky areas. Allow it to sit for a few minutes to break down the adhesive, and then gently wipe it away with a clean cloth. If you prefer a natural approach, a mixture of baking soda and water can also be used to scrub off residue.
9. Clean the Wall Surface Thoroughly
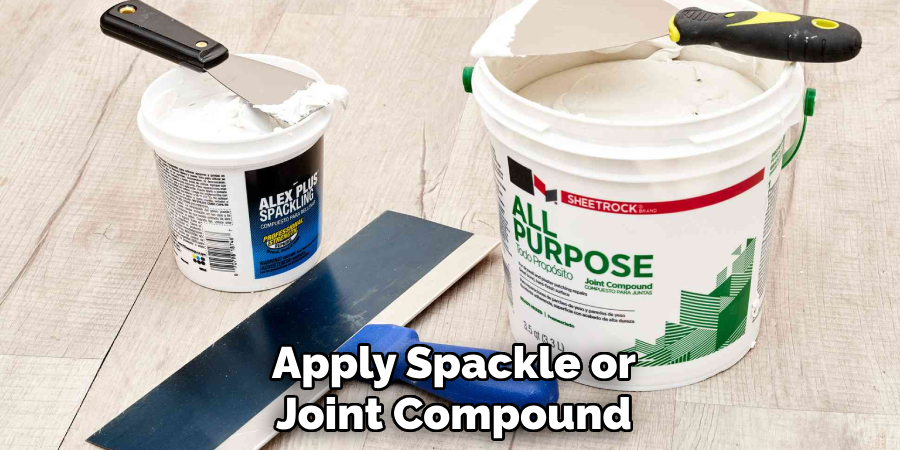
After the tiles and adhesive have been removed, it’s important to clean the wall thoroughly before any repairs or repainting. Use a mild soap solution and a clean sponge to remove any remaining dust, dirt, or residue. Rinse the area with clean water and allow it to dry completely. If you notice any damage to the wall surface—such as gouges or dents—this will be the time to repair those areas with spackle or joint compound. Once the wall is clean and smooth, it will be ready for new tile, paint, or other surface treatments.
10. Repaint or Patch Up Wall Imperfections
After removing the peel-and-stick tiles, the wall may have imperfections such as gouges, cracks, or discolored patches. If the wall surface is damaged, apply spackle or joint compound to fill in any holes or cracks. After the compound dries, sand it smooth and prime the wall for a fresh coat of paint. If the wall was previously painted, touch up the paint to restore a clean, uniform appearance. This step ensures that your wall is ready for new tiles or any other decorative treatment you wish to apply.
Conclusion
Removing peel-and-stick tiles can be a straightforward process if approached methodically and with the right tools and techniques. Whether you use heat, solvents, or alternative methods like the freezer trick, the key is to be gentle and patient to prevent damage to the underlying surface. Once the tiles are removed, ensuring the wall is clean and repaired will set the stage for any future redecorating plans. Thanks for reading our blog post on how to remove peel and stick tile from wall! We hope you found it helpful and informative.
