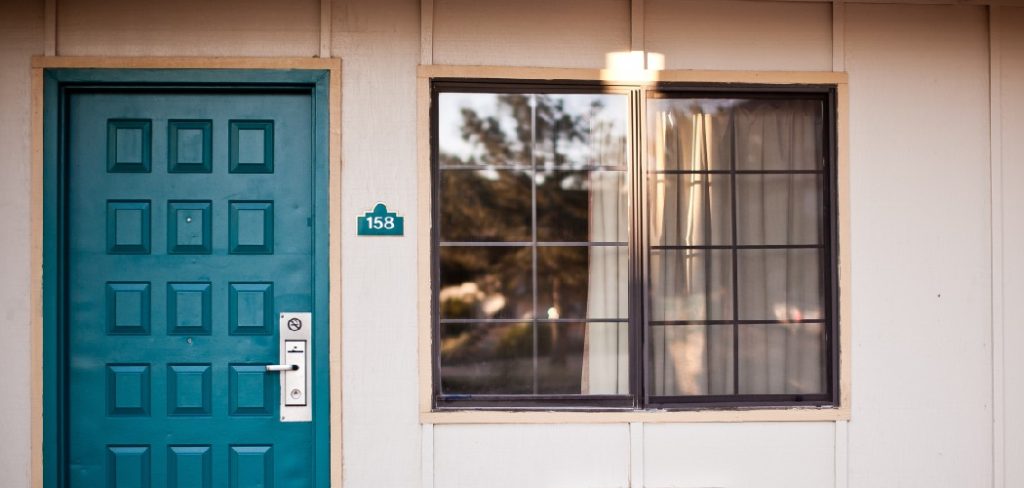
Installing a door in a wall can seem like a daunting task, but with the right tools and guidance, it is a project that you can accomplish with confidence. Whether you are looking to create a new entryway or update an existing one, understanding the process will ensure a smooth installation.

In this guide on how to install a door in a wall, we will walk you through the necessary steps to prepare, measure, and securely install a door, transforming your space efficiently and effectively. Whether you’re a seasoned DIY enthusiast or a novice eager to learn, this tutorial will provide you with the essential knowledge to get started.
Why Install a Door in a Wall?
There are several reasons why you may want to install a door on a wall. It allows for better flow and access between rooms, adds privacy and functionality, and can also enhance the aesthetics of your space. Additionally, installing a door in a wall is an excellent way to create more natural light and ventilation in your home.
What You Will Need
Before you begin the installation process, make sure you have all the necessary tools and materials:
The Door of Your Choice
Choose the type of door that best suits your needs and style. There are various options, including hinged doors, sliding doors, and pocket doors.
Door Frame
A door frame is necessary to provide support and stability to the door. You can purchase a pre-made one or make your own.
Measuring Tape
Accurate measurements are crucial for a proper fit. Be sure to have a measuring tape on hand.
Level
To ensure that your door is installed evenly and straight, a level is essential.
Drill
You will need a drill with different-sized bits for drilling holes in the wall for screws and other hardware.
Screwdriver
A screwdriver will be necessary for installing screws and other hardware.

Hammer
A hammer will come in handy for securing nails and removing any existing trim or molding.
Shims
Shims are small pieces of wood that can be used to adjust the door frame’s placement if needed.
8 Step-by-step Guides on How to Install a Door in a Wall
Step 1: Measure the Opening
Before you begin cutting or framing, it’s essential to accurately measure the opening where the door will be installed. Use your measuring tape to assess both the height and width of the space, ensuring there is sufficient room for the door and frame. Measure the top, middle, and bottom of the opening for width, as well as both sides for height, as walls can sometimes be uneven.
Record these measurements carefully, as they will guide you in selecting a door of the right size and in making any necessary adjustments to the current structure. Accurate measurements are crucial to ensure a seamless fit and functionality of the door once installed.
Step 2: Choose the Right Type of Door
As mentioned earlier, there are various types of doors to choose from. Consider factors such as functionality, style, and space constraints when selecting the right door for your project. For example, a hinged door may be suitable for smaller spaces, while a sliding door can save space in larger areas.
It’s also essential to consider the direction you want your door to swing open. Make sure it doesn’t interfere with any other furniture or objects in the room.
Step 3: Prepare the Wall
If there is an existing opening where you will be installing a door, remove any trim or molding using your hammer and pry bar carefully. This step may require some patching up and painting later on.
Next, use a stud finder to locate and mark the studs around the opening, as these will provide support for the frame and door.
Step 4: Frame the Opening
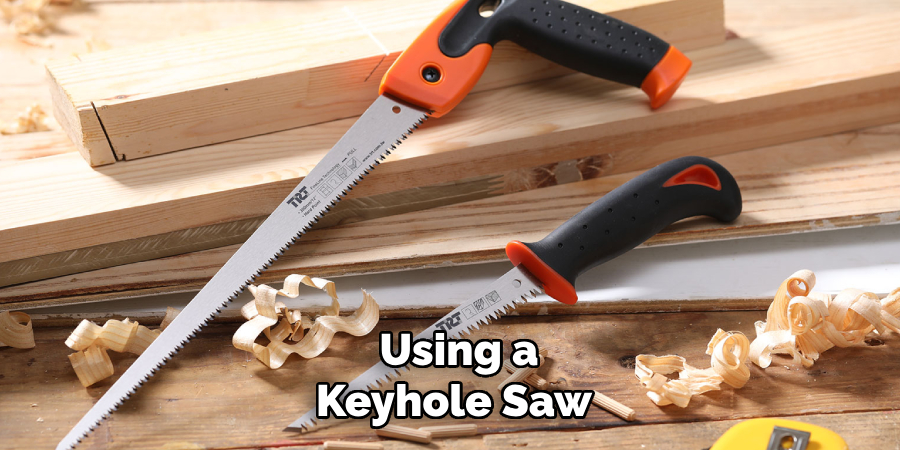
Using your measurements from step one, cut out any necessary drywall or plaster along the marked lines of the studs using a keyhole saw or reciprocating saw. Once the opening is clear, you can begin installing the door frame.

To ensure proper support, nail or screw the frame into the marked studs using your hammer and drill.
Step 5: Install the Door
With the door frame securely in place, it’s time to install the actual door. Place the door inside the frame and check that it fits properly. If not, use shims to adjust as needed.
Next, attach hinges to the door using screws and then fasten them to the frame with screws. For sliding doors, follow the manufacturers’ instructions for installation.
Step 6: Add Hardware
Once the door is fitted into the frame and securely attached, it’s time to add the necessary hardware, such as handles and locks. Begin by selecting hardware that complements the style of your door and meets your security requirements. Follow the manufacturer’s instructions to attach the door handle or knob, starting with marking the precise locations for screws on the door. Drill pilot holes to prevent splitting, and use screws to fasten the handle securely.
If your door includes a locking mechanism, install the lockset by following similar steps, ensuring that the latch or bolt aligns correctly with the strike plate on the frame. Adjust as needed for a snug fit by repositioning the strike plate or making minor adjustments to the latch. Take care to ensure that all components operate smoothly before proceeding, as precise installation of hardware is essential for both functionality and aesthetics.
Step 7: Trim and Finish
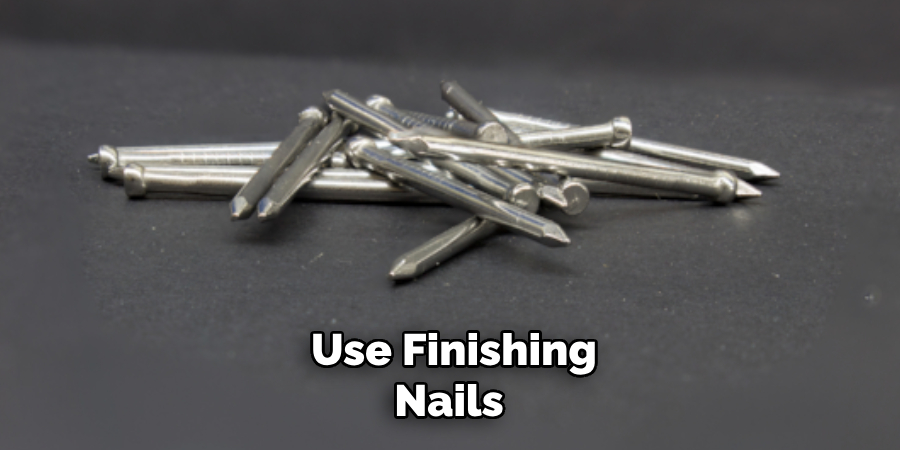
If you removed any trim or molding in step three, now is the time to replace or install new ones. Cut them to size if needed and use finishing nails and a hammer to secure them into place.

You can also patch up any remaining gaps around the door frame with putty or caulk and paint over it for a finished look.
Step 8: Test and Adjust as Needed
Once everything is installed and finished, test the door by opening and closing it several times to ensure it operates smoothly. If needed, make any minor adjustments or repairs to improve functionality.
Following these steps on how to install a door in a wall will help you successfully install a door in a wall, providing both functionality and aesthetic appeal to your home. Remember to take your time and double-check measurements and installation steps for the best results. Good luck with your project!
Additional Tips for Natural Light and Ventilation
- When selecting a door, consider one with glass panels or windows that allow natural light to flow into the room.
- For better ventilation, choose a door with adjustable vents or a screen door option.
- Consider installing a skylight or light tube above the door for additional natural light.
- If privacy is a concern, consider adding blinds or curtains to your door’s glass panels or windows.
- Regularly clean and maintain any glass panels or windows on your door to ensure they continue to allow natural light into the room.
Frequently Asked Questions
Q: Can I Install a Door in Any Type of Wall?
A: It is possible to install a door in most types of walls, including drywall, plaster, and even concrete. However, some walls may require special tools or techniques for installation. The steps outlined in this guide can help you install a door with standard construction materials on most walls. If you are unsure or have an unconventional wall material, it’s best to consult a professional for guidance.
Q: Do I Need any Special Tools for Installing a Door in a Wall?
A: While basic tools like a hammer, drill, and measuring tape are necessary for installing a door in a wall, some specialized tools may make the process easier. These include a keyhole saw or reciprocating saw for cutting drywall or plaster, as well as shims for adjusting the door frame. You may also need additional hardware such as hinges and screws specific to the type of door being installed.
Q: How Long Does it Take to Install a Door in a Wall?
A: The time it takes to install a door in a wall can vary depending on factors such as the type of door, the condition of the wall, and your experience level. On average, it may take several hours to complete the installation process. It’s essential to take your time and follow each step carefully for the best results.
Q: Can I Install a Door Myself or Do I Need Professional Help?
A: If you have some DIY experience and feel comfortable following instructions and using basic tools, installing a door in a wall is possible to do so yourself. However, if you are unsure or have little experience, it’s best to consult a professional for guidance or hire a contractor to ensure the job is done correctly and safely. Additionally, if your wall is made of unconventional materials or requires significant modifications, it’s best to seek professional assistance. Overall, the most important thing is to follow the necessary safety precautions and take your time to achieve a successful installation.

Conclusion
Installing a door in a wall can be a rewarding home improvement project that significantly enhances the functionality and aesthetic of your space. By carefully planning each step on how to install a door in a wall— from measuring and selecting the right door type to ensuring precise installation and adding the finishing touches— you can achieve a professional-looking outcome.
Additionally, considering aspects like natural light and ventilation can further optimize your living environment. Remember that meticulous attention to detail in each phase of the installation process is key to success. Whether you’re a seasoned DIY enthusiast or a beginner, this guide provides a comprehensive framework for achieving a seamless door installation. With patience and care, you can transform any room with a beautifully installed door that meets your design and practical needs.
