Are you struggling with a large paint spill? Don’t worry—it can be easy to clean up if you follow these simple steps.
Cleaning up a large paint spill can seem daunting, whether in your home, garage, or workspace. The key to managing this mess is to act quickly and follow the right steps to minimize damage and make the process as efficient as possible. A thorough cleanup requires having the right materials on hand and using appropriate techniques on how to clean up a lot of spilled paint safely and effectively.
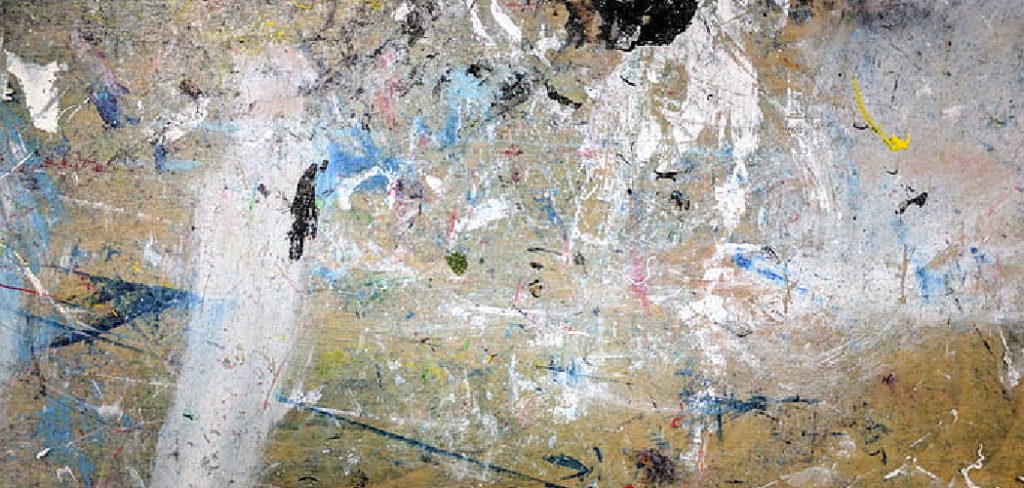
This guide will provide step-by-step instructions on cleaning up a lot of spilled paint, ensuring that you restore the affected area to its original state with minimal hassle.
What Will You Need?
Before you start cleaning, make sure you have all the necessary materials. This will save you time and frustration as you won’t need to stop during your cleanup to gather additional supplies.
- Large towels or rags
- Paper towels
- A drop cloth or plastic sheet
- A scraper or putty knife
- Mild soap or detergent
- Warm water
- Sponge or scrub brush (depending on the surface)
Once you have everything on hand, it’s time to start cleaning!
10 Easy Steps on How to Clean Up a Lot of Spilled Paint
Step 1: Contain the Spill
The first step in managing a large paint spill is to contain it quickly to prevent it from spreading to unaffected areas. Begin by placing a drop cloth or plastic sheet around the perimeter of the spill. This acts as a barrier, especially on porous surfaces like wood or concrete, where paint can seep and cause challenging in removing staining. If the spill is flat, use large towels or rags to encircle and absorb the paint.
Make sure to work from the outside edges inward, which helps to reduce the spill’s size and prevent further spread. Additionally, you might employ paper towels for smaller sections where precision is necessary. Containing the spill effectively sets the stage for the subsequent cleanup process and minimizes the potential for damage to surrounding areas.
Step 2: Remove Excess Paint
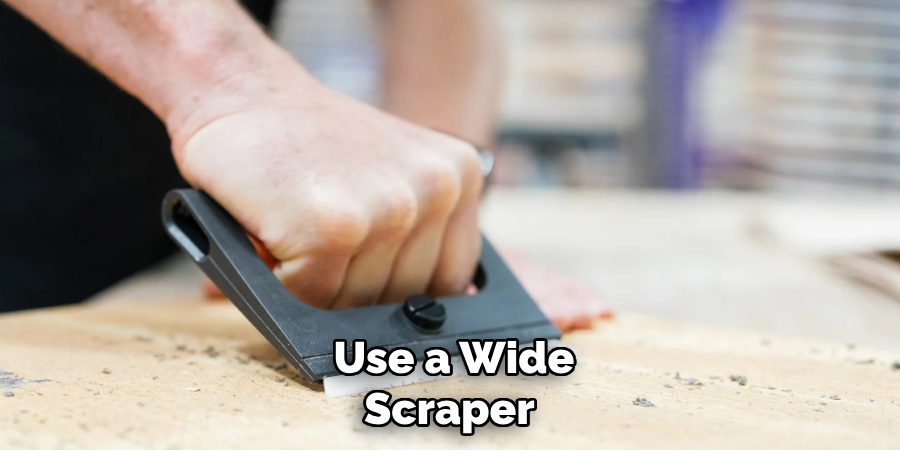
Once the spill is contained, the next step is to remove the excess paint from the surface. Use a scraper or putty knife to lift and gently collect as much paint as possible. Be careful not to press too hard, as this could cause the paint to spread or damage the surface underneath. Use a wide scraper to cover more area at once and make the process faster for large sections. After scraping, gather the paint onto a cardboard or a disposable plate for easy disposal. Remember to clean the scraper between uses to avoid reintroducing paint to the cleaned areas.
Step 3: Absorb the Remaining Paint
After removing the excess paint, it’s time to absorb the remaining wet paint using paper towels or large, absorbent rags. Press the towels gently onto the painted area, making sure not to rub, as this can spread the paint or push it deeper into the surface. Replace the towels as they become saturated and continue until most of the wet paint is absorbed. This step helps significantly reduce the amount of paint that seeps into the material and prepares the area for cleaning with soap and water. Absorbing the paint efficiently will make the following steps more effortless and more effective, ensuring a cleaner and smoother finish.
Step 4: Clean the Area with Soap and Water
Once the majority of the wet paint is absorbed, it’s time to clean the area with warm, soapy water. Mix mild soap or detergent with warm water in a bucket, then dip a sponge or scrub brush into the mixture. Gently scrub the stained area, applying light pressure to lift any remaining paint without damaging the surface. For delicate surfaces, use a sponge to avoid scratching. Rinse the sponge or brush frequently and change the water as it becomes cloudy to prevent re-depositing paint particles.
Step 5: Rinse and Dry the Surface
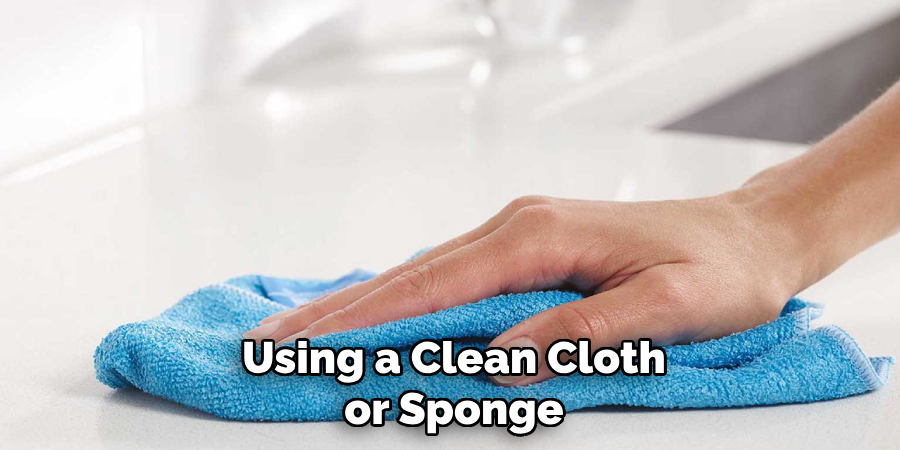
After cleaning with soap and water, it’s crucial to thoroughly rinse the surface to remove any soap residue and remaining paint particles. Use a clean sponge or cloth soaked in warm water to gently rinse the area, ensuring all cleaning solutions are washed away. A gentle scrub might be necessary during the rinse for stubborn areas or textured surfaces. Once rinsing is complete, use dry towels or rags to pat the area dry. This prevents water damage and allows you to check for any remaining paint stains.
If the paint persists, consider repeating the cleaning process or using a specialized cleaner suitable for the surface. Proper rinsing and drying helps to ensure that the cleaned area returns to its original condition and prevents the build-up of soap residue, which can attract dirt or dull the surface over time.
Step 6: Use a Paint Remover for Stubborn Stains
If any traces of paint remain after rinsing and drying the area, it may be necessary to employ a paint remover or thinner for stubborn stains. Ensure you choose a remover appropriate for the paint and surface you are dealing with to avoid damage. Test a small, inconspicuous area first to ensure the remover won’t harm the surface. Apply the paint remover as directed on the product label, using a clean cloth or sponge to work the solution into the stained area gently. Allow it to sit for the recommended time, then blot away the loosened paint residue.
Step 7: Check for Any Residual Paint
After using a paint remover, inspecting the area for any residual paint that may have been missed is crucial. Carefully examine the surface in good lighting, as lingering spots can sometimes be challenging to spot. If you find any remaining paint, repeat the application of paint remover on those specific areas and follow the exact instructions for blotting and rinsing. It’s essential to ensure all paint has been effectively removed to prevent potential staining or discoloration over time.
Additionally, assess the surface for any damage from the cleaning process and take appropriate steps to repair or restore it if necessary. A thorough final check will confirm that the entire area is clean and free of paint, providing a fresh start for any necessary touch-ups or maintenance.
Step 8: Restore and Protect the Surface
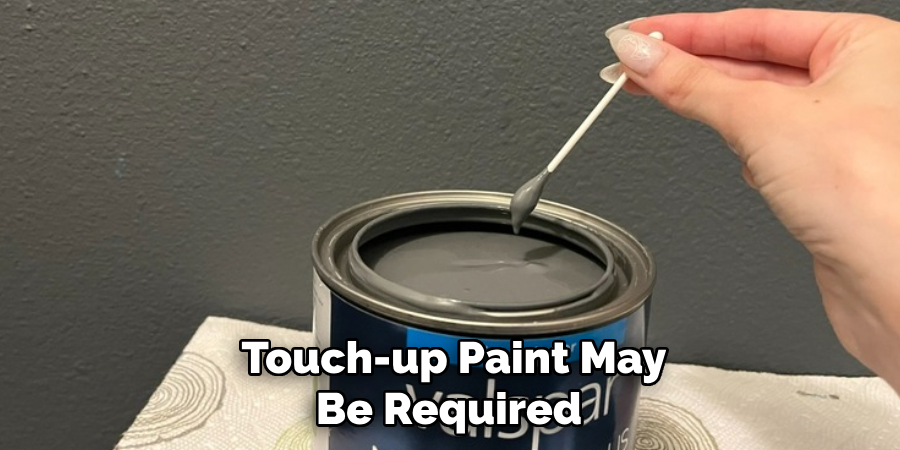
Once all paint has been successfully removed and the surface is clean and dry, it’s essential to restore and protect the area to maintain its condition. Consider applying a protective sealant, varnish, or polish for surfaces like wood or metal to shield against future spills or damage. For concrete or porous materials, a water-repellent sealer can be beneficial to prevent staining and ease future maintenance. If the surface shows signs of damage or discoloration, touch-up paint may be required to achieve a uniform appearance. Routine maintenance and periodic inspections can help retain the integrity and aesthetics of the surface, ensuring it remains in optimal condition over time.
Step 9: Conduct a Final Inspection
After completing the restoration and protective measures, conducting a final inspection of the area is crucial to ensure everything is up to standard. Walk around the site and examine the surface from different angles and lighting conditions to catch any imperfections that might have been overlooked. Look for any signs of remaining paint, residue, or areas needing additional attention, and verify that the protective measures applied have fully cured or set as necessary. This thorough assessment will help confirm that the restoration process has been successful, giving you peace of mind and ensuring the surface is well-prepared for future use. If needed, address any minor touch-ups during this inspection to finalize the process and achieve a flawless finish.
Step 10: Dispose of Waste Properly
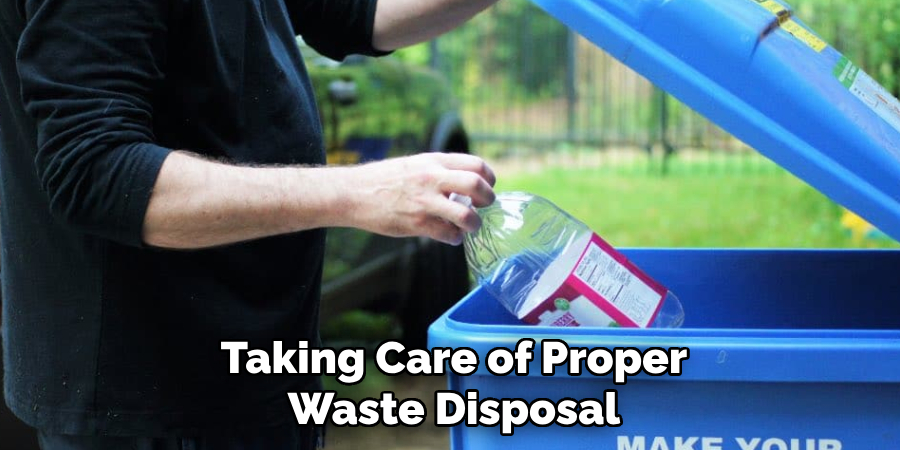
After completing the cleaning and restoration process, it’s essential to properly dispose of any waste materials used during the paint removal. Paint-soaked towels, bottles of paint remover, or other chemical products should be considered hazardous waste and disposed of per local regulations. Avoid throwing them in the regular trash, as improper disposal can harm the environment. Check with your local waste management facility for guidance on safely disposing of these materials. Taking care of proper waste disposal protects the environment and keeps your surroundings safe and clean.
By following these steps and using proper techniques and products, you can successfully remove paint from various surfaces without causing any damage.
Conclusion
How to clean up a lot of spilled paint can seem daunting, but with the right approach and techniques, it is entirely manageable.
By methodically removing excess paint, cleaning thoroughly using soap and water, and applying paint removers for stubborn stains, you can effectively clear the spill while preserving the surface’s integrity. Rinsing, drying, and inspecting the area ensure all residues are eliminated, preventing future complications. Restoring and protecting the affected surface adds extra precaution, maintaining its quality over time. Lastly, responsibly disposing of waste materials underscores the importance of environmental care in the cleanup process.
Careful attention to each step transforms a spilled paint into a successful restoration project, demonstrating that even the most challenging tasks can be accomplished with patience and diligence.
