Attaching siding to a curved wall can pose unique challenges compared to a standard flat wall. Curved walls add an elegant architectural element to a structure, but they require careful planning and execution to ensure the siding fits seamlessly and provides the desired aesthetic appeal. This guide will walk you through how to attach siding to a curved wall, ensuring a professional and durable finish. Whether you are working with vinyl, wood, or another siding material, understanding the techniques and tools needed for this task will help you achieve excellent results.

Understanding the Basics of Curved Wall Siding
Before embarking on the task of attaching siding to a curved wall, it’s crucial to grasp the fundamental aspects involved in this process. Curved walls, unlike flat surfaces, require precise measurements and calculations to maintain consistent alignment and curvature of the siding material. Start by assessing the radius and the degree of curve, as these factors dictate how the siding will bend and conform to the wall.
It’s also essential to choose the appropriate type of siding, taking into account flexibility and ease of manipulation. Materials such as flexible vinyl or thin wood planks are often better suited for curved applications, as they can be adjusted to reveal a smooth and continuous surface. Careful planning and preparation are vital, as they set the groundwork for a flawless installation.
Types of Siding Materials
When choosing siding materials for a curved wall, it’s vital to consider both aesthetics and functionality. Here are some popular options:
- Vinyl Siding: Known for its durability and range of color options, vinyl siding is also relatively lightweight and flexible, making it an excellent choice for curved surfaces. It is easy to install and maintain, offering good resistance to weather conditions.
- Wood Siding: Wood provides a classic and natural look, with options like cedar or redwood offering durability and resistance to decay. Thin wood planks can be manipulated to follow the curve of the wall, though professional expertise is often required to avoid cracking or splitting.
- Fiber Cement Siding: This material offers the appearance of wood with increased resilience to fire, insects, and harsh weather. While fiber cement is not naturally flexible, it can be custom fabricated for curved applications, providing a robust and long-lasting finish.
- Stucco Siding: Particularly suited for curved architectural designs, stucco can be applied directly to the surface, following any contour seamlessly. It offers a smooth, cohesive appearance and is highly durable with proper maintenance.
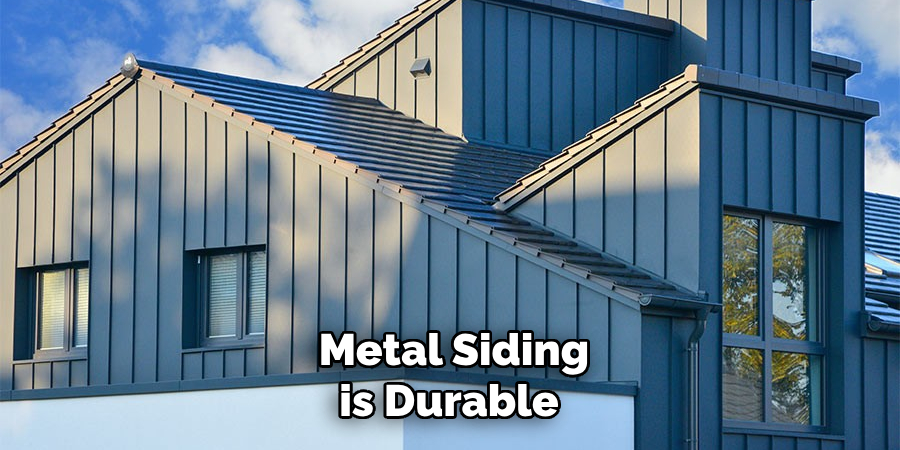
- Metal Siding: Available in steel or aluminum, metal siding is durable and can be molded to fit curves. It provides a modern look and is resistant to extreme weather, though it may require treatments to prevent corrosion over time.

Each material offers distinct benefits and considerations, so selecting the appropriate siding will depend on the specific requirements of your project, as well as your personal aesthetic preferences.
Materials and Tools Needed
Before beginning the installation process, gather all necessary materials and tools to ensure a smooth workflow. Here’s a checklist to help you prepare:
Materials
- Siding Material: Choose from vinyl, wood, fiber cement, stucco, or metal, based on the specific needs of your project.
- Fasteners: Nails or screws designed for your chosen siding type, ensuring secure attachment.
- Backing or Sheathing: Material such as plywood or foam board to provide a stable base and enhanced insulation.
- Caulk and Sealant: To seal joints and edges, preventing moisture infiltration.
- Primer and Paint: For finishing wood or fiber cement siding, if desired, to enhance durability and aesthetic appeal.
Tools
- Measuring Tape: For precise measurements of the wall’s radius and circumference.
- Level: To ensure straight and even installation of siding panels.
- Saw (circular or jigsaw): For cutting siding material to the required shape and size, particularly for custom curves.
- Drill or Hammer: Depending on your fastener type, for securing siding to the wall structure.
- Snips or Shears: For trimming vinyl or metal siding with precision.
- Mitre Box: For accurate angle cuts, especially useful with corners and curves.
- Chalk Line: To mark even guidelines on the wall to ensure proper alignment.
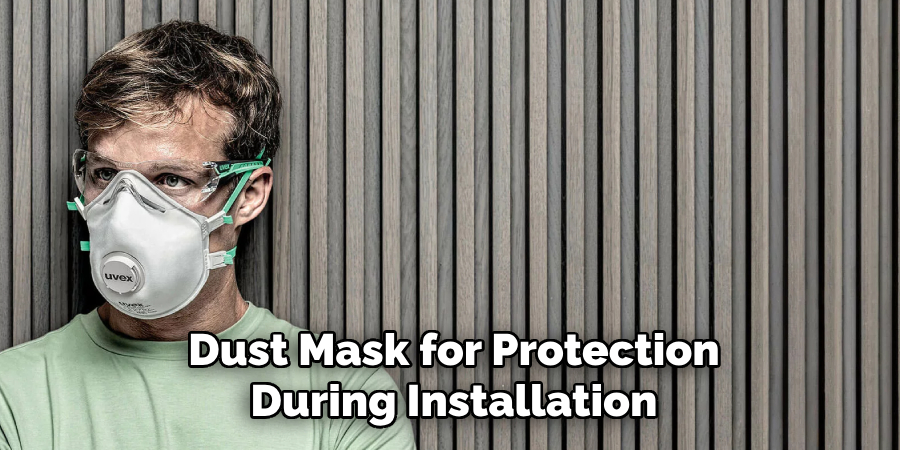
- Safety Gear: Including gloves, goggles, and dust mask for protection during installation.

Having these materials and tools on hand will facilitate a more efficient installation process, helping you achieve a professional and lasting result.
How to Attach Siding to a Curved Wall : 10 Essential Methods for Attaching Siding
1. Flexible Siding Panels
Flexible siding panels are specifically designed to conform to curves, making them an ideal choice for curved walls. These panels are made from materials like vinyl or fiber cement, which allow them to bend without cracking. When installing, start at the bottom and work your way up, ensuring each panel is securely fastened before moving to the next. Flexible siding panels not only provide a smooth finish but are also resistant to weather and pests, adding durability to your curved wall.
2. Scoring and Bending
For materials like wood or composite that are not naturally pliable, scoring can be an effective technique. This involves making shallow cuts on the back of the siding to create weak points, allowing it to bend around curves. It’s important to space the scores evenly and test the bendability before securing the siding in place. This method is more labor-intensive but can offer a seamless look when done correctly, especially useful for smaller curves.
3. Overlapping Shingles
Using overlapping shingles is a traditional method that works well with curved surfaces. By layering the shingles, you can easily adapt to the curve’s contour. Cedar shingles, for instance, offer both flexibility and a rustic charm. Begin at the bottom of the wall, overlapping each subsequent shingle slightly over the previous one. This method not only provides excellent water resistance but also adds texture and depth to the wall.
4. Metal Siding with Forming Tools
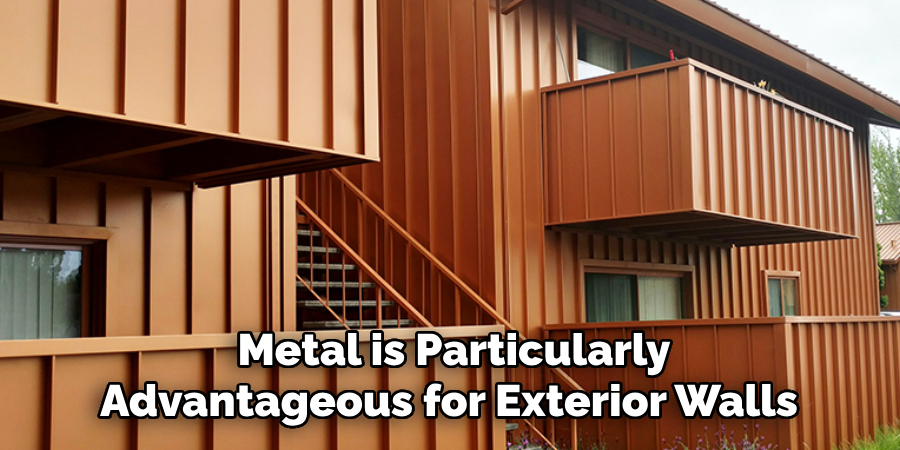
Metal siding, such as aluminum or steel, can be shaped to fit curves using forming tools. Roll-forming machines allow you to adjust the metal’s shape without compromising strength. Once formed, the metal siding can be fastened directly to the wall. Metal is particularly advantageous for exterior walls due to its durability and resistance to fire and insects. Plus, it offers a sleek, modern aesthetic.

5. Pre-Curved Siding Products
Some manufacturers offer pre-curved siding products designed for specific curvature measurements. These products save time and effort as they arrive ready to install. While this option can be more expensive, it ensures a perfect fit and uniform appearance. When selecting pre-curved siding, ensure that it matches the radius of your wall to avoid installation issues.
6. Heat Bending
Heat bending is a technique used primarily with PVC or vinyl siding. By applying heat, these materials become pliable and can be shaped to follow the curve of the wall. Heat guns or specialized bending equipment can be used for this method. Once the siding cools down, it retains its new shape. Heat bending is precise and effective but requires careful handling to prevent damage to the material.
7. Segmenting with Shorter Lengths
Another practical approach is to use shorter lengths of siding, which are easier to maneuver around curves. This method involves cutting standard siding boards into smaller segments and attaching them piece by piece. While this can create more seams, it allows for greater flexibility and can be a cost-effective solution. Ensure each segment is securely fastened to prevent gaps and maintain a consistent appearance.
8. Custom Milling
For those seeking a high-end finish, custom milling can be used to create siding that closely follows the wall’s curvature. This involves cutting and shaping boards to match the exact profile of the curve. Custom milling is typically done with wood and offers a bespoke look that is difficult to achieve with standard products. However, it is more expensive and time-consuming, making it best suited for feature walls or high-visibility areas.
9. Use of J-Channels and Trims
Incorporating J-channels and trims can help achieve a clean edge around curved walls. These accessories provide a neat finish and help secure the siding in place. When using this method, choose trims that are flexible or made specifically for curves. This approach is particularly useful for achieving a polished look at the edges and junctions of the siding.
10. Professional Installation
Sometimes, the best method is to leave it to the professionals. Hiring a contractor with experience in curved walls ensures that the siding is installed correctly and efficiently. Professionals have access to specialized tools and techniques that may not be available to the average DIY enthusiast. This option guarantees a high-quality result and can save time and reduce stress, particularly for complex curves or large projects.

Conclusion
Mastering the art of attaching siding to curved walls requires an understanding of the various methods available and how they can be applied to suit specific project needs. From flexible siding panels and heat bending to custom milling and professional installation, each technique offers its own set of advantages depending on the materials, budget, and desired aesthetic. By carefully selecting the appropriate method and tools, homeowners and builders can achieve a seamless and durable finish that enhances the beauty and functionality of any structure. Thanks for reading our blog post on how to attach siding to a curved wall! We hope you found it helpful and informative.
