You’re probably frustrated and overwhelmed if your concrete job went wrong. After all, dealing with a damaged surface or subfloor can be both time-consuming and expensive — especially when the gap between reality and expectations is wide. But don’t despair just yet! With a little bit of effort on your part, it’s possible to repair most botched concrete jobs and restore your project to its former glory.
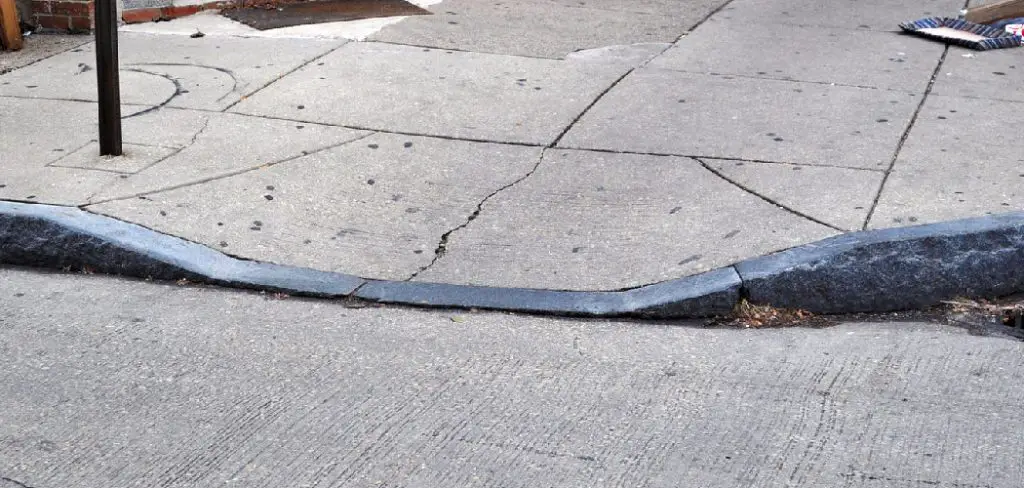
In this blog post, we’ll take an in-depth look at how to fix a bad concrete job — from something as simple as patching up an area affected by settling soil to more significant projects involving replacement slabs or jackhammers. Ready? Let’s get started!
Tools and Materials You Will Need to Fix a Bad Concrete Job
- Cement and sand
- Concrete sealer
- Mortar mix
- Concrete patching compound
- Safety goggles, gloves, and face mask
- Hammer drill with a masonry bit
- Chisel or jackhammer (for larger jobs)
- Hand trowel
- Putty knife
- Grinder or sandpaper (for rough surfaces)
Step-by-Step Guidelines on How to Fix a Bad Concrete Job
Step 1: Assess the Problem
Take a good look at what went wrong with your concrete job and determine how to best proceed. If the surface has begun to crack or crumble, you may need to apply a patch of mortar mix. In cases of settling soil, it’s important to note that pouring additional concrete over the existing slab won’t fix the problem.
Step 2: Prepare the Area
Before applying any patching materials, you’ll want to remove any broken or damaged concrete from the area and thoroughly clean it. Use a putty knife for small areas and a chisel or jackhammer for larger ones. You should also use sandpaper or a grinder to level any rough surfaces. While preparing the area, wear protective gear such as safety goggles and gloves to protect your eyes and hands.
Step 3: Fill Cracks
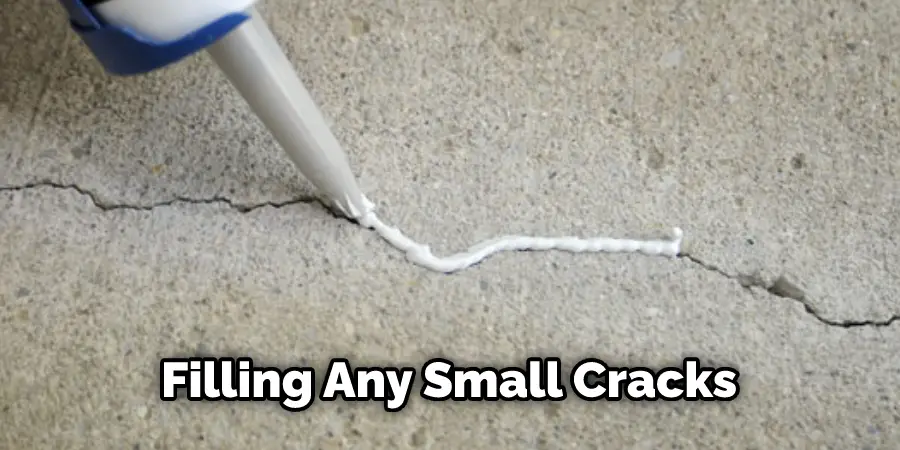
For small surface cracks, you can use a concrete patching compound. Simply mix the powder with water according to the manufacturer’s instructions then apply it over the crack using a hand trowel. Make sure to fill in any voids or air pockets between the compound and the concrete. This will help ensure the patching material adheres to the surface.
Step 4: Seal the Concrete
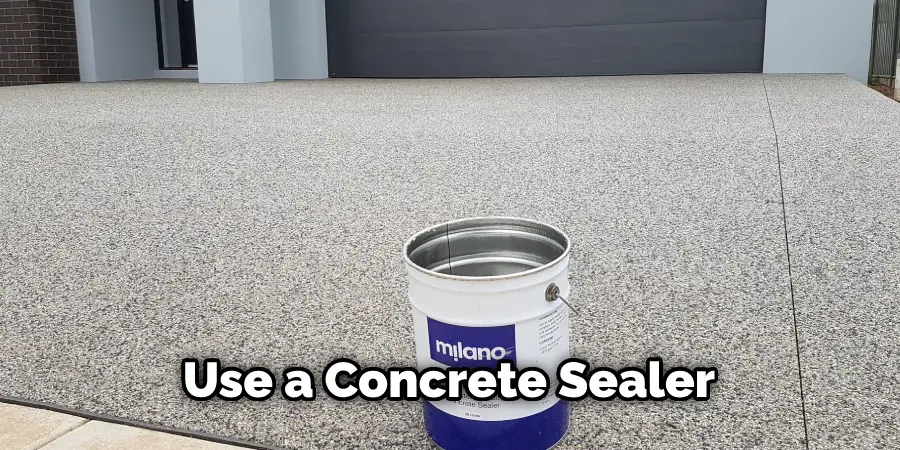
Once you’ve patched up the cracks, it’s important to seal the surface to prevent water from seeping through. Use a concrete sealer for this step. Apply one coat over the entire surface then allow it to dry before applying a second coat. While sealing the concrete, be sure to wear a face mask to protect your lungs from inhaling any fumes.
Step 5: Fix Settling Flooring
If the settling floor is caused by soil compaction, you’ll need to reinforce it with cement and sand. Dig out the damaged area then fill it with a mixture of 1 part cement and 3 parts sand. Compact the mixture thoroughly and level off its surface with a trowel before allowing it to dry.
There you have it — now your concrete job should be back in shape!
Fixing a bad concrete job doesn’t have to be an overwhelming task. With the right tools and materials, plus these step-by-step guidelines, you can restore your project in no time! Just make sure to take safety precautions throughout the process and always consult an expert contractor if you encounter any issues. Good luck!
Additional Tips and Tricks to Fix a Bd Concrete Job
- For large areas of bad concrete, it may be better to call a professional. Trying to fix a large area on your own can be labor and time-intensive, and some jobs may require specialized tools or techniques that you do not possess.
- If possible, use the same type of material for any necessary repairs. This will help ensure a seamless repair and avoid any issues with matching the color or texture of the concrete after repairs.
- If you are repairing smaller areas, remember to clean out any debris before filling in the damaged area. Use a broom and dustpan for larger chunks, then use water and a scrub brush to remove any leftover dirt.
- Make sure to use enough concrete when filling in the area and trowel it down for a smooth finish. Allow sufficient time for the material to dry before applying any sealers or coatings over the repair.
- If you are using more than one bag of concrete mix, blend them together in a wheelbarrow to ensure the color and consistency are even.
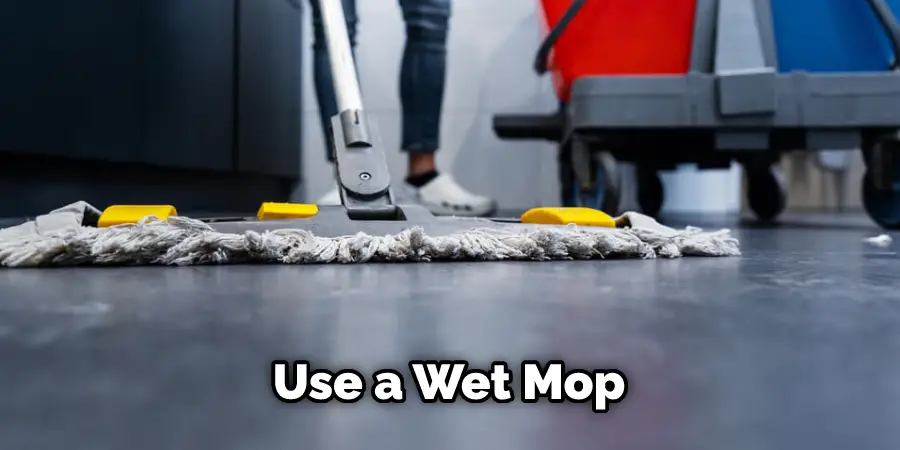
- Finally, remember to clean up any excess concrete after you have finished your repairs. Use a wet mop or cloth to remove any residue from areas that were not part of the repair job.
Following these tips can help you achieve a professional-looking repair job, and save you time and money in the long run. With a little bit of patience and attention to detail, your bad concrete job can be remedied quickly and efficiently.
Things You Should Consider While Fixing a Bad Concrete
1. Determine the Cause:
Before you start to fix a bad concrete job, it is important to determine the root cause of the issue. There could be a number of underlying problems that are causing your bad concrete job, and these need to be identified before attempting any repairs. Common causes include improper installation, incorrect materials used, or poor workmanship.
2. Choose the Right Materials:
Selecting the right materials is essential to getting a quality repair job. Concrete mix, mortar, sealants, and additives should be selected based on their suitability for the project and local weather conditions. The best way to do this is to consult with an experienced contractor or supplier in your area.
3. Prepare the Area:
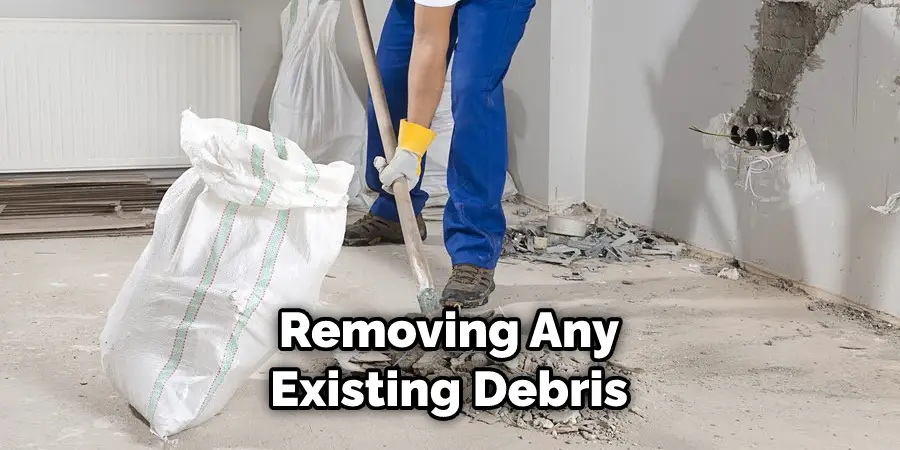
Once you have determined the cause of the bad concrete job and chosen the right materials, it is time to prepare the area for repair. This involves removing any existing debris or rubble, cleaning and smoothing out any uneven surfaces, and priming if necessary. It is also important to ensure that the area is adequately drained and that any large cracks or voids have been filled.
4. Take Safety precautions:
Safety should always be a priority when working with concrete and repair materials. Make sure to wear protective clothing, safety glasses, and gloves while performing the repairs. Additionally, use appropriate tools such as air compressors and jackhammers to break up large chunks of concrete.
5. Repair the Concrete:
Once the area has been prepared, it is time to start making repairs. Begin by filling any small cracks or voids with a suitable concrete patching compound and smoothing it out with a trowel. If there are larger holes or damaged areas, they will need to be filled with concrete and leveled off before being sealed.
6. Seal the Repairs:
Finally, after repairs are complete, it is important to seal the with a suitable waterproof sealant epoxy coating. This will protect against future damage and ensure that your job lasts for years to come.
By following these steps, you can ensure that your bad concrete job is fixed properly and restored to its former glory. With a little bit of patience, hard work, and the right materials, you can get the job done right! Good luck with your repair project!
Frequently Asked Questions
What Are the Most Common Causes of a Bad Concrete Job?
The most common causes of a bad concrete job include improper mixing, poor drainage, inadequate curing surface preparation, incorrect use or application of admixtures, and failure to follow established industry guidelines.
Can a Bad Concrete Job Be Fixed?
Yes, a bad concrete job can be fixed. Depending on the severity of the damage and underlying cause, repairs may include resurfacing with a polymer-modified concrete overlay, patching with a strong epoxy repair material or cementitious grout, applying a topical sealer to restore surface integrity, or sealing to level and protect the surface.
What Are the Benefits of Fixing a Bad Concrete Job?
Fixing a bad concrete job can improve the appearance, reduce long-term maintenance costs, and restore the strength and integrity of the slab. Fixing a bad concrete job also helps to prevent further damage or deterioration due to weather conditions or other external factors. In addition, fixing a bad concrete job can help to increase the value of your property.
Conclusion
With the outlined above you can easily learn about how to fix a bad concrete job. Remember that your concrete should be left to cure for two days before adding any type of coating; never rush the process. When all is said and done, consider contacting a professional if you’re feeling overwhelmed throughout your DIY project.
Professionals will have the skills, knowledge, and expertise necessary to help you avoid any long-term problems or costly repairs down the road. Most importantly, focus on safety first when completing this job – wear heavy-duty gloves, a dust mask, and protective eyewear. Making sure everything is completed safely will ensure that all parties involved can enjoy a great-looking concrete surface for years to come.
